Video Overview
-
-
One of the V-Minion printed parts has sacrificial layers which must be removed prior to assembly.
-
It is recommended to remove them by using a screwdriver, an Allen key, or a drill, to push through the layers. This clears the holes for the screws.
-
y_belt_mount printed part
-
Sacrificial layers to be cleared
-
Prepared printed part
-
-
-
It is recommended to have the following tools for use during the V-Minion assembly
-
Allen Key / Hex Wrenches in the following sizes: 2.5mm, 3mm, 4mm, 5mm & 6mm
-
8mm Spanner / Wrench
-
Wire cutters & a wire stripper
-
Tape measure or calipers
-
Crimping tool
-
Cross slot / Philips screwdriver
-
Flat / straight screwdriver
-
-
-
Occasionally you will need to install a hex nut into a printed part
-
The hex nut needs to be fully pulled into the printed part to ensure there are no issues with assembly or cross threading
-
This animation shows how to use a cap head screw to pull a hex nut into a printed part
-
-
-
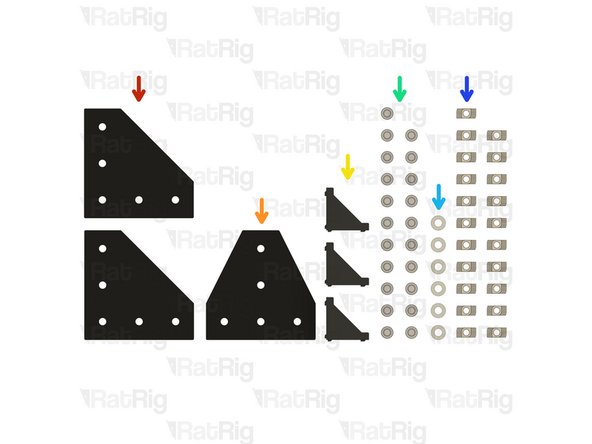
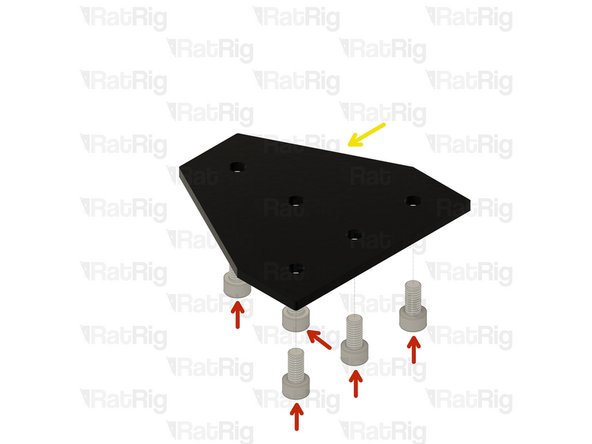
2x Corner Plate
-
1x T-Shape Joining Plate
-
3x 90 Degree Corner
-
21x M6x12 Cap Head Screw
-
6x M6 Washer
-
21x 3030 Drop-in T-Nut - M6
-
-
-
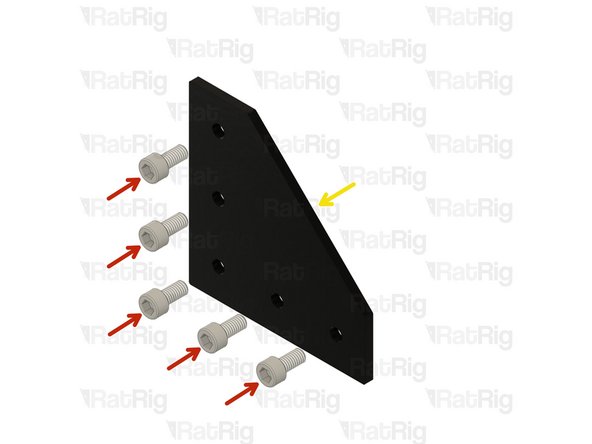
M6x12 Cap Head Screw
-
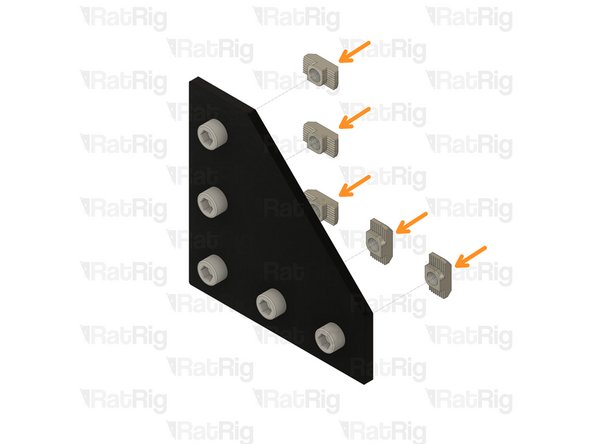
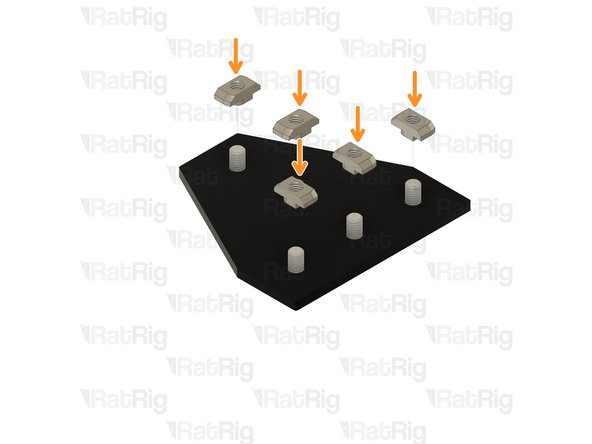
3030 Drop In T-Nut M6
-
Joining Plate for 3030
-
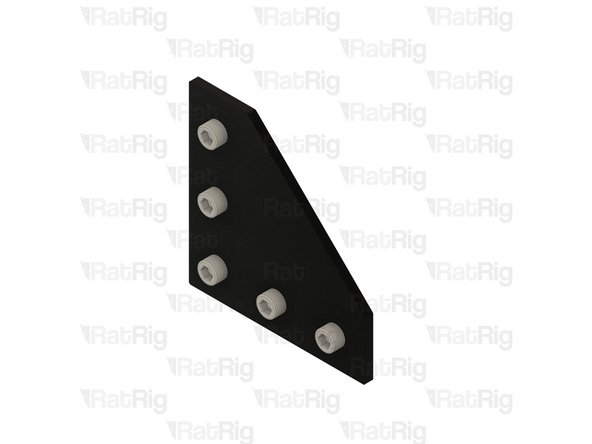
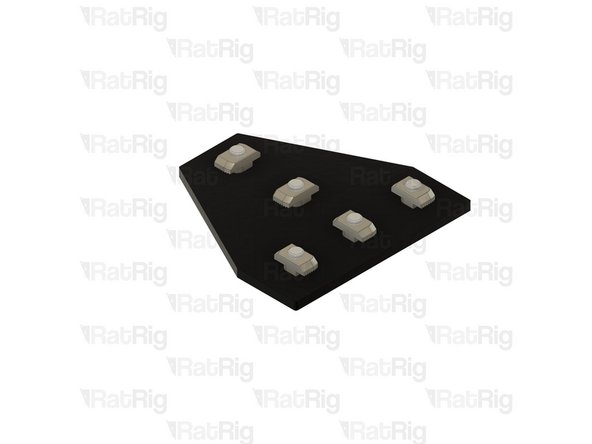
Loosely thread the 3030 T-Nuts onto the M6x12 screws. Do not tighten them at this point.
-
-
-
M6x12 Cap Head Screw
-
3030 Drop In T-Nut M6
-
T-Shape Joining Plate for 3030
-
Loosely thread the 3030 T-Nuts onto the M6x12 screws. Do not tighten them at this point.
-
-
-
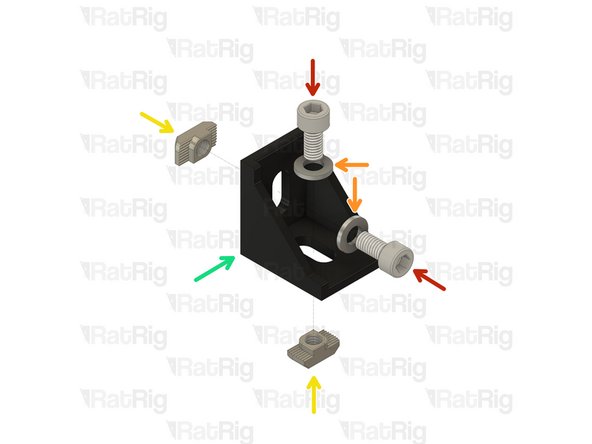
M6x12 Cap Head Screw
-
M6 Washer
-
3030 Drop-in T-Nut - M6
-
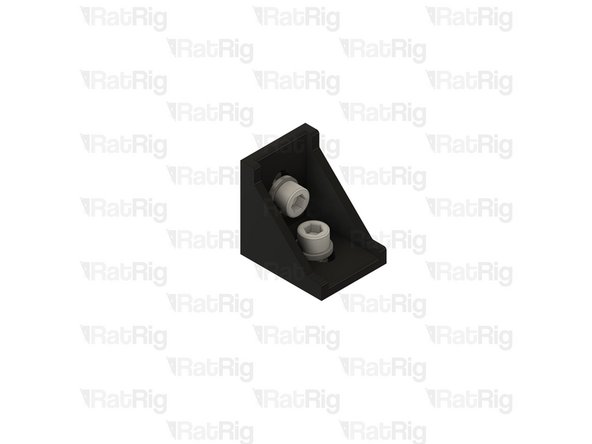
Cast 90 Degree Corner Bracket for 3030
-
Loosely thread the 3030 T-Nuts onto the M6x12 screws. Do not tighten them at this point.
-
Cancel: I did not complete this guide.
21 other people completed this guide.


