
-
-
Consult our linear rail guide to prepare you rails
-
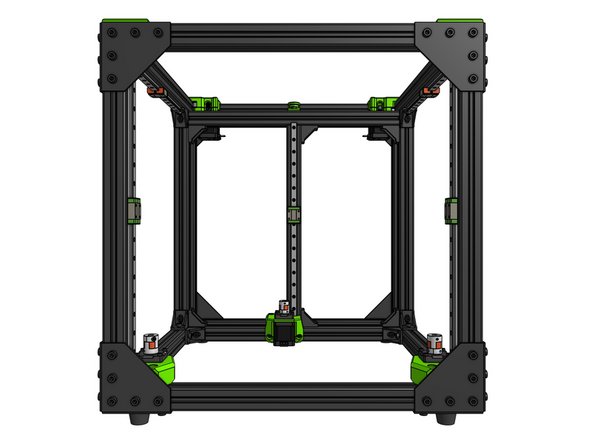
The kit comes with different length MGN12 rails with one MGN12C carriage on each rail for:
-
X - 1x 400mm for the 2020 extrusion
-
Y - 2x 350mm for 3030 extrusions
-
Z - 3x 400mm for 3030 extrusions
-
If your machine is larger than 300x300x300, you will need the extra fasteners inside the bag labeled "Specific parts"
-
-
-
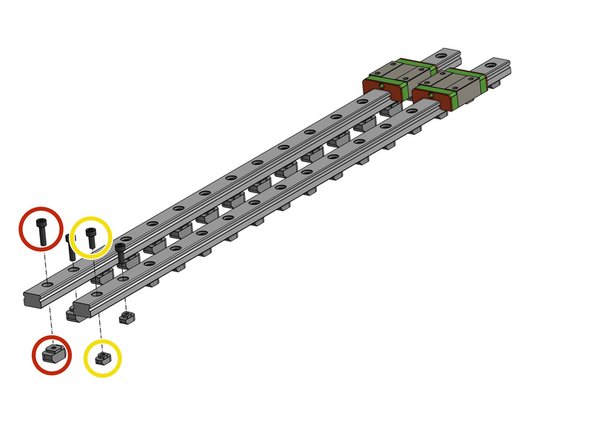
Insert all M3 screws and T-nuts into the rails:
-
For the 3x Z 400mm rails use 3030 M3 T-nuts and Cap Head Screws M3x12
-
For the 2x Y 350mm rails use 3030 M3 T-nuts and Cap Head Screws M3x12
-
For the X 400mm rail use 2020 M3 T-nuts and Cap Head Screws M3x8
-
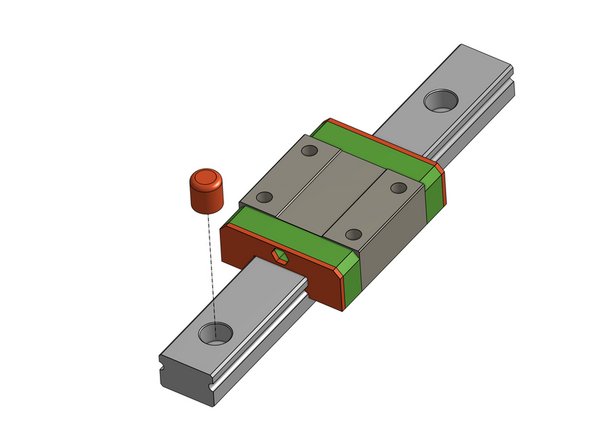
The ends of the rails are secured with bumpers that prevent the carriage from sliding off the rail - those need to be removed for the final assembly. Once you need to remove those be careful not to drop the carriage as it will most likely loose all its ball bearings!
-
-
-
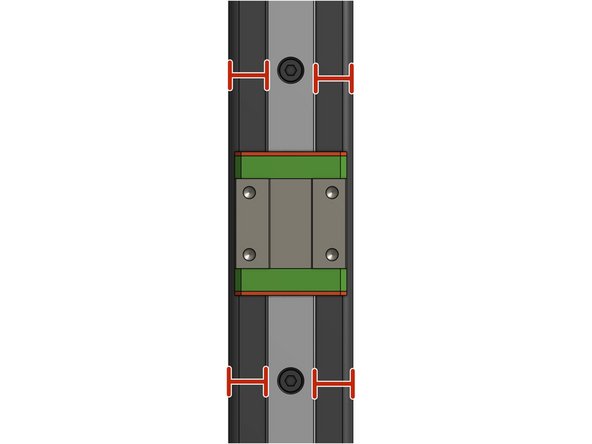
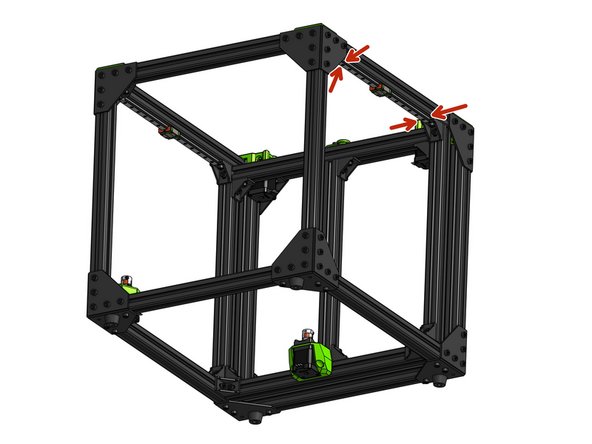
Fit the T-Nuts on the linear rails inside the profile slots and use the MGN Alignment tool to align the rail. On each rail, start by tightening the top screw then move down to the bottom screw. Do not bolt down all of the screws in between for now, later adjustment may be required
-
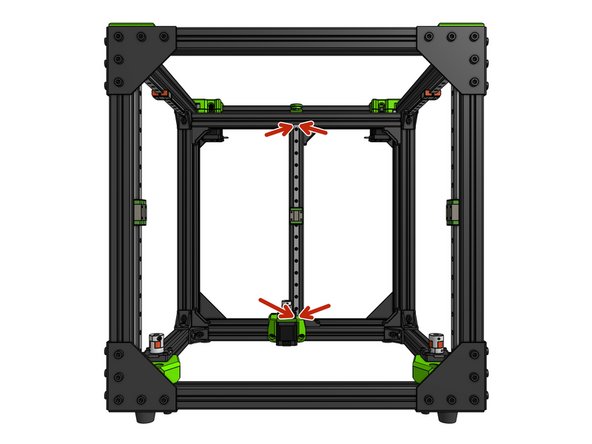
Attach the 3x 400mm Z rails into the frame
-
If you don't have a MGN Alignment tool, measure the space between the side of the rail and the side of the extrusion - for 3030 it should be 9.00mm on each side - measure each rail in 4 points
-
The rails should not rest on the motor mounts but instead be fastened approx. 1mm above
-
-
-
Do not tighten down all the screws yet, just attach the rail by the two screws on the ends - later adjustment maybe required
-
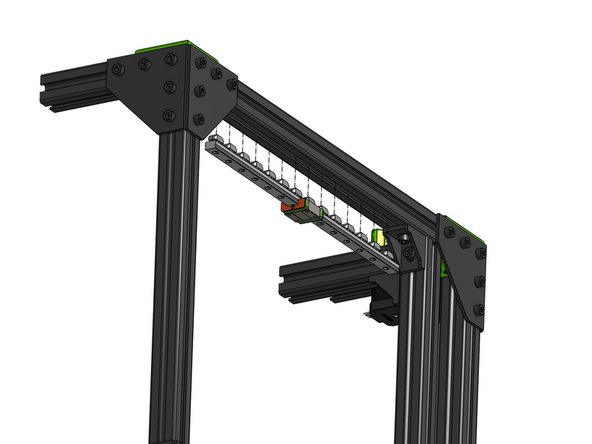
Attach the Y MGN 12 rails on both sides of the printer
-
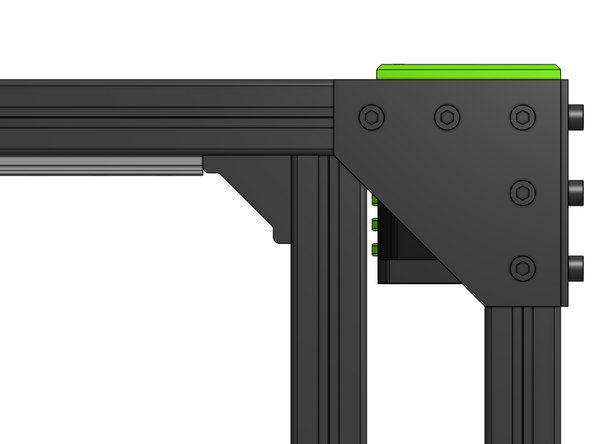
Use the 3030 corner bracket in the back as reference - the rail should touch the bracket
-
If you don't have the MGN Alignment Tool, measure the space between the side of the rail and the side of the extrusion - for 3030 it should be 9.00mm on each side - measure each rail in 4 points
-
-
-
The X rail - the one that will end up on the 2020 extrusion will be assembled later. The final fastening of the rails will happen further in the assembly.
-


Cancel: I did not complete this guide.
46 other people completed this guide.
