Steps
5
- 5. Linear rails 5 steps

In Progress
This guide is currently being written. Reload periodically to see the latest changes.

User-Contributed Guide
This guide is not managed by the site's staff.

Private
This guide will not appear in search results and can only be viewed by team members!
Quiz
0
-
-
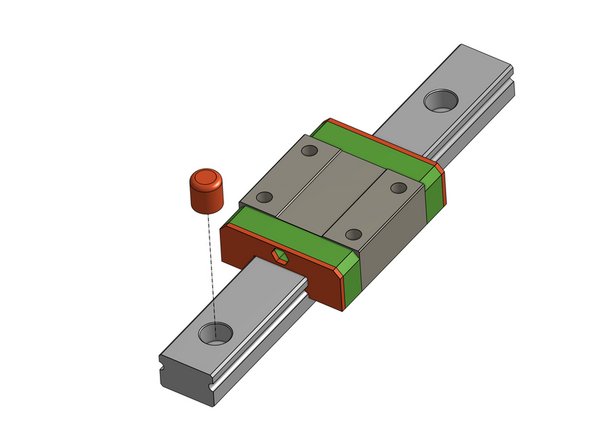
Consult our linear rail guide to prepare you rails
-
The kit comes with different length MGN12 rails with one MGN12C carriage on each rail for:
-
X - 1x 400mm for the 2020 extrusion
-
Y - 2x 350mm for 3030 extrusions
-
Z - 3x 400mm for 3030 extrusions
-
-
-
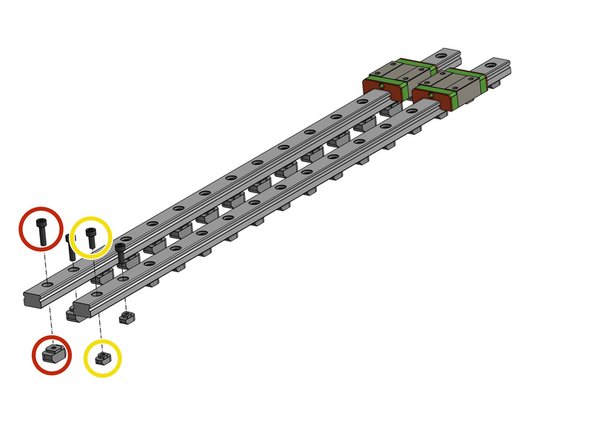
Insert all M3 screws and T-nuts into the rails:
-
For the 3x Z 400mm rails use 3030 T-nuts and DIN912 M3x12mm screws
-
For the 2x Y 350mm rails use 3030 T-nuts and DIN912 M3x12mm screws
-
For the X 400mm rail use 2020 T-nuts and DIN912 M3x10mm screws
-
-
-
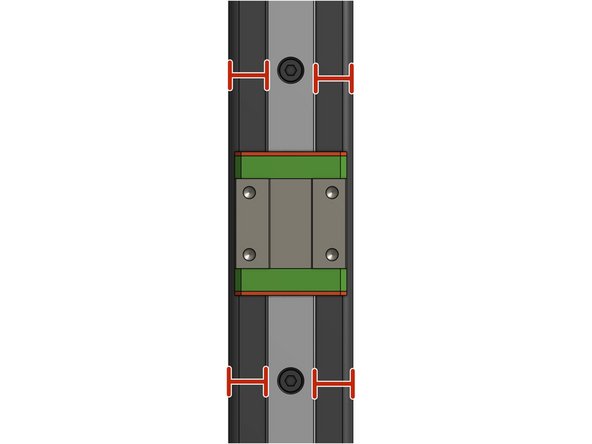
Do not bolt down all of the screws yet, just secure the rail by the two screws on the ends - later adjustment maybe required
-
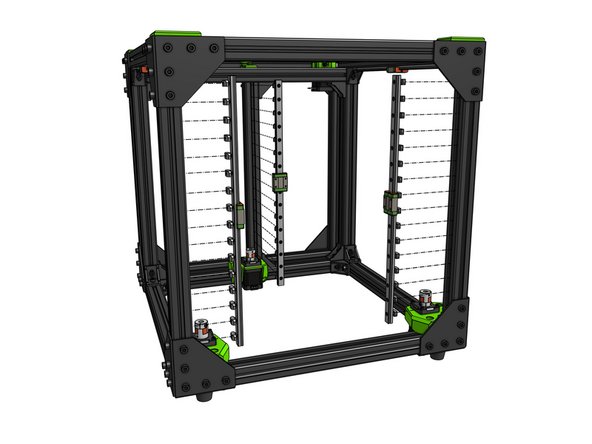
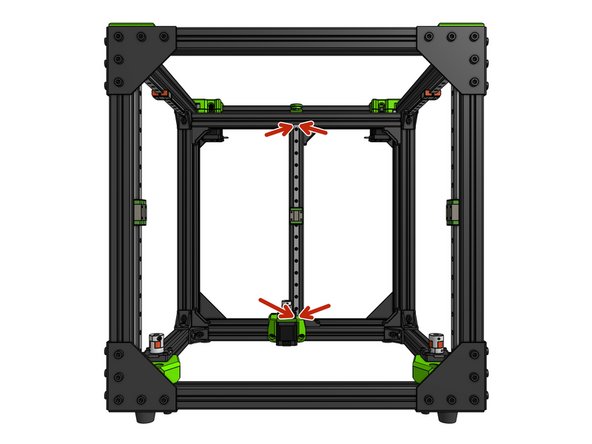
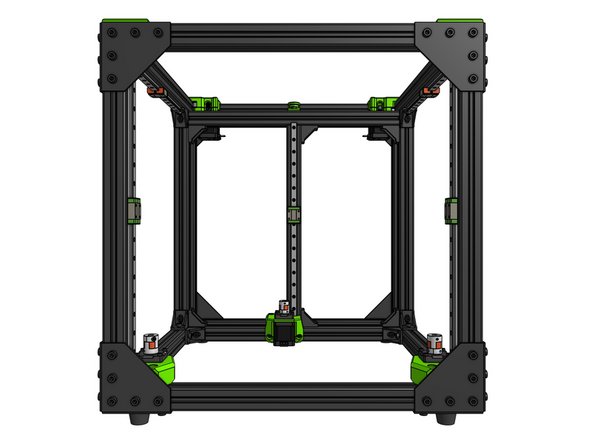
Attach the 3x 400mm Z rails into the frame
-
Measure the space between the side of the rail and the side of the extrusion - for 3030 it should be 9.00mm on each side - measure each rail in 4 points
-
-
-
Do not bolt down all of the screws yet, just secure the rail by the two screws on the ends - later adjustment maybe required
-
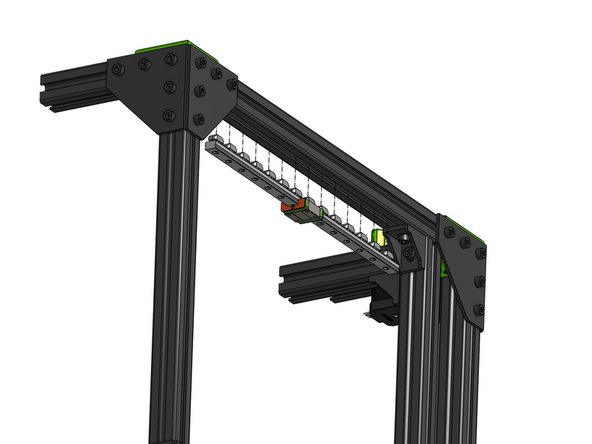
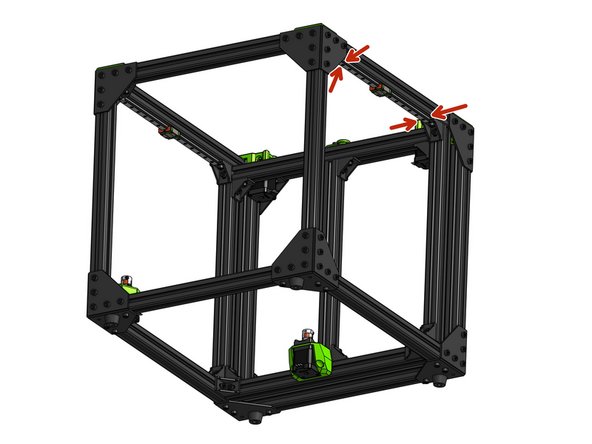
Attach the Y MGN 12 rails on both sides of the printer
-
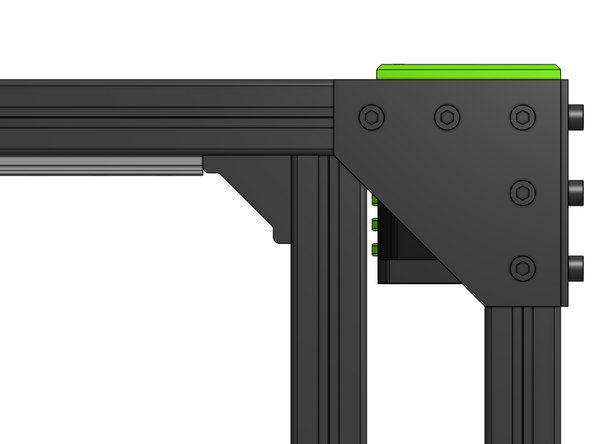
Use the 3030 corner bracket in the back as reference - the rail should touch the bracket
-
Measure the space between the side of the rail and the side of the extrusion - for 3030 it should be 9.00mm on each side - measure each rail in 4 points
-
-
-
The X rail - the one that will end up on the 2020 extrusion will be assembled later. The final fastening of the rails will happen further in the assembly.
-