Steps
20
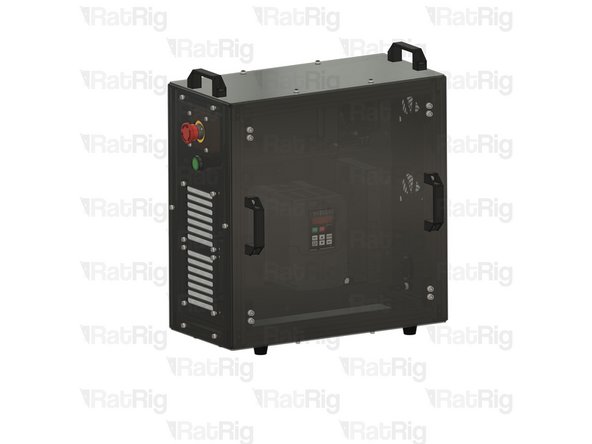
- 03. Components - Intermediate 20 steps

In Progress
This guide is currently being written. Reload periodically to see the latest changes.

Private
This guide will not appear in search results and can only be viewed by team members!
Quiz
0
-
-
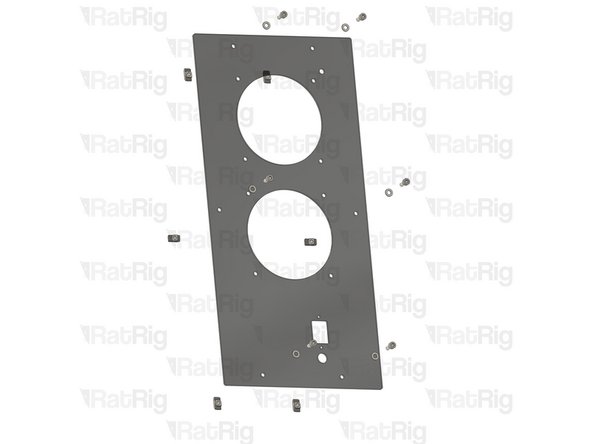
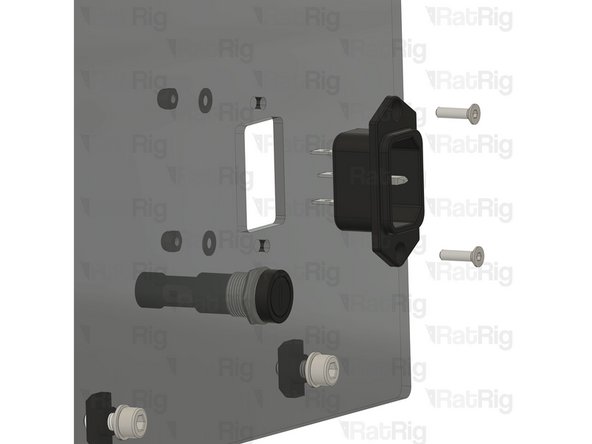
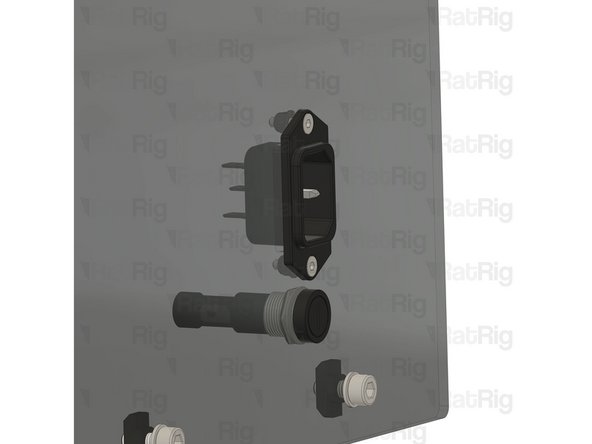
Install the component using the designated holes.
-
2x M4x8 Cap Head Screw + M4 Washer
-
Power Supply Weho - 350Watt 24V
-
Install the power supply as illustrated, securing it by screwing the M4 screw into the threaded holes on the side of the power supply body.
-
-
-
Install the component using the designated holes.
-
4x Hex Locking Nut - M3
-
4x Nylon Spacer - 3.2x6x16mm
-
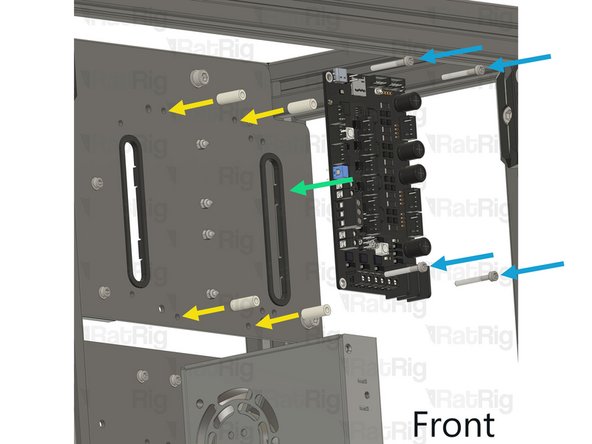
BigTreeTech & Rat Rig - Rodent CNC Controller TMC2160
-
4x M3x25 Cap Head Screw
-
Insert the M3x25 cap head screws through the rodent and nylon spacers, then through the designated holes on the plate. Finally, secure them by fastening to the M3 hex locking nuts on the back.
-
-
-
Install the component using the designated holes.
-
4x Hex Locking Nut - M4
-
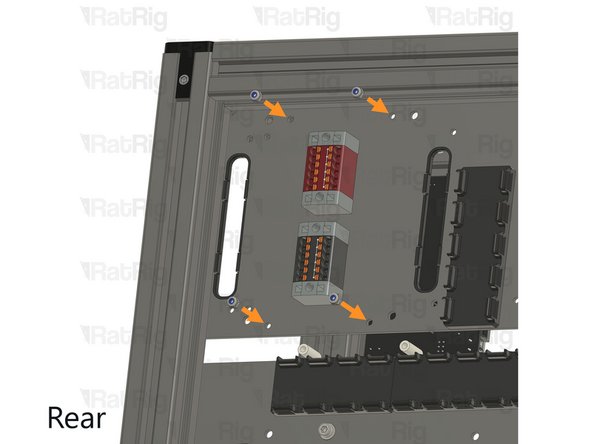
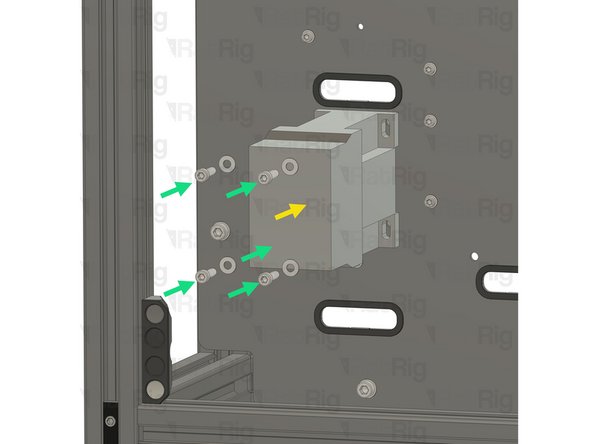
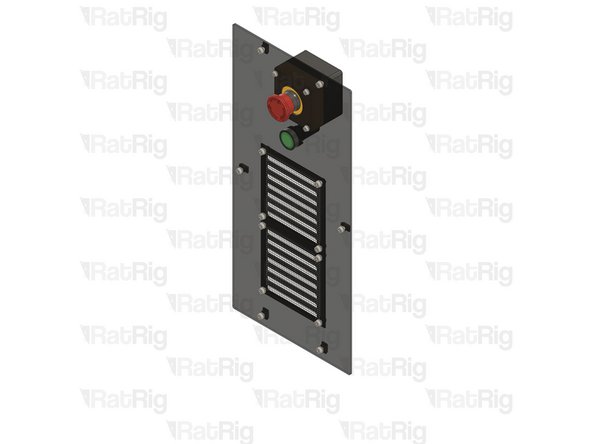
CNC Electronics Contactor
-
4x M4x16 Cap Head Screw + M4 washer
-
Insert the M4x16 cap head screws with M4 washers into the contactor mounting holes, then through the plate. Finally, secure them by fastening to the M4 hex locking nuts on the back.
-
-
-
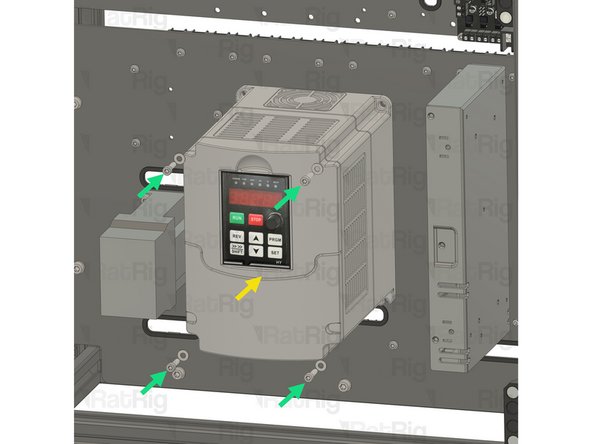
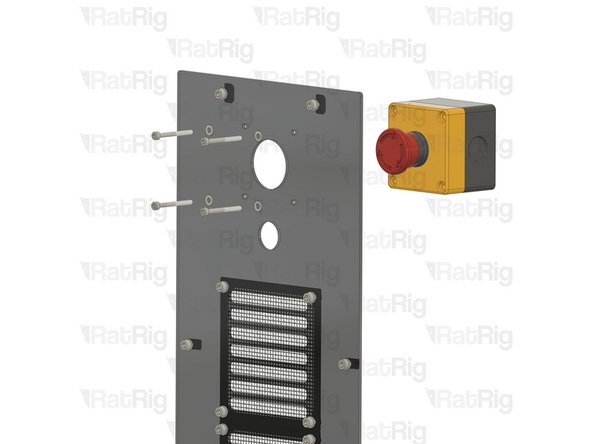
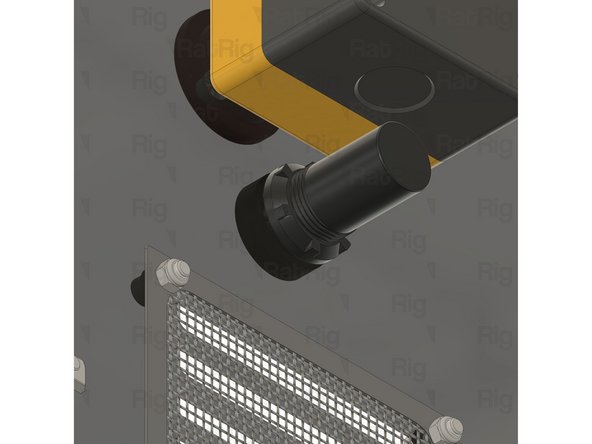
Install the component using the designated holes.
-
4x Hex Locking Nut - M4
-
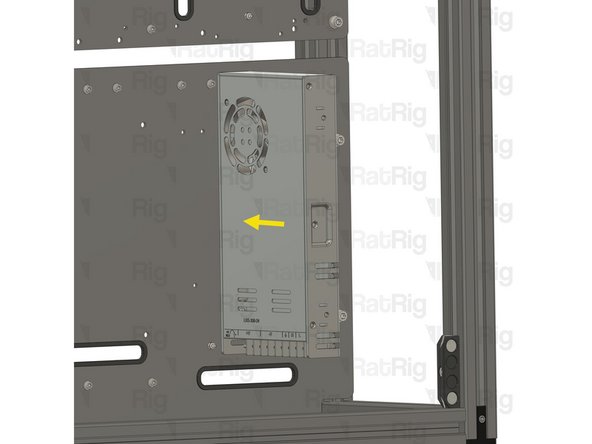
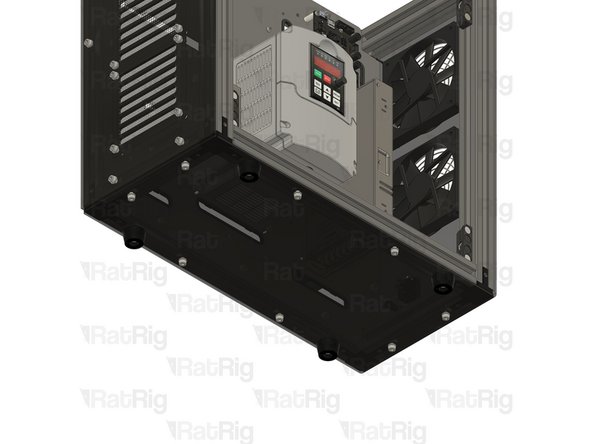
VFD
-
4x M4x16 Cap Head Screw + M4 washer
-
Insert the M4x16 cap head screws with M4 washers into the VFD mounting holes, then through the plate. Finally, secure them by fastening to the M4 hex locking nuts on the back.
-
-
-
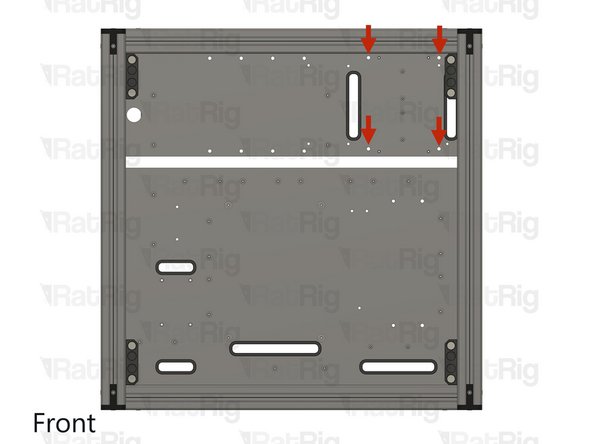
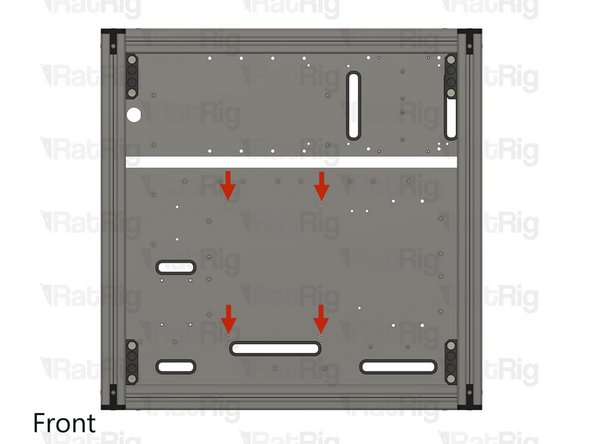
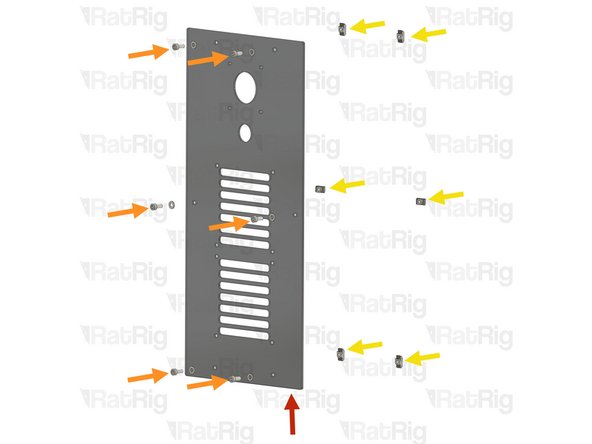
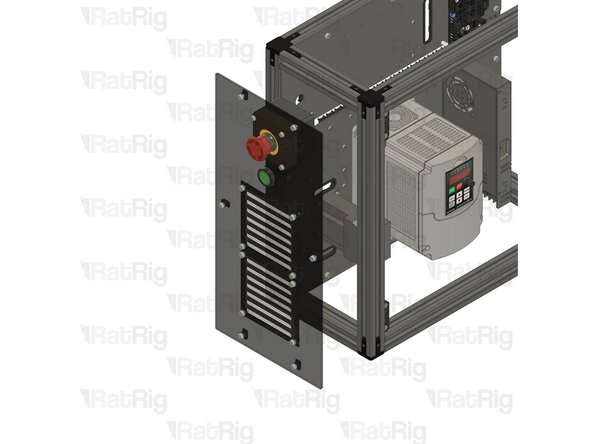
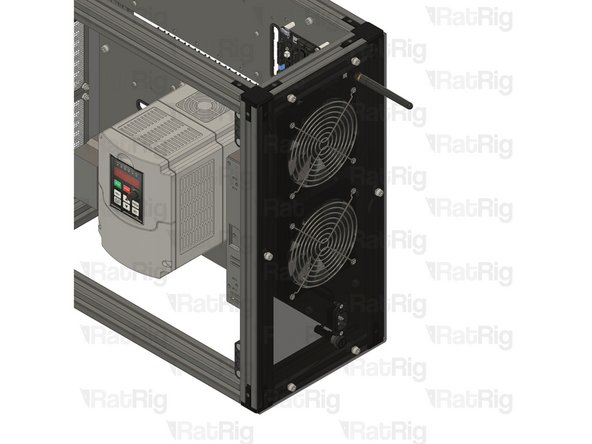
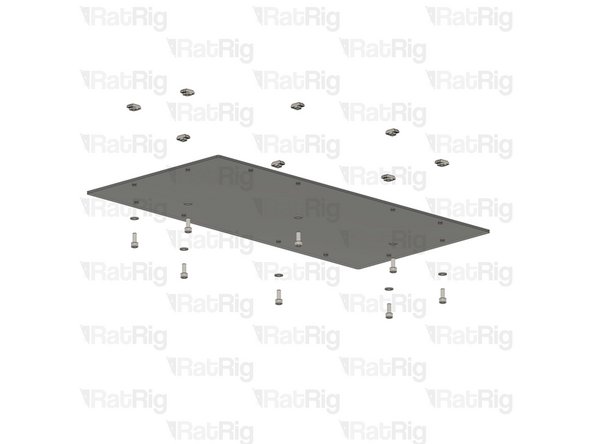
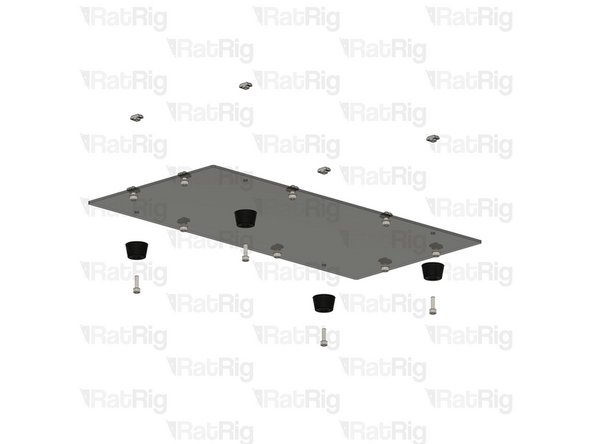
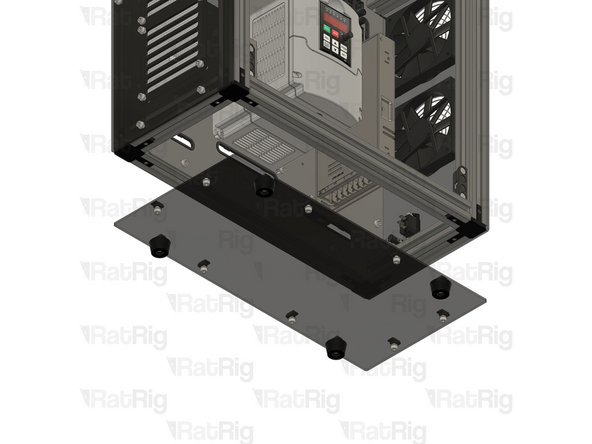
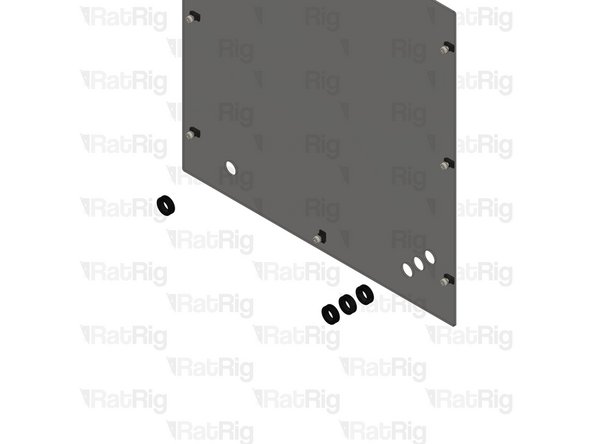
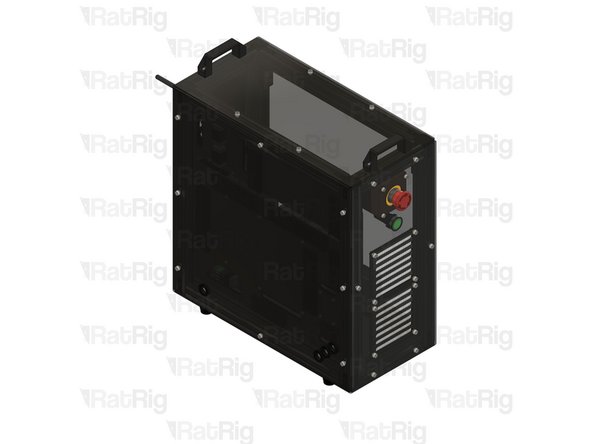
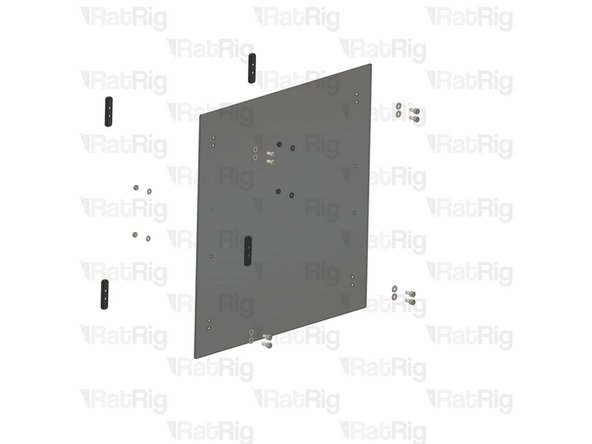
Rat Rig Universal CNC Electronics Enclosure - Left
-
(6x) M5x12 Cap Head Screw + M5 Washer
-
6x 3030 Drop-in T-Nut - M5
-
Insert a M5x12 Cap Head Screw into each marked hole on the right panel and loosely tighten a M5 drop-in T-nut to each screw.
-
-
-
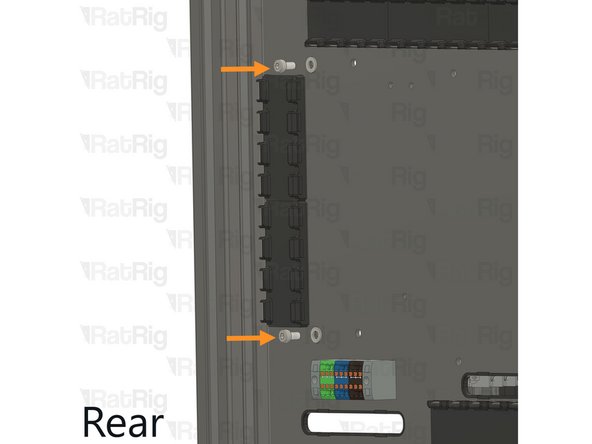
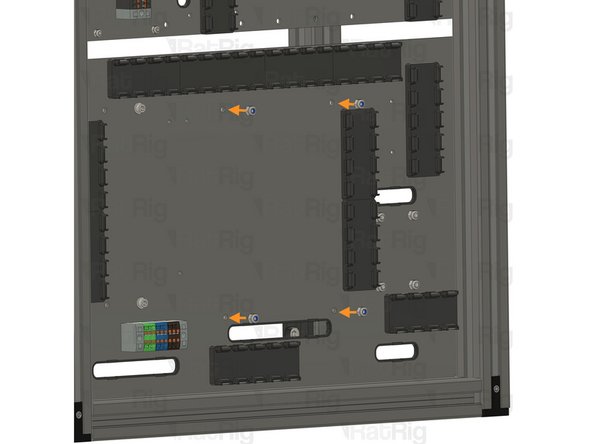
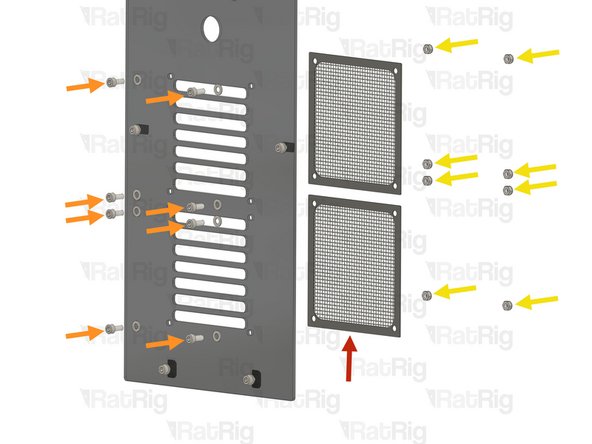
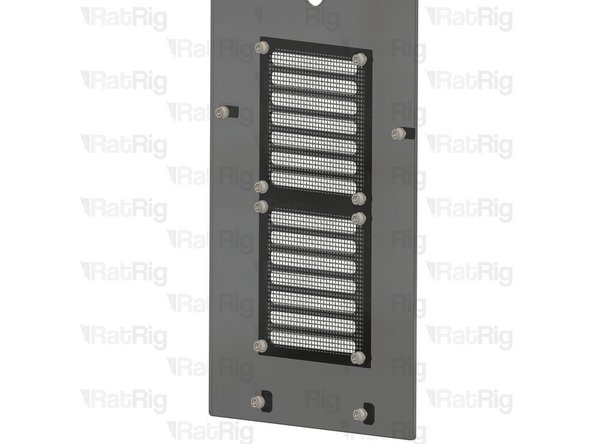
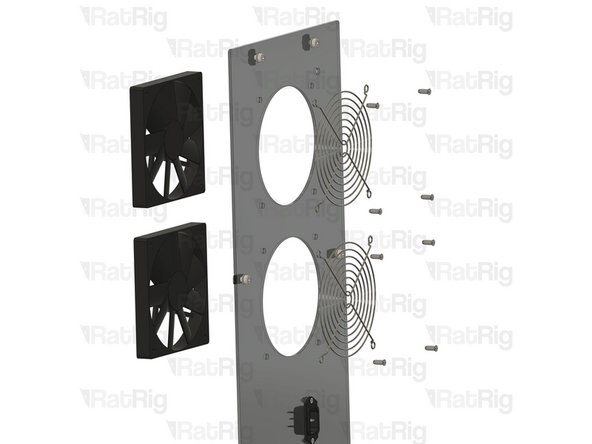
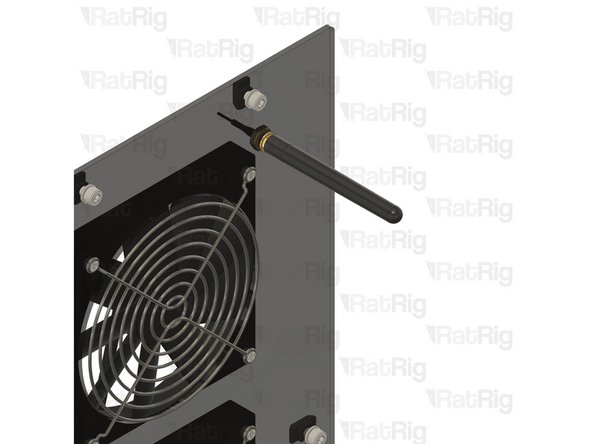
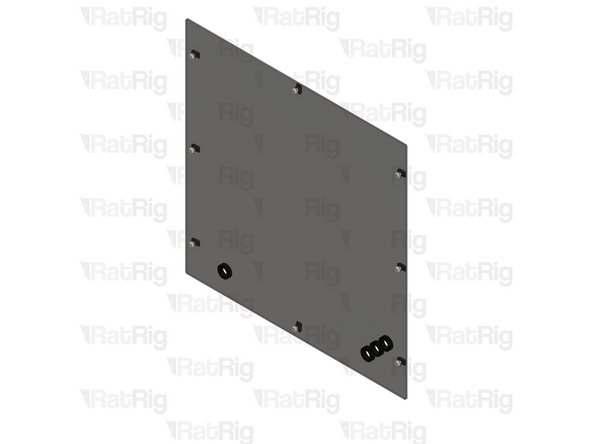
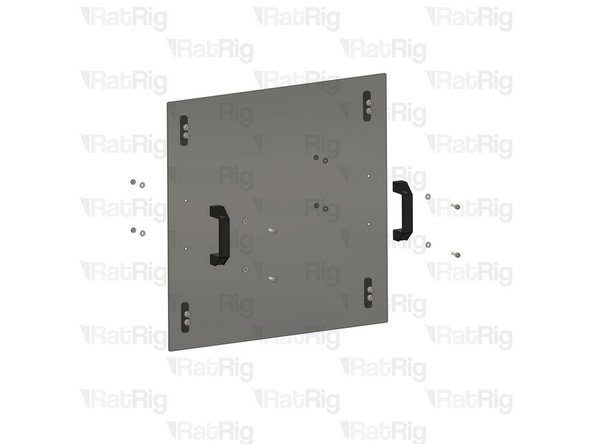
2x Filter - 120mm
-
(8x) M5x12 Cap Head Screw + M5 Washer
-
8x Hex Locking Nut - M5
-
Insert the M5x12 cap head screws through the M5 washers, then feed them into the left panel and through the filters. Finally, secure them by fastening to the M5 hex locking nuts.
-
-
-
Insert wisdom here
-
-
-
Insert wisdom here
-
-
-
Insert wisdom here
-
-
-
Insert wisdom here
-
-
-
Insert wisdom here
-
-
-
Insert wisdom here
-
-
-
Insert wisdom here
-
-
-
Insert wisdom here
-
-
-
Insert wisdom here
-
-
-
Insert wisdom here
-
-
-
Insert wisdom here
-
-
-
Insert wisdom here
-
-
-
Insert wisdom here
-
-
-
Insert wisdom here
-