-
-
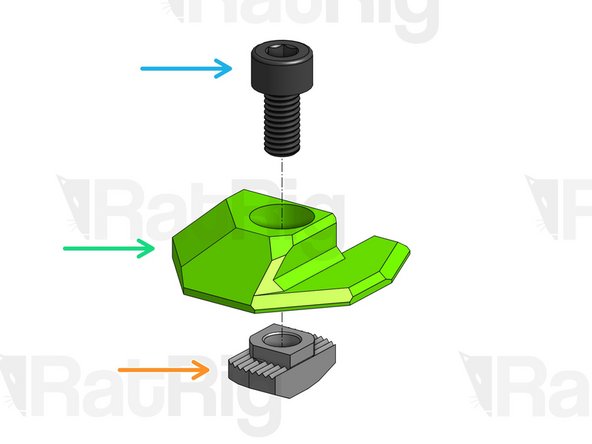
Cap Head Screw M5x12mm
-
Z Top (Printed Part)
-
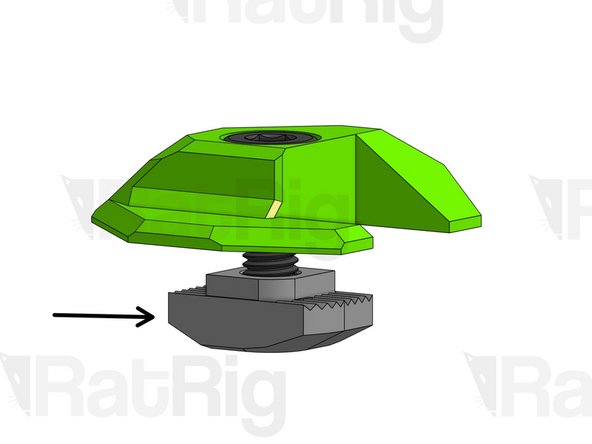
3030 Drop-in T-Nut M5
-
Screw T-Nuts into position, but don't tighten.
-
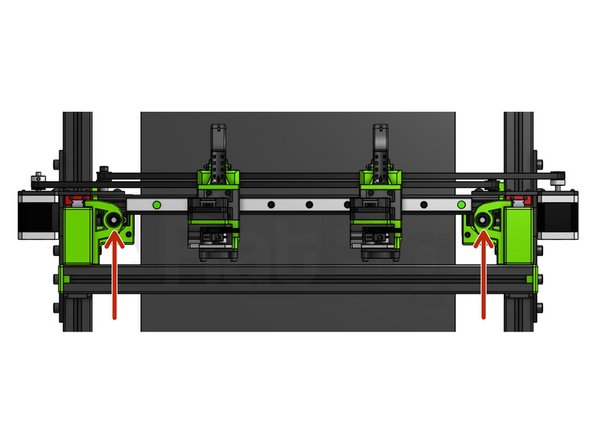
Snap Z Tops in position and tighten screws.
-
-
-
You can look directly down through the holes on the Z Tops to make sure the Lead screws are perfectly straight.
-
-
-
3030 Drop-in T-Nut M5
-
Linear Rail Endcap (Printed Part)
-
Cap Head M5x10mm
-
Screw into position, but don’t tighten.
-
Insert the endcaps at the tips of the Y axis linear rails and tighten the screws.
-
-
-
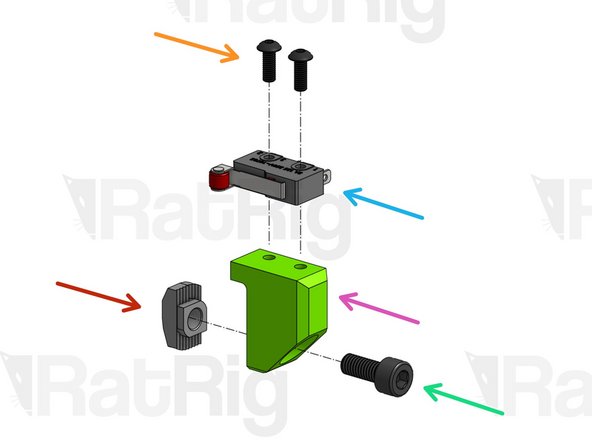
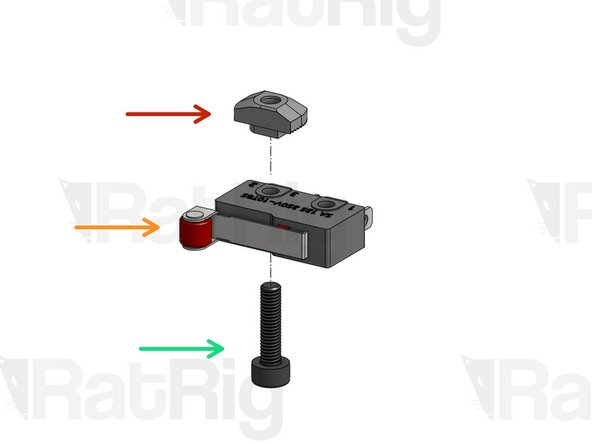
Button Head Screw M3x8mm
-
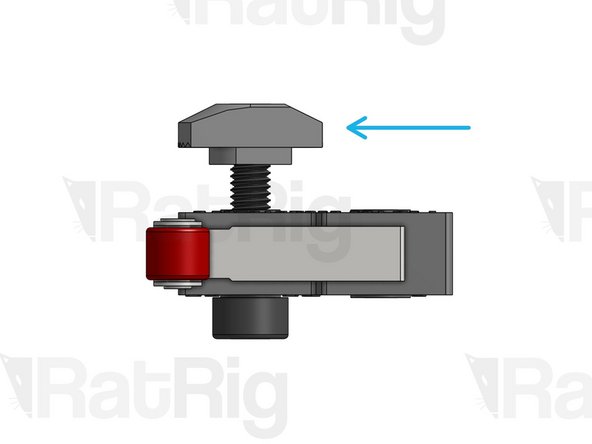
Micro Limit Switch
-
Y Limit Switch Support
-
Cap Head Screw M5x12mm
-
3030 Drop-in T-Nut M5
-
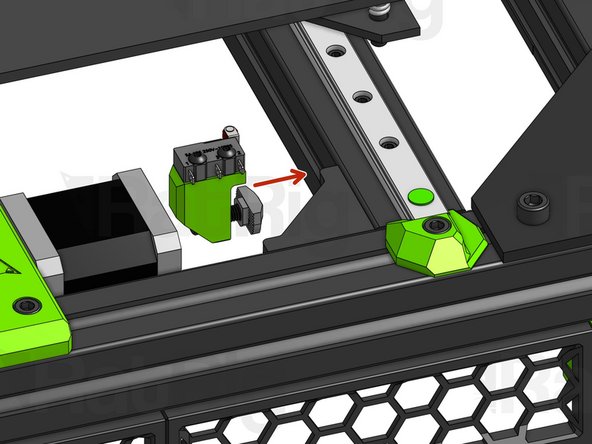
Screw T-Nut into position, but don't tighten.
-
-
-
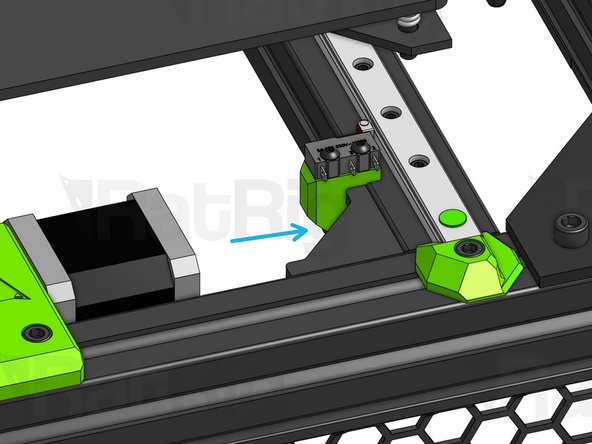
Fit the T-Nut inside the slot. Press the plastic part against the Cast Corner.
-
Tighten the Cap Head Screw M5x12mm to lock the part in place.
-
-
-
2020 Drop-in T-Nut M3
-
Micro Limit Switch
-
Cap Head Screw M3x12mm
-
Screw T-Nut into position, but don't tighten.
-
-
-
Fit the T-Nut inside the slot
-
Tighten the Cap Head Screw to lock the switch in place.
-