-
-
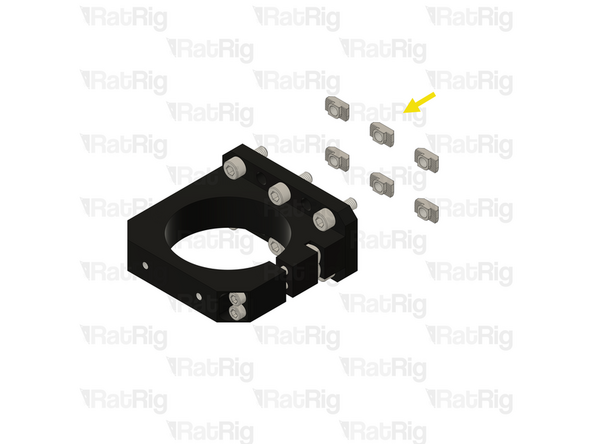
Rat Rig 80mm Spindle Mount
-
4x M6x70 Cap Head Screw
-
4x M6 Square nut
-
4x M8x30 Low Profile Cap Head Screw
-
2x M8x12 Low Profile Cap Head Screw
-
12x M8x22 Cap Head Screw
-
-
-
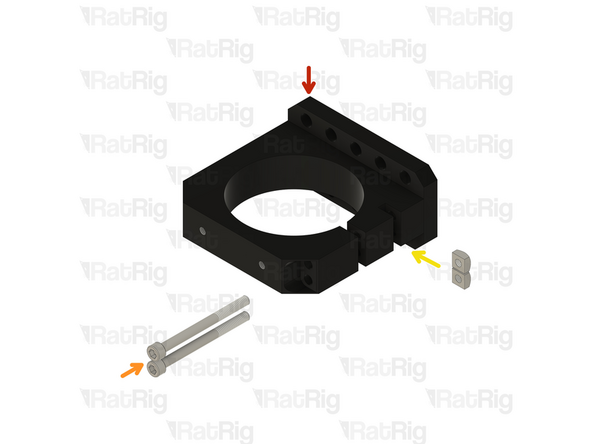
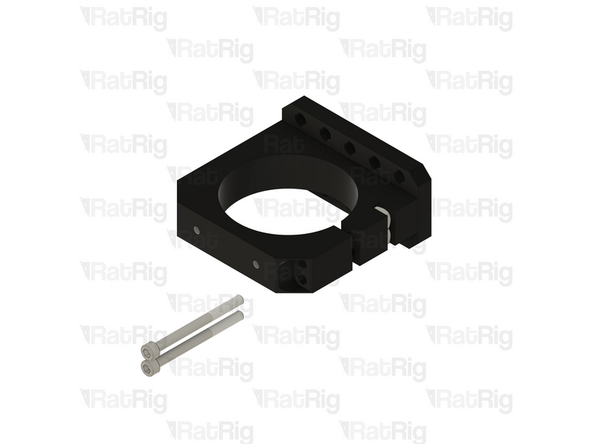
Rat Rig Spindle Mount - 80mm
-
M8x30 Low Profile Cap Head Screw
-
M8x12 Low Profile Cap Head Screw
-
Insert the screws through each hole in the spindle mount and secure it into the spindle mount body
-
-
-
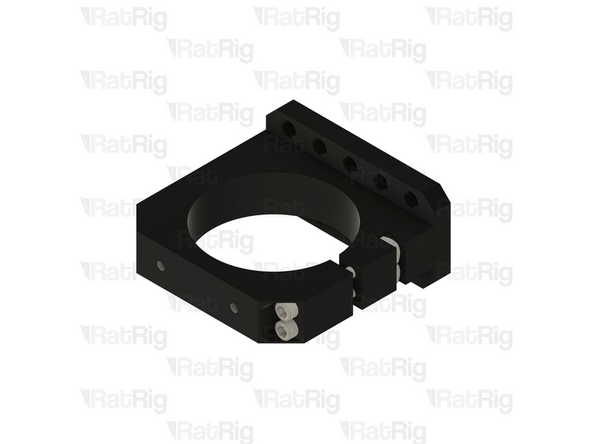
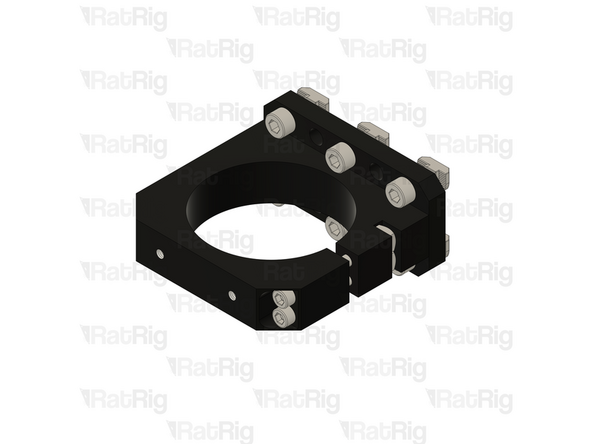
Assembly from the previous step
-
M6x70 Cap Head Screws
-
Square nut M6
-
Do not fully fasten the M6x70 screws at this point. They will be used to hold the spindle in place later in the assembly
-
-
-
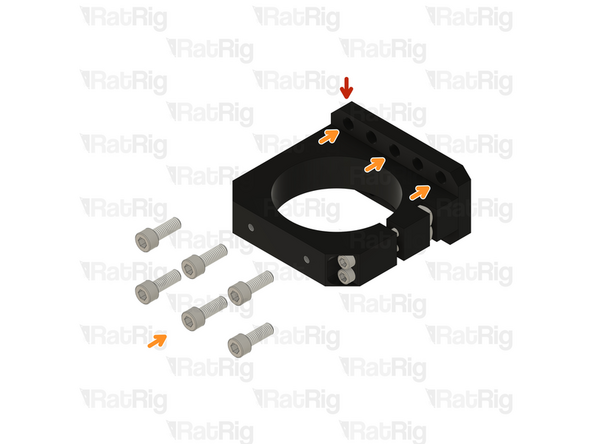
Spindle mount assembly
-
6x M8x22 Cap Head Screws
-
6x M8 4040 Drop in T-nuts
-
Place the screws in the designated holes, and lightly screw the Drop in T-nuts.
-
-
-
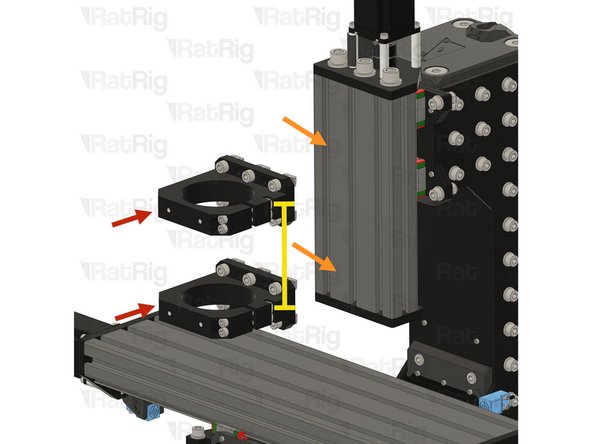
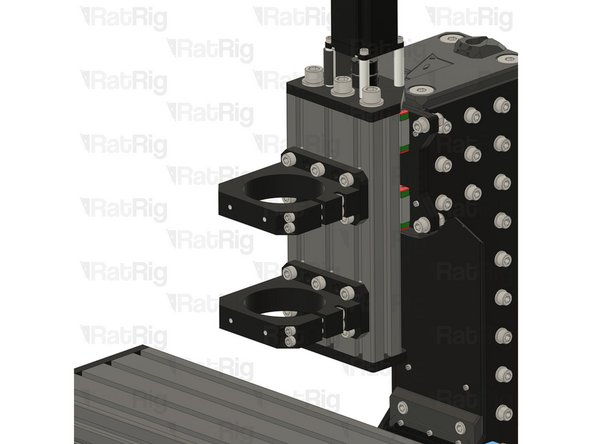
Spindle Mount Assembly
-
Mount the Spindle mount assembly on to the Z-Axis
-
The spindle mounts should be as far apart as possible from each other. Aim for a 90-100mm distance between the two spindle mounts.
-
Do not fully tighten the spindle mounts. Lightly screw them in place to prevent them from falling off. They will be aligned in the next step.
-
-
-
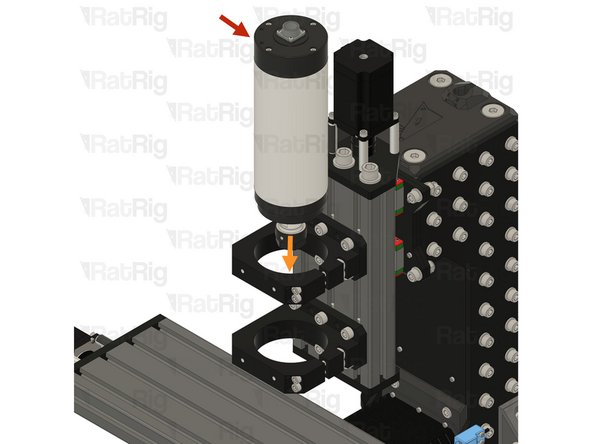
80mm Spindle
-
Insert the spindle into the mounts as shown
-
Take your time to align the two spindle mounts, ensuring the spindle is correctly clamped.
-
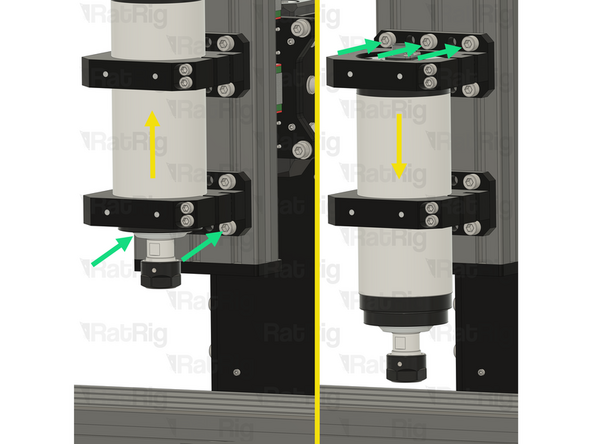
Move the spindle up and down to reveal the top and lower screws of the spindle mounts
-
Tighten the accessible M8 screws on the spindle mounts.
-
If necessary, remove the spindle to access all the screws. Tighten them to ensure the spindle mounts are secure.
-
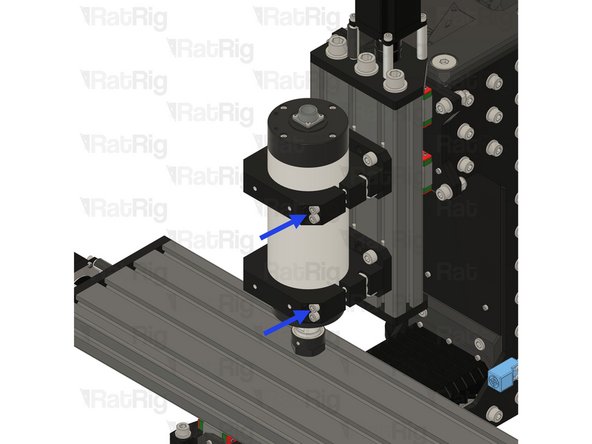
Tighten the M6x70 screws to secure the spindle in to the mounts
-
-
-
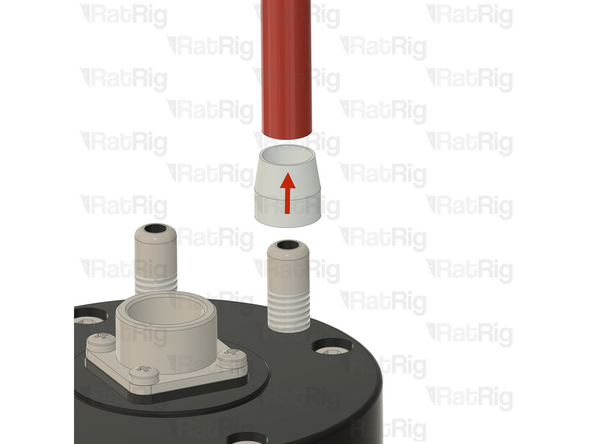
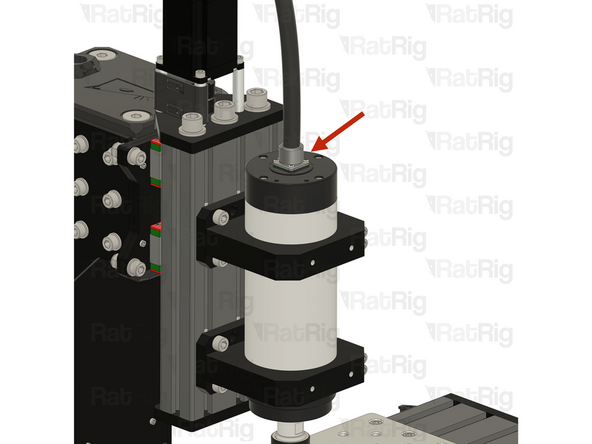
It does not matter whether you install the water inlet or outlet first.
-
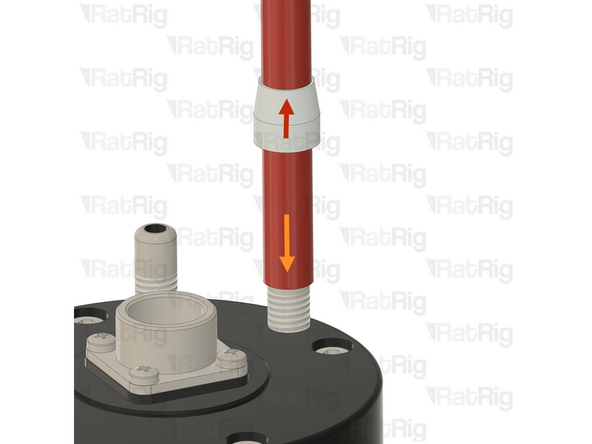
Remove the water hose nut from the spindle and pass the water hose through.
-
Insert the tip of the water hose into the spindle's water inlet.
-
Tip: If the water hose is difficult to insert, you may use a lighter or heat blower to soften the tip. However, exercise caution to avoid damaging the hose. After warming it, carefully insert it into the spindle's water inlet.
-
Proceed with caution and do this at your own risk, as the plastic may become hot and cause burns. Use a towel or cloth to handle the warmed hose safely.
-
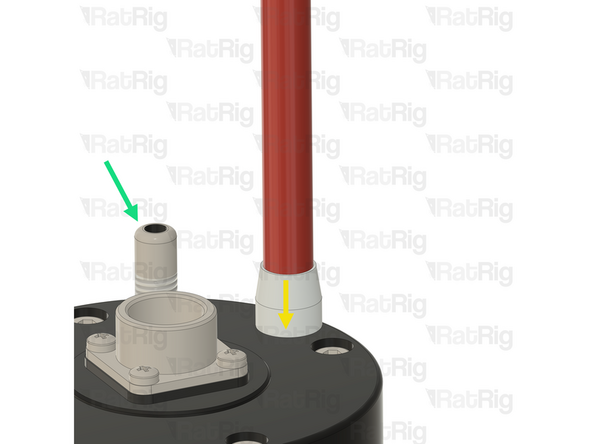
Slide the water hose nut down and securely tighten it onto the spindle inlet thread.
-
Repeat the previous steps and install the water hose outlet.
-