
-
-
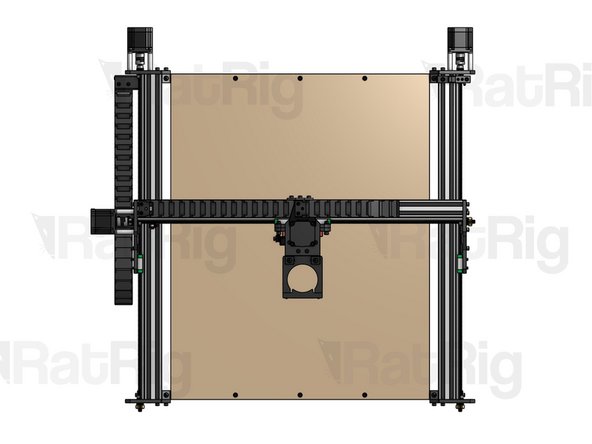
The Spoiler Board is not included in your kit, you will have to source it and have it cut locally. Check this table (see image) to identify Spoiler Board dimensions for your specific KillerBee size. We recommend using a 12mm thick MDF board.
-
A Power Drill with 5mm and 10mm drilling bits for wood will be needed for this step.
-
Identify the side of the Spoiler Board that corresponds to the X Axis of the machine and drill 3x 5mm through-holes on each side (6 holes in total, 4 on the corners and 2 in the middle).
-
CAUTION: the center of each hole should be placed exactly 10mm away from the edge of the board.
-
Widen the top half of every hole to a diameter of 10mm, to accommodate screw heads. For a 12mm thick board, make the wider holes 7mm deep.
-
-
-
Cap Head Screw M5x12mm
-
Drop-in T-Nut M5. Screw them into position, but don't tighten.
-
Repeat this step for each of the 6 holes on your board.
-
-
-
Align the T-nuts on the board so they fit inside the X Base 2040 slots and tighten the screws.
-
We recommend Surfacing your Spoilerboard once you have your clamping method set as it will make sure your work area is perfectly parallel with your machine.
-


Cancel: I did not complete this guide.
3 other people completed this guide.
