
-
-
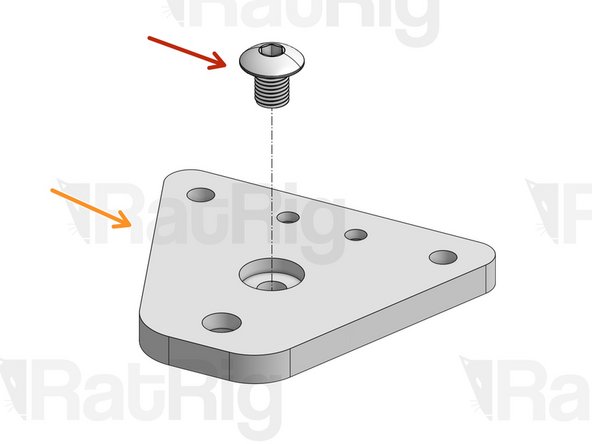
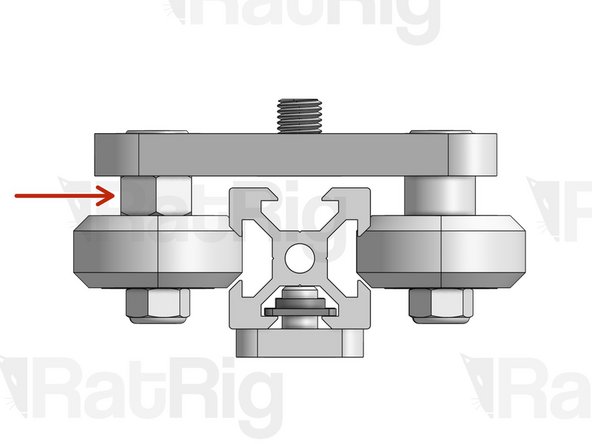
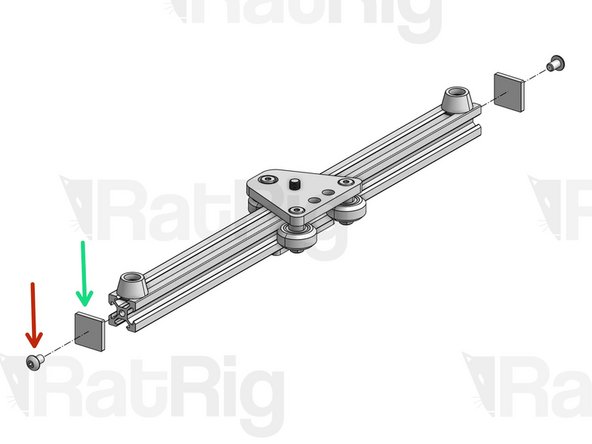
Countersink Screw M5x10mm
-
V-Slider Mini Tripod Plate
-
T-Nut M5
-
Set T-Nuts in position, but don't tighten.
-
-
-
Slide the T-Nuts inside the profile slot.
-
Find the middle position for the plate. You want it to be at the exact center.
-
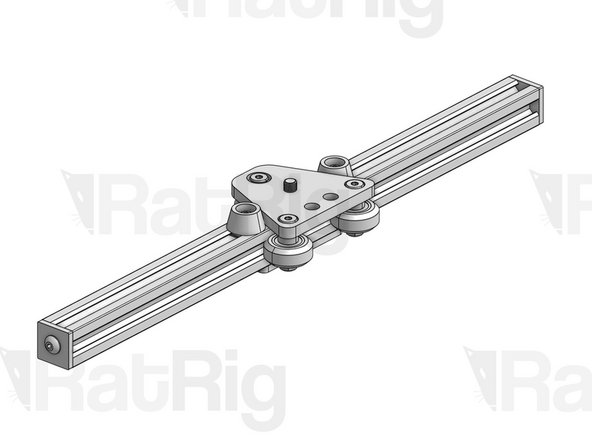
Make sure the plate is aligned with the profile and tighten the screws to lock it in place.
-
CAUTION: Do not overtighten the screws, this may deform the rail.
-
-
-
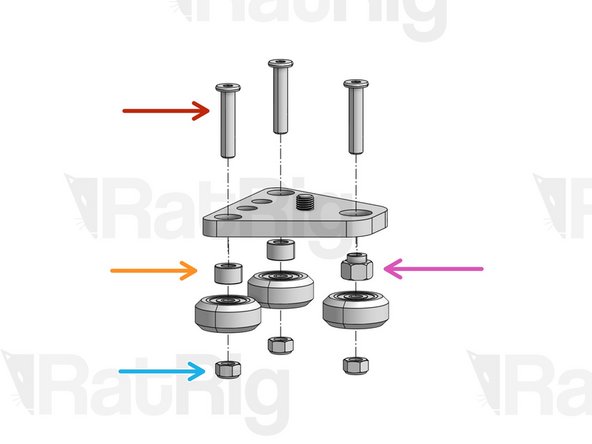
V-Slider Carriage Screw 1/4". You want this screw to be as tight as possible. Use a power tool if you have one. If not, use a L shaped key with a long arm so you can leverage the force you're applying.
-
V-Slider Mini Carriage Plate
-
-
-
Repeat this step for all 3 wheels
-
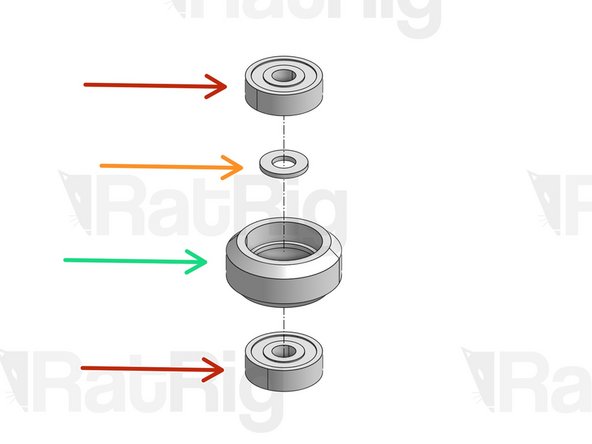
Ball Bearing
-
Mini Precision Shim - 8 x 5 x 1mm. Align it with the center of the bearing.
-
Wheel
-
-
-
Button Head Screw M5x25mm
-
Spacer 6mm
-
Eccentric Spacer 6mm
-
CAUTION: pay attention to the specific position of this spacer.
-
Hex Locking Nut M5 - tighten down until the screw can't wiggle, but not all the way down - you will need some room for adjustment in a bit.
-
-
-
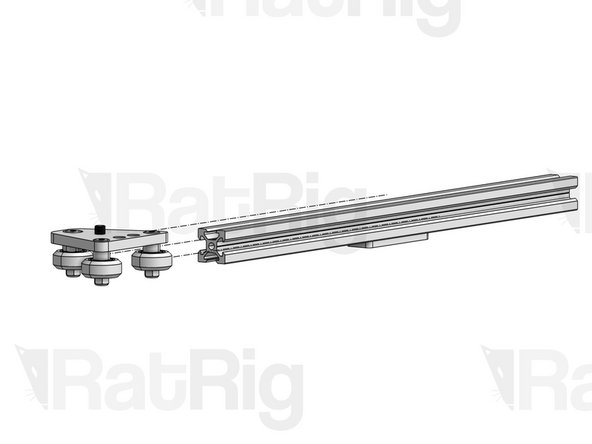
Slide the carriage on your profile.
-
CAUTION: Note the specific orientation of the carriage.
-
-
-
Use a spanner/wrench to very subtly turn the eccentric spacer. This will tune the distance between wheel and rail.
-
You want to find a sweet spot where your carriage is not wobbly and the motion is perfectly smooth, but where there isn't excessive force pressing the wheels against the rail, as this will increase wear on the wheels.
-
When your carriage is tuned, you should still be able to turn each wheel with your finger without having to apply force.
-
Try to twist your carriage. If you find some wiggle room, your carriage is not properly tuned.
-
After tuning is completle, give one final tightening on the Hex Nuts.
-
-
-
Button Head Screw M5x8mm.
-
Rubber Bumper
-
T-Nut M5
-
Set T-Nut in position, but don't tighten down.
-
-
-
Slide the bumpers into the rail. Screw them clockwise to lock them in place or anti-clockwise to loosen them and adjust their position in the rail.
-
-
-
Turn the bumpers anti-clockwise to loosen them.
-
Move them both towards the center until they press against both sides of the carriage and turn them clockwise to lock them in place.
-
The bumpers work as both a brake for your carriage and a range limiter for your slider.
-
-
-
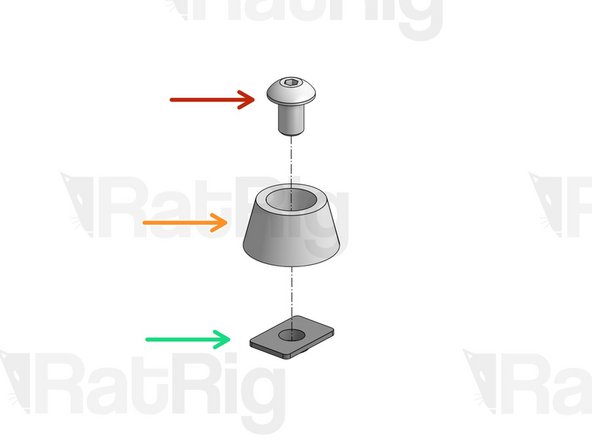
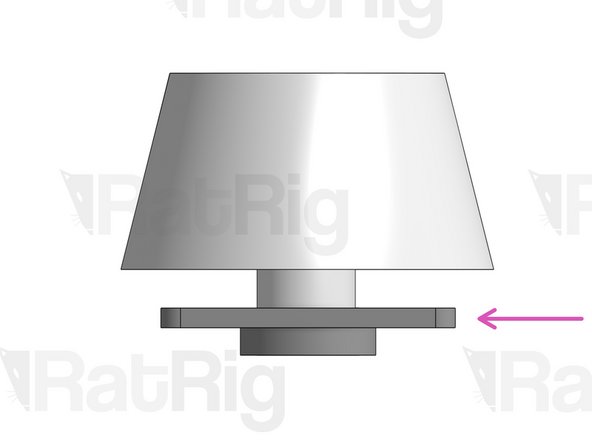
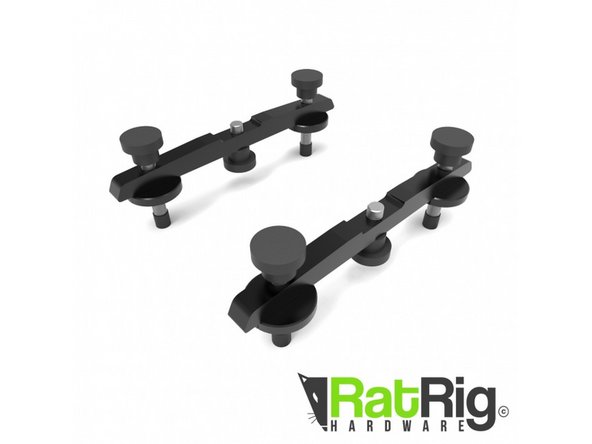
Assemble the parts as shown in the image. The plastic caps should be super glued to the feet.
-
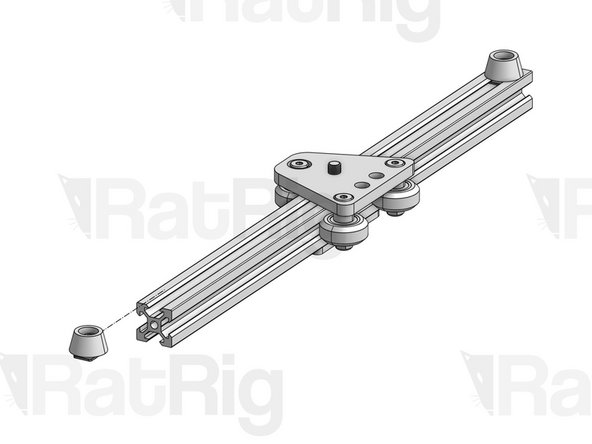
Find instructions to connect the leg kit to the slider here.
-


Cancel: I did not complete this guide.
One other person completed this guide.
