Steps
10
- V-Motion Lite - Standard Assembly 10 steps

In Progress
This guide is currently being written. Reload periodically to see the latest changes.
Quiz
0
Introduction
The V-Motion Lite can be assembled on any V-Slider or V-Slider Mini. There are two alternative ways of assembling:
- Standard assembly: motor shaft points down. You should use this assembly if the head you’re mounting on your slider’s carriage has a diameter of less than 10 cm.
- Reversed assembly: motor shaft points up. You should use this assembly if the head you are mounting on your slider’s carriage has a diameter of 10 cm or more, otherwise you might not be able to mount the head in place as the motor will be in the way. This assembly involves additional steps and is not compatible with the V-Slider Leg Kit(tripod use only).
Tools
No tools specified.
-
-
Lock the carriage of your slider in place using the brake screw.
-
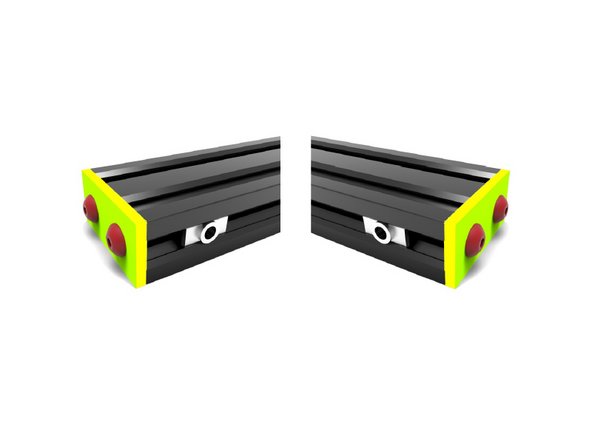
Use the 3mm Hex Key provided to remove your slider’s green endcaps on both sides.
-
-
-
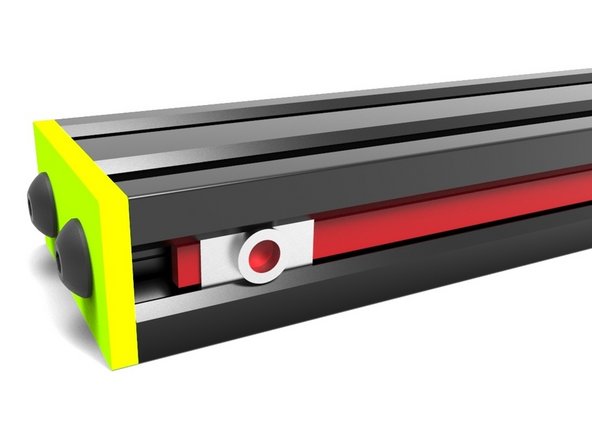
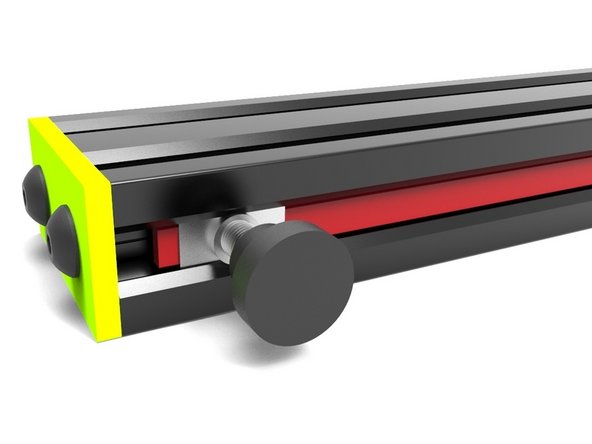
Slide a T-Nut into the lateral slot on each end of the rail. The protruding side of each T-Nut should be facing outwards.
-
-
-
Reinstall the green endcaps on both sides using the 3mm Hex Key.
-
-
-
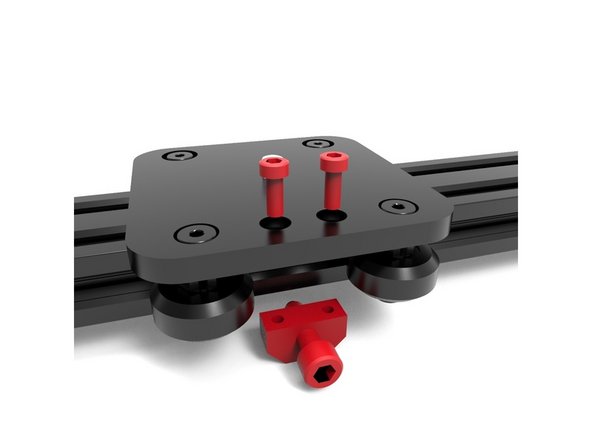
Remove your slider’s brake plate by unscrewing the 2 screws that hold it in place, using the 3mm Hex Key.
-
-
-
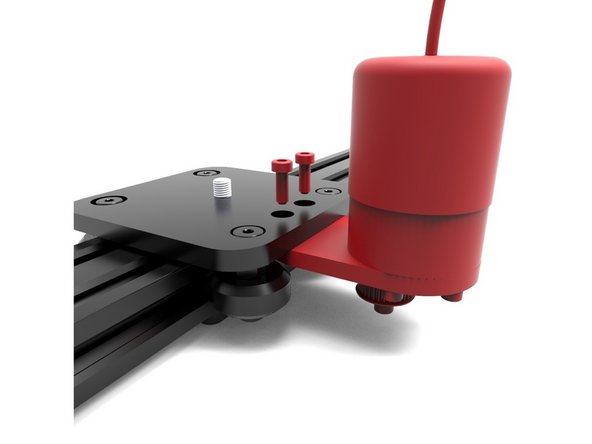
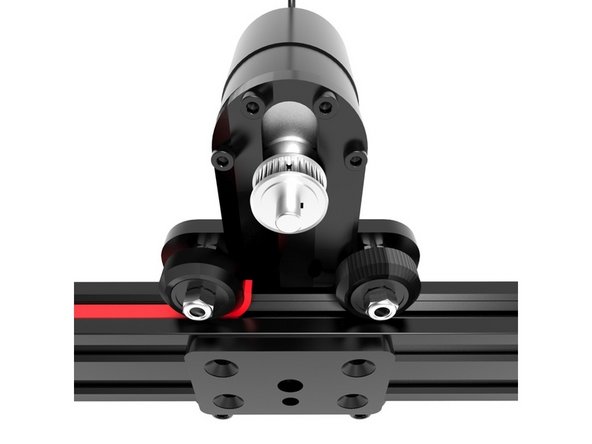
Mount the V-Motion Motor where the brake plate was, using the same screws. The motor shaft should be facing downwards.
-
-
-
Slide one tip of the Belt behind one of the T-Nuts, making sure the T-Nut is close to the end of the rail. The toothed side of the Belt should be facing inwards(touching the rail).
-
-
-
Screw a Knob on the T-Nut until it locks the Belt in place. Excessive force is unnecessary and may damage the belt.
-
-
-
Slide the opposite tip of the Belt through the gap between the rail and the wheel of your slider’s carriage. Pick the tip on the opposite side and while holding the carriage in place, pull it until the Belt is tense and neatly lodged inside the lateral slot.
-
-
-
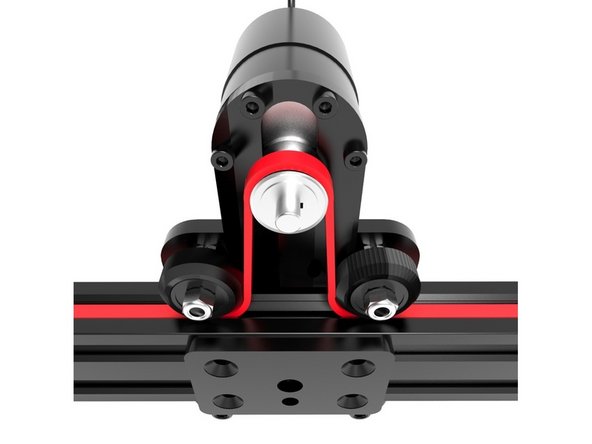
Carefully loop the Belt around the toothed pulley of the motor, keeping tension.
-
Slide the tip of the Belt through the gap between the rail and the opposite wheel of the carriage.
-
-
-
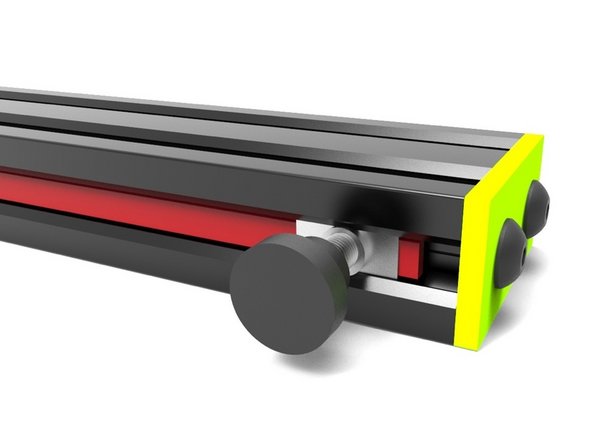
Pick up the tip of the Belt on the opposite side and slide it behind the other T-Nut, which should be placed near the end of the rail. Pull from the opposite side until the belt is snug against the rail.
-
Screw the remaining Knob on the T-Nut. Right before it locks in place, the knob will start biting the belt. When this happens, you can fine-tune the tension on the belt by moving the T-Nut slightly to the left or right.
-
Finish screwing the Knob to lock the T-Nut in place.
-
Cut off the remaining length of the Belt. You’re done!
-