Introduction
The V-Motion Lite can be assembled on any V-Slider or V-Slider Mini. There are two alternative ways of assembling:
- Standard assembly: motor shaft points down. You should use this assembly if the head you’re mounting on your slider’s carriage has a diameter of less than 10 cm.
- Reversed assembly: motor shaft points up. You should use this assembly if the head you are mounting on your slider’s carriage has a diameter of 10 cm or more, otherwise you might not be able to mount the head in place as the motor will be in the way. This assembly involves additional steps and is not compatible with the V-Slider Leg Kit(tripod use only).
Tools
No tools specified.
-
-
For this assembly you will first need to disassemble your V-Motion Motor and reassemble it with a different configuration:
-
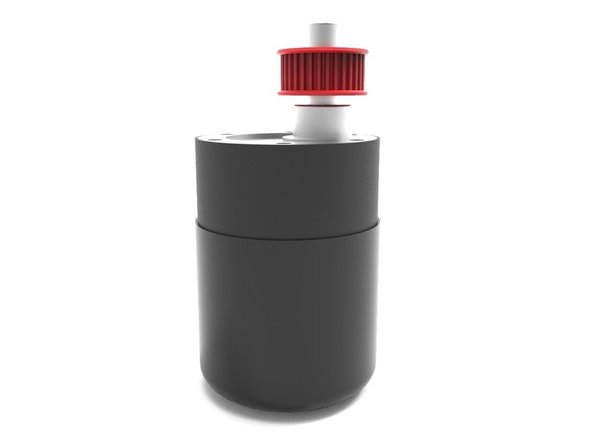
Pick up your V-Motion Motor and use the 1.5mm Hex Key to loosen both set screws on the Toothed Pulley. The set screws are inside the small holes between the teeth. Remove the pulley from the motor’s shaft.
-
-
-
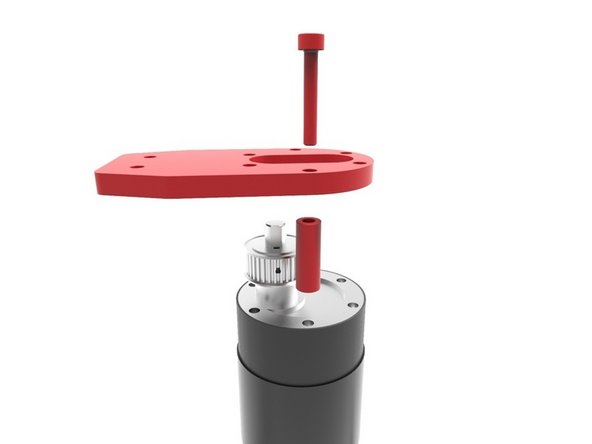
Remove the plate and replace the Toothed Pulley on the motor’s shaft. Don’t let it slide all the way to the bottom of the shaft, leave a margin of around 2mm from the bottom. Use the 1.5mm Hex Key to tighten both set screws inside the pulley, locking it in place.
-
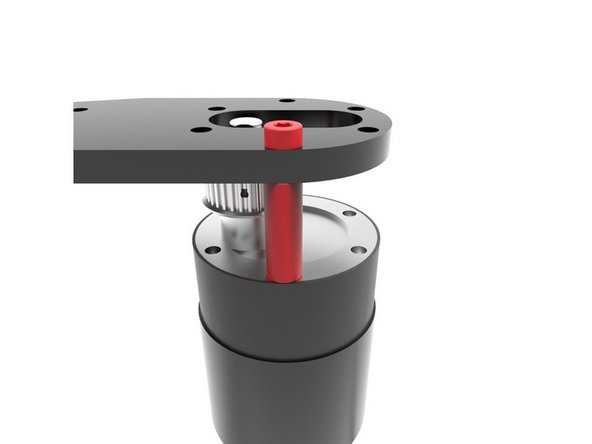
Important: Make sure one of the set screws is aligned with the flat part of the motor shaft.
-
-
-
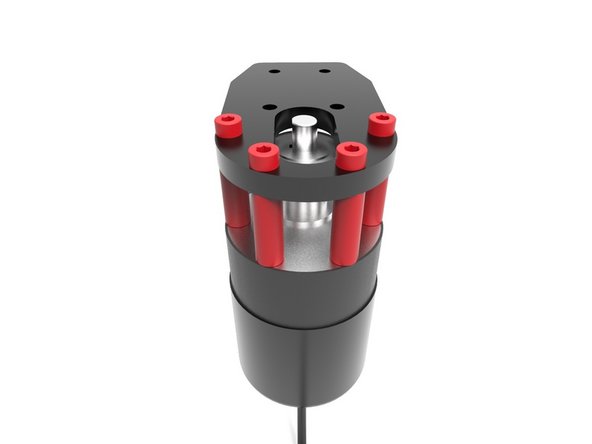
Pass one 25mm Screw through one of the holes on the Motor Plate, then through a black spacer and finally screw it into the motor. Repeat until you’ve used the four 25mm Screws and respective Black Spacers. Make sure you use the same holes from which you removed the original screws, on step 2.
-