Steps
10
- 04. Z-Axis Assembly 10 steps

In Progress
This guide is currently being written. Reload periodically to see the latest changes.

Private
This guide will not appear in search results and can only be viewed by team members!
Quiz
0
-
-
T-Slot extrusion 40120 - 502mm
-
Rat Rig StrongHold ONE CNC - Z-Axis Bottom 10mm
-
3x M12x25 Countersink screws
-
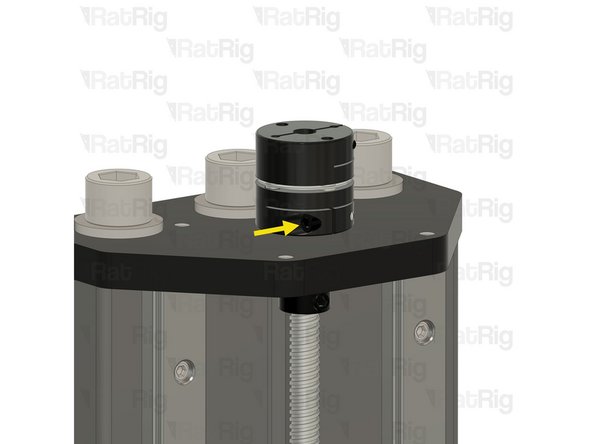
Both plates must be facing upwards.
-
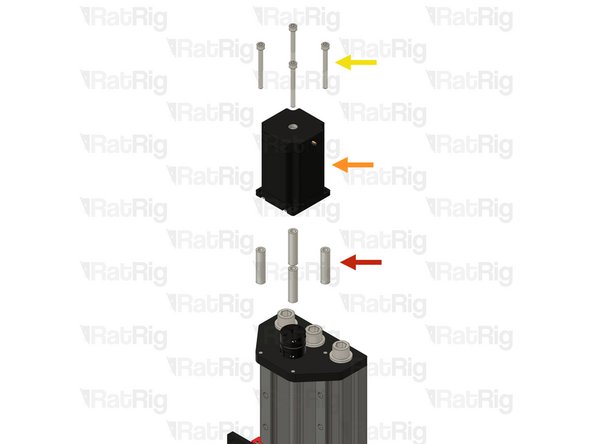
Rat Rig StrongHold ONE CNC - Z-Axis Top 10mm
-
3x M12 Washer
-
3x M12x25 Cap Head Screw
-
-
-
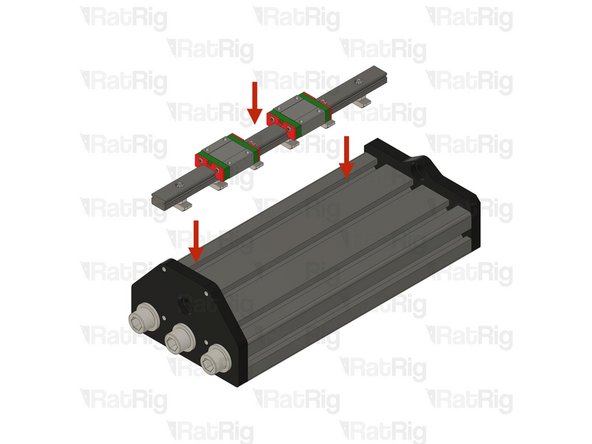
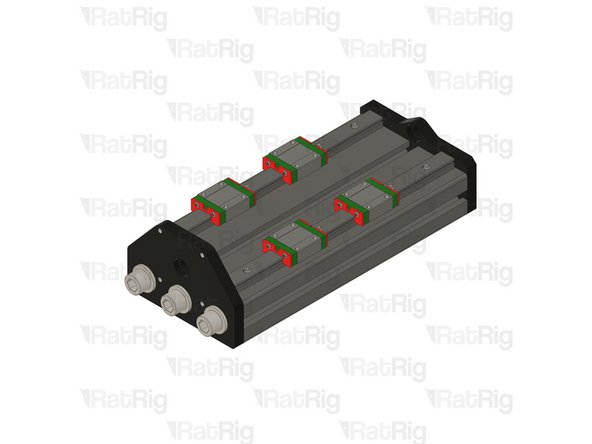
Place one Z linear rail assembly on the designated T-slot.
-
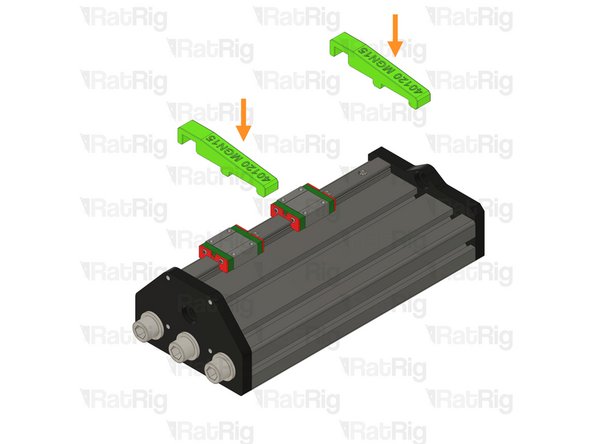
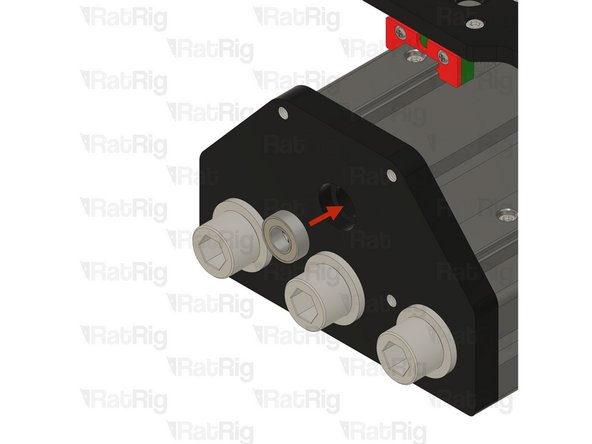
Insert the two align_40120_mgn15 printed jigs in the T-Slot and rail.
-
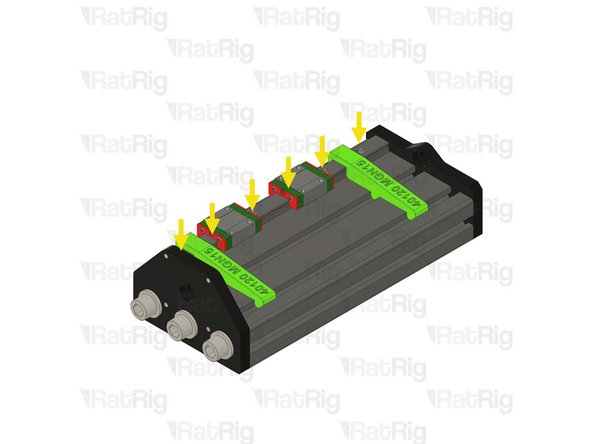
Make sure the align_40120_mgn15 printed jigs are correctly placed and centering the rail on the T-slot
-
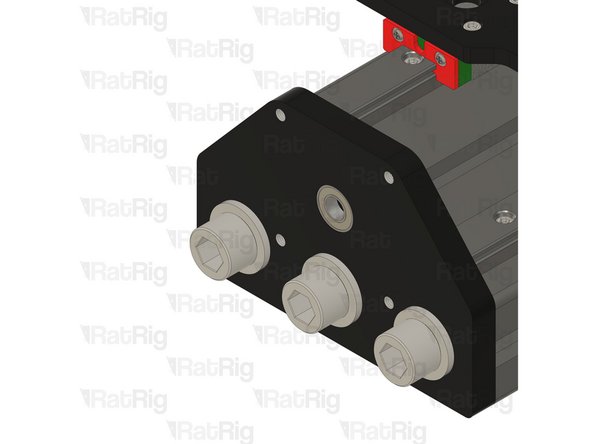
Tighten the linear rails screws one at a time starting from the front and making your way towards the back, one by one.
-
MGN15 Rails should be tightened to 98 N-cm of torque, overtightening the screws will result in rail binding.
-
-
-
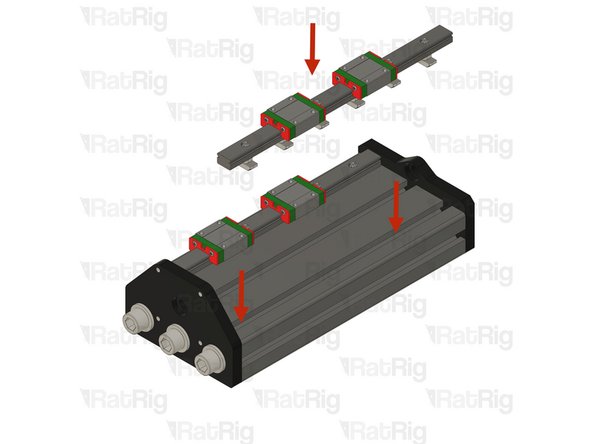
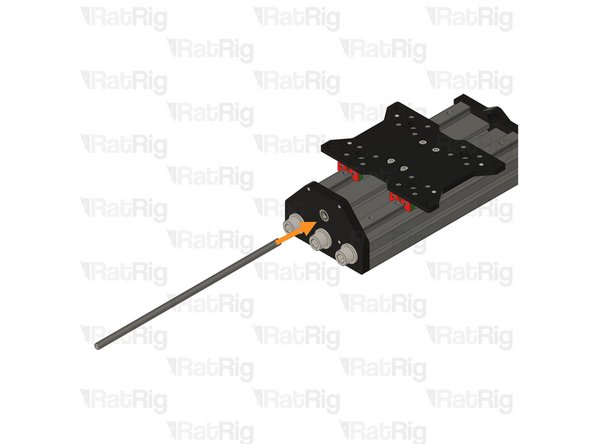
Place the second Z linear rail assembly on the T-slot but DO NOT tighten the screws.
-
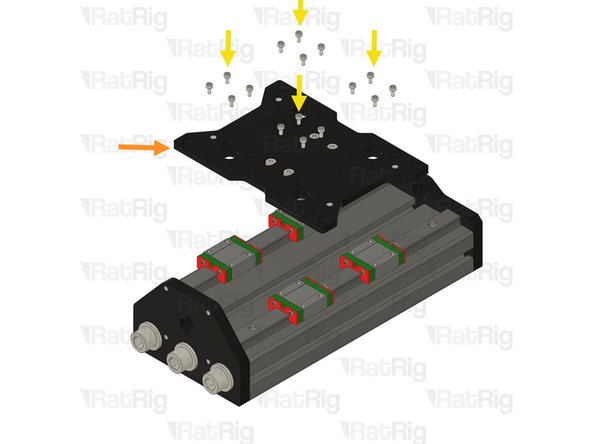
Install the Z Joiner assembly on the linear rails.
-
Using the 16x M3x6 Cap Head screws, fasten the XY joiner plate assembly to the mgn15 carriages.
-
MGN15 Rails should be tightened to 98 N-cm of torque, overtightening the screws will result in rail binding.
-
Tip: Blue thread lock can be added to the thread of the M3x6 Cap Head screws.
-
-
-
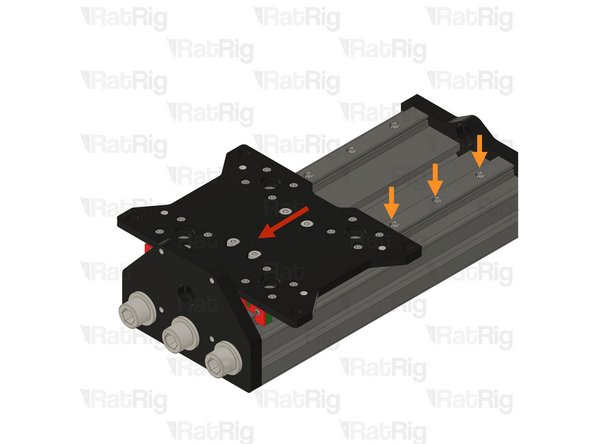
While the second linear rail remains loose, the Z plate should move smoothly without resistance. If you experience any binding or drag, slightly loosen the carriage screws, as they may be overtightened.
-
Be careful to ensure that the Z joiner plate carriages do not detach from the linear rail during the process.
-
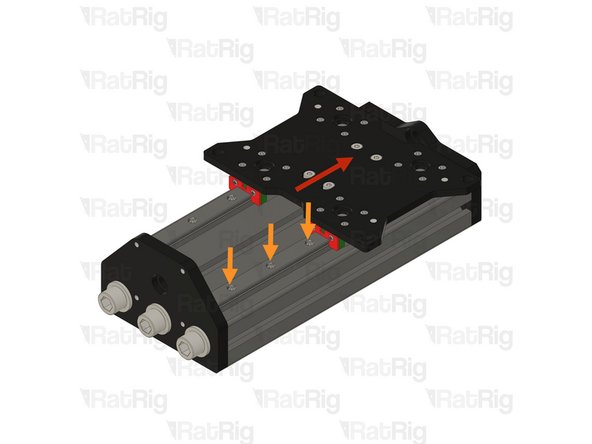
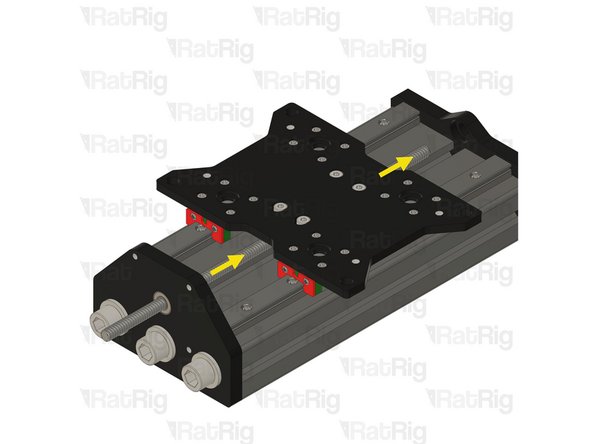
Move the Z joiner fully to the front as demonstrated. Then, gradually move it toward the back, exposing one linear rail screw at a time, and tighten each screw as you progress.
-
Ensure that all linear rail screws are tightened from front to back. Avoid overtightening, as this may cause binding and restrict movement.
-
MGN15 Rails should be tightened to 98 N-cm of torque, overtightening the screws will result in rail binding.
-
-
-
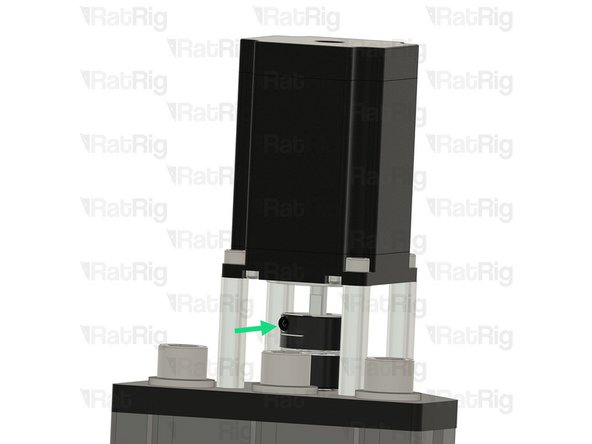
Insert wisdom here
-
-
-
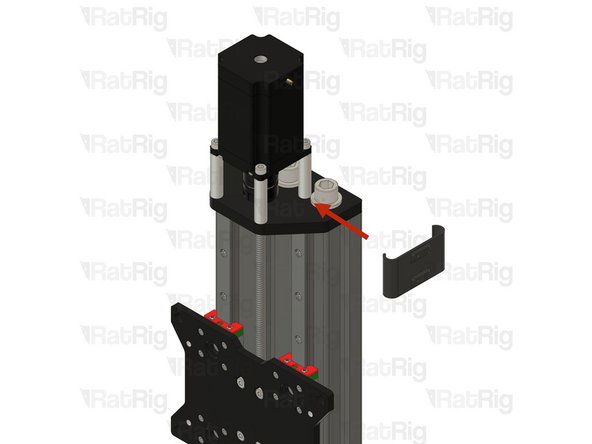
Insert wisdom here
-
-
-
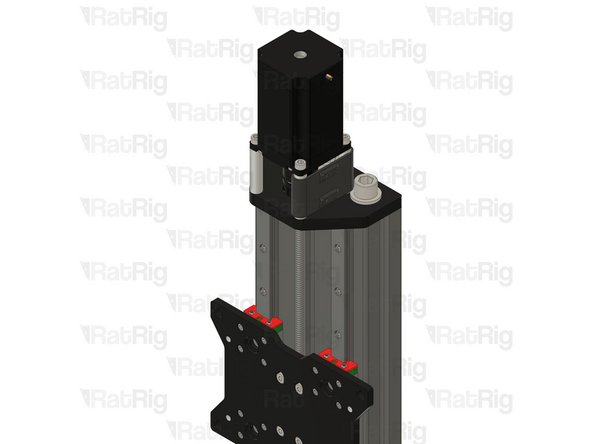
Insert wisdom here
-
-
-
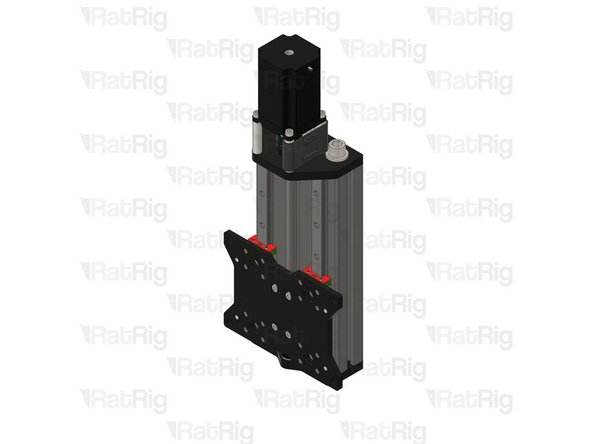
Insert wisdom here
-
-
-
Insert wisdom here
-
-
-
Insert wisdom here
-