-
-
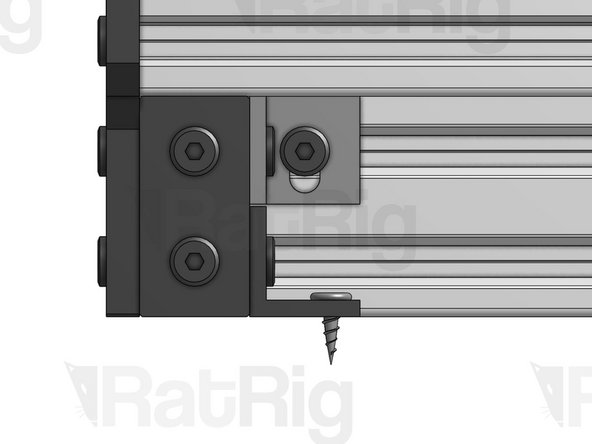
T-Nut M5. Insert only the tip and then give it a gentle tap with your finger, to make sure it passes underneath the C-Beam all the way to the other side.
-
Low Profile Screw M5x8mm
-
90 Degree Angle Corner Connector
-
Drop-in T-Nut
-
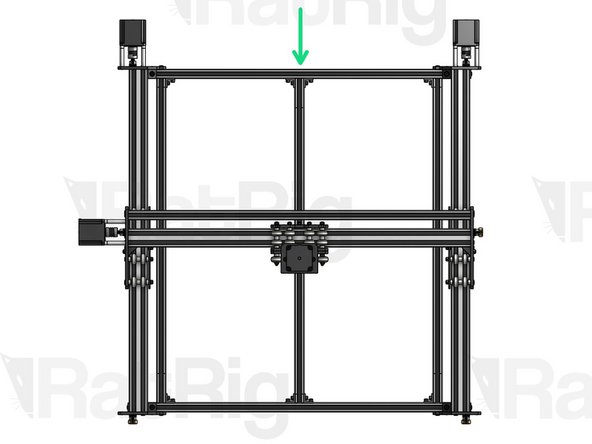
Repeat this step for all 4 corners of your frame.
-
-
-
T-Nut M5. Insert them inside the internal slots of both X Base 2040 profiles (4 slots in total). You should insert the same quantity on the top and bottom slot. Take note of the orientation of the T-Nuts (Flat side facing outwards). The number of T-Nuts per slot depends on the size of your Workbee Variant. Check below:
-
Workbee 5050: 2 T-nuts per slot, 8 in total.
-
Workbee 1050: 2 T-nuts per slot, 8 in total.
-
Workbee 7575: 4 T-nuts per slot, 16 in total (illustrated in the pictures).
-
Workbee 1010: 6 T-nuts per slot, 24 in total.
-
Workbee 1510: 6 T-nuts per slot, 24 in total.
-
Workbee 1515: 8 T-nuts per slot, 32 in total.
-
-
-
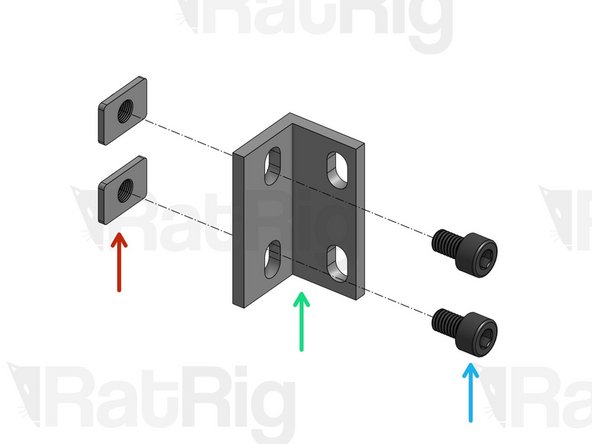
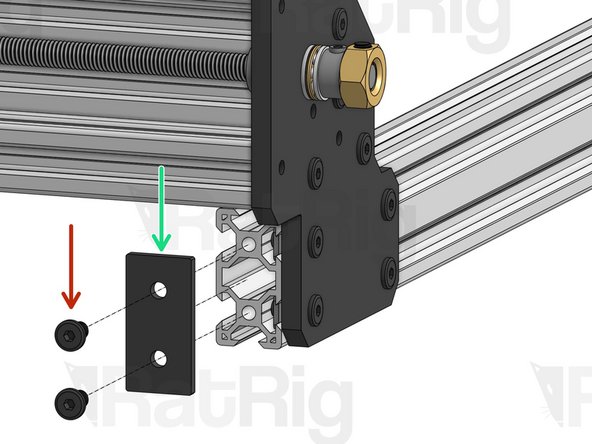
T-Nut M5
-
Double L Bracket
-
Low Profile Screw M5x8mm (picture is outdated, it shows a cap head screw)
-
Screw T-Nuts into position, but don't tighten.
-
Repeat for all Double L Brackets included in your kit (number varies depending on the size of your Workbee)
-
-
-
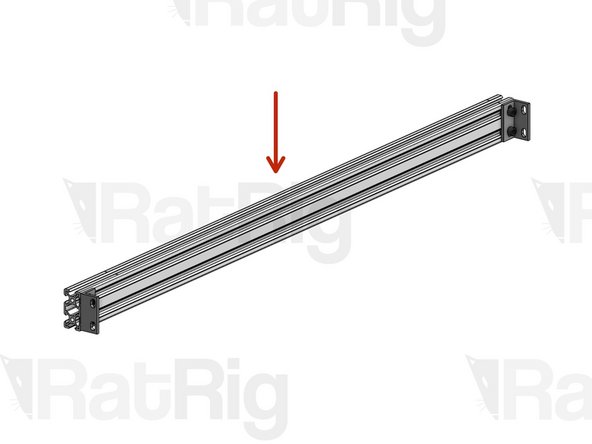
Outer Support Profiles (x2): mount 1 Double L Bracket on both ends of each profile and tighten the screws only enough for the brackets to hold their position.
-
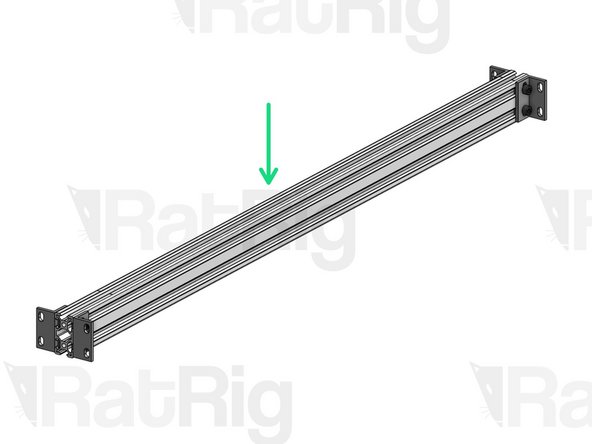
Inner Support Profiles (quantity depends on the size of your Workbee): mount 2 Double L Brackets on both ends of each profile and tighten the screws only enough for the brackets to hold their position.
-
The brackets should be mounted on the same face of each profile and should be flush with the end of the profile.
-
-
-
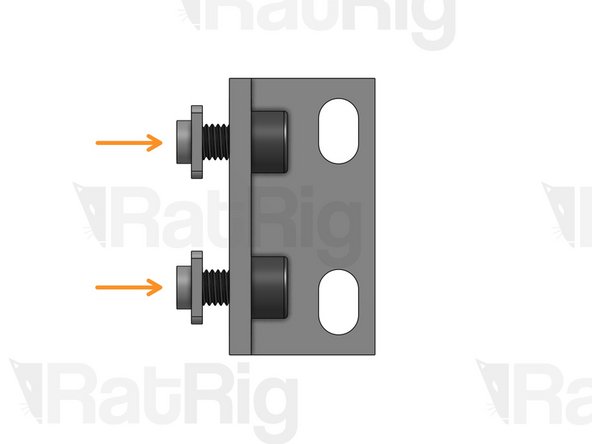
Low Profile Screw M5x8mm (picture is incorrect, it shows a cap head screw)
-
Place one outward support profile on the left side of your frame and the other on the right, aligned with the ends of the Angle Corners. Slide 2 T-Nuts (which you already inserted on the X Base 2040 profiles on step 2) behind each L bracket, aligning them with the holes, and slightly tighten the inner supports with the Cap Head Screws M5x8mm.
-
Repeat the process for the inner support profiles (not applicable for Workbee 5050 and 1050), which should be equidistant from each other (specific distances will depend on your Workbee size).
-
After all profiles are properly positioned and aligned, give the final tightening on every Low Profile Screw M5x8mm.
-
-
-
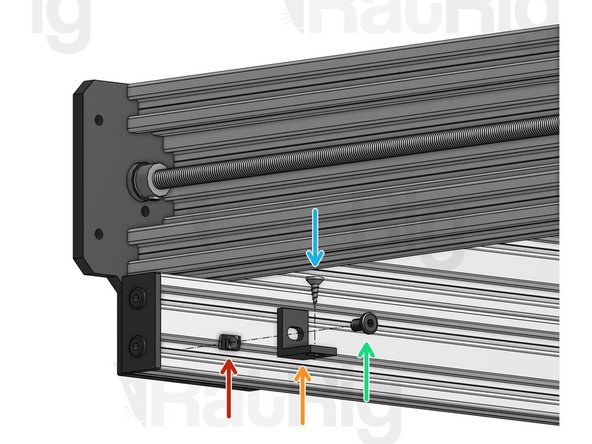
Low Profile M5x8mm
-
2020 End Cap (x2) (picture needs to be updated, it shows a 2040 End cap)
-
Attach End Caps to these 3 corners of your base
-
Do not attach an End Cap to this corner of your base
-
-
-
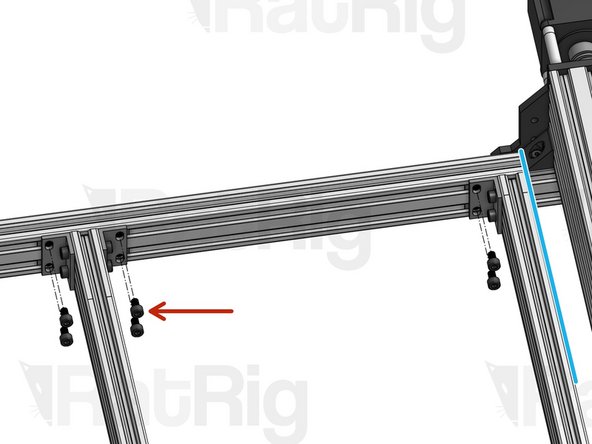
Drop in T-Nut M5
-
Single L Bracket
-
Low Profile Screw M5x8mm
-
Round Head Cutting Screw
-
Repeat for all 4 corners of your frame.
-