Steps
37
- 09. RatRig V-Core 4 Toolhead - IDEX 37 steps

In Progress
This guide is currently being written. Reload periodically to see the latest changes.

Private
This guide will not appear in search results and can only be viewed by team members!
Quiz
0
-
-
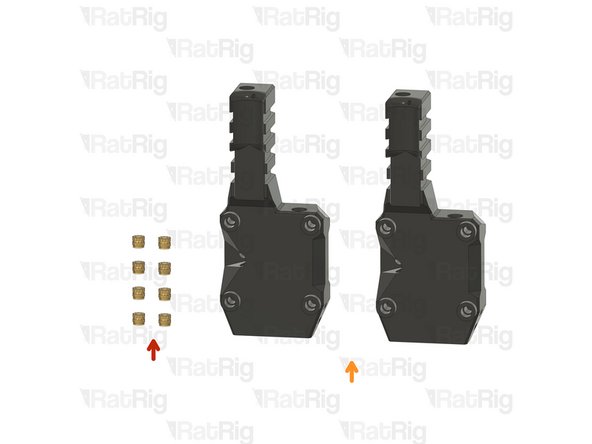
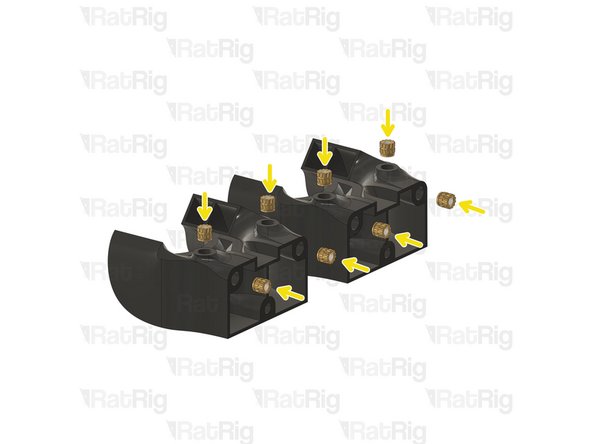
16x Heat Insert M3
-
rr_toolhead_vc4_back_idex_t0
-
rr_toolhead_vc4_back_idex_t1
-
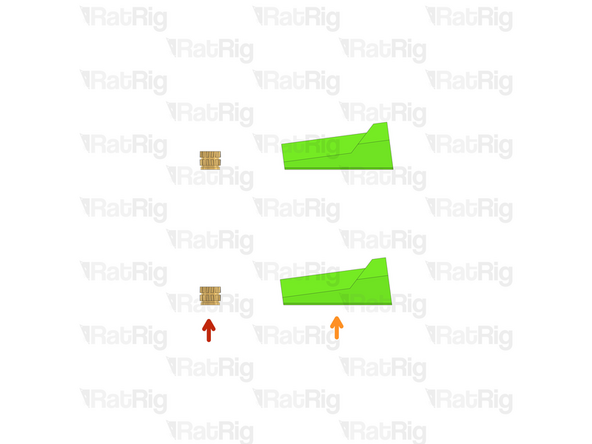
Remove the AGAD parts (Anti Gravity Assistance Device)
-
Rat Rig avoids supports at all costs, so we're introducing the AGAD as this printed part needs to have a very precise overhang.
-
-
-
rr_toolhead_vc4_back_idex_t0
-
rr_toolhead_vc4_back_idex_t1
-
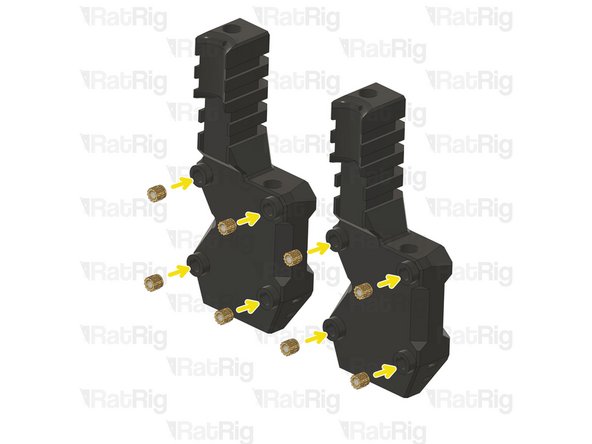
16x Heat Insert M3
-
-
-
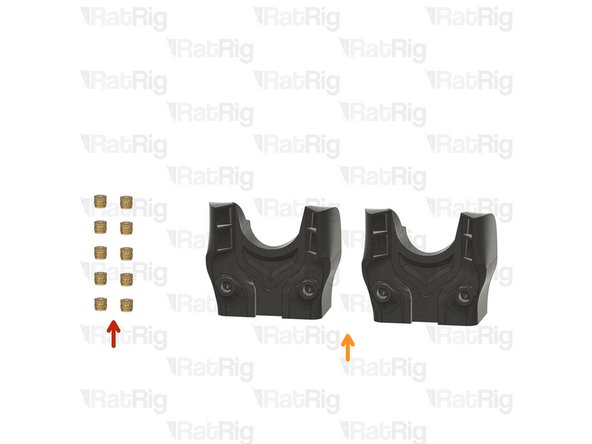
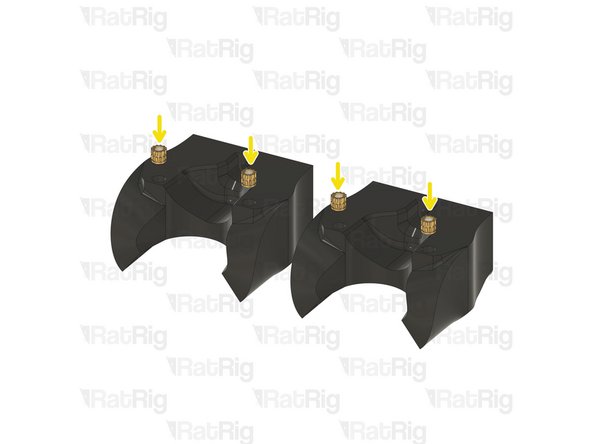
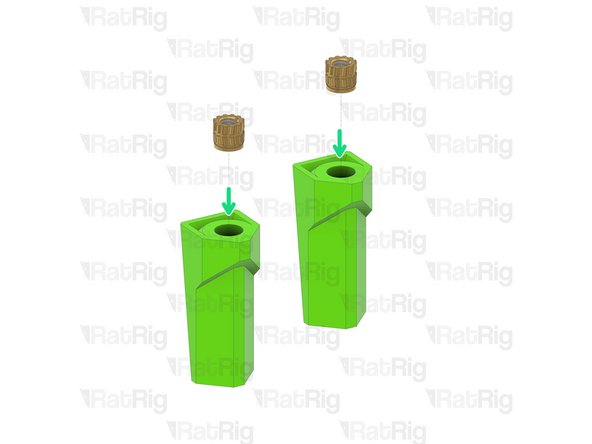
10x M3 heat insert
-
rr_toolhead_vc4_idex_idex_t0
-
rr_toolhead_vc4_idex_idex_t0
-
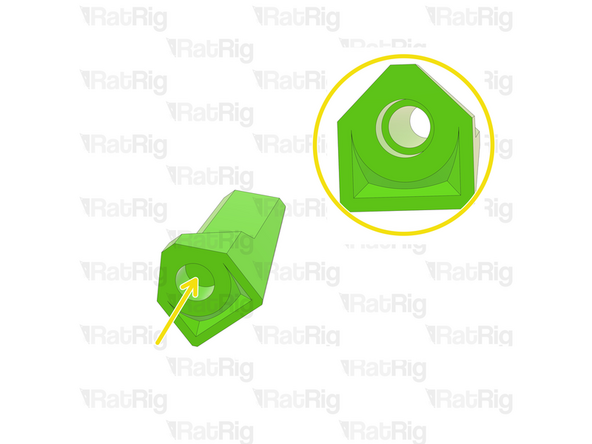
The only differences between the two printed parts are the endstop location and the M4 belt clamp heat insert. For T0, these elements are positioned on the left, while for T1, they are positioned on the right.
-
-
-
8x Heat Insert M3
-
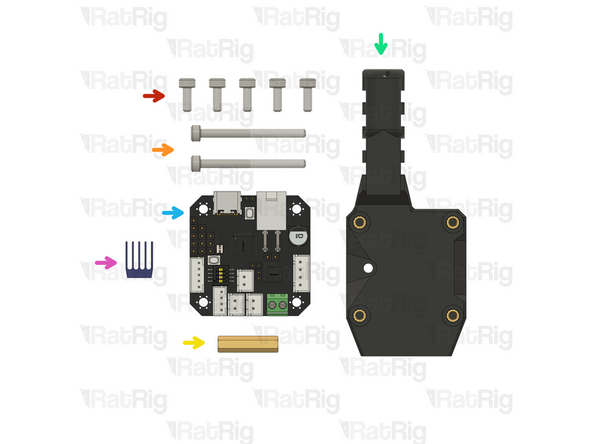
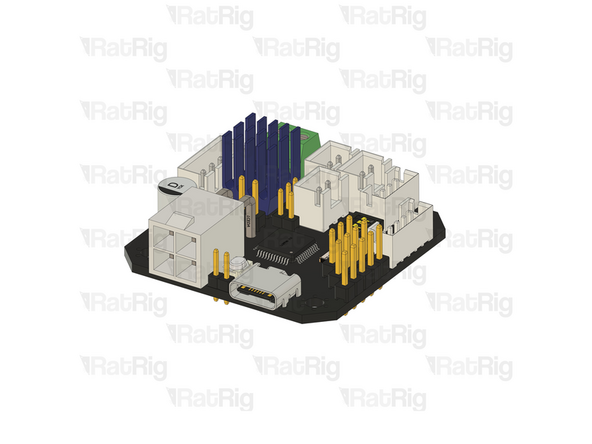
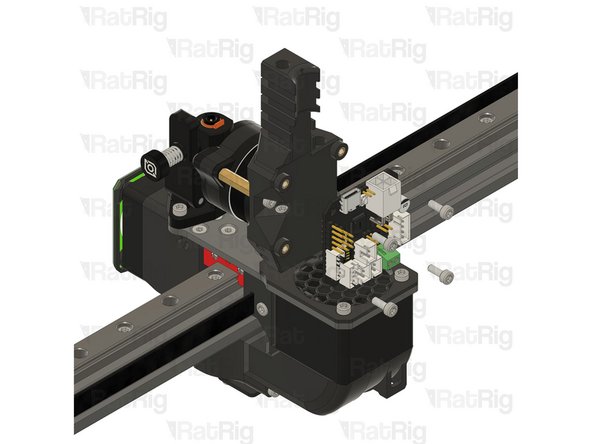
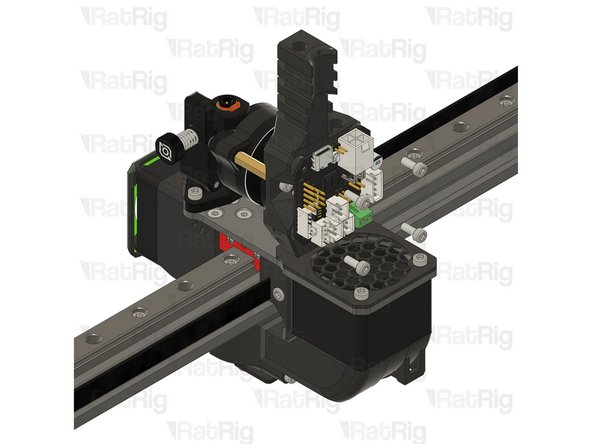
1x rr_vc4_toolhead_toolboard_vertical
-
-
-
10x Heat insert M3
-
rr_toolhead_vc4_duct_idex
-
New line.
-
-
-
Insert wisdom here
-
-
-
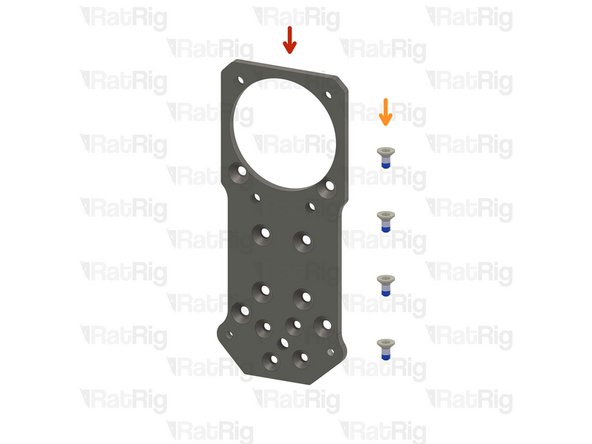
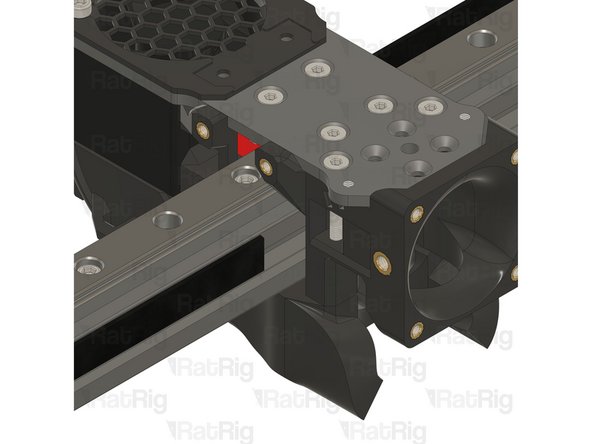
1x Rat Rig toolhead plate
-
4x M3x6 Countersink Screw with applied thread locker
-
-
-
Rat Rig toolhead plate
-
4x M3x6 Countersink Screw
-
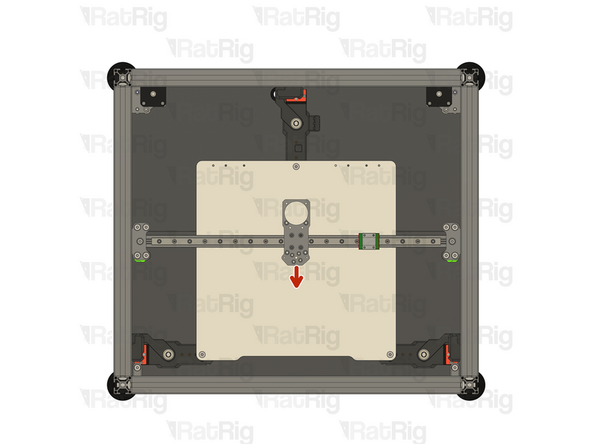
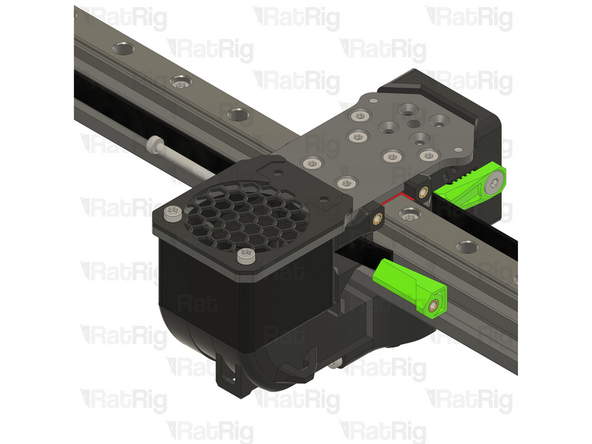
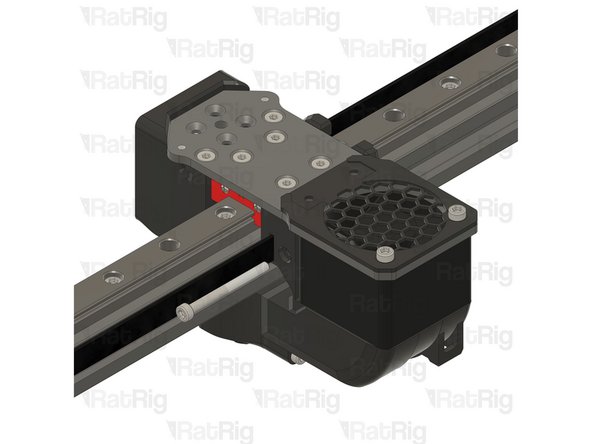
Tighten the M3x6 Countersink Screws to secure the plate to the carriage.
-
Pay attention to the orientation of the metal plate, having the pointy side towards the front of the printer, chamfered holes up.
-
Avoid using a ball end hex key, as they are more prone to damaging the sensitive M3 countersink screw head.
-
After tightening the screws, it is essential to verify that the X carriage retains its free movement. Excessive tightening of the screws may lead to the binding of the carriage.
-
-
-
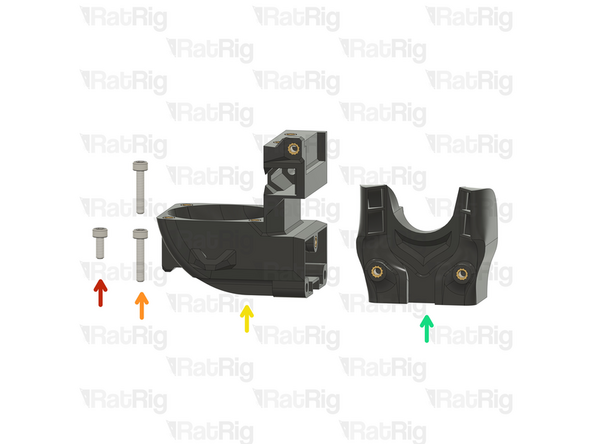
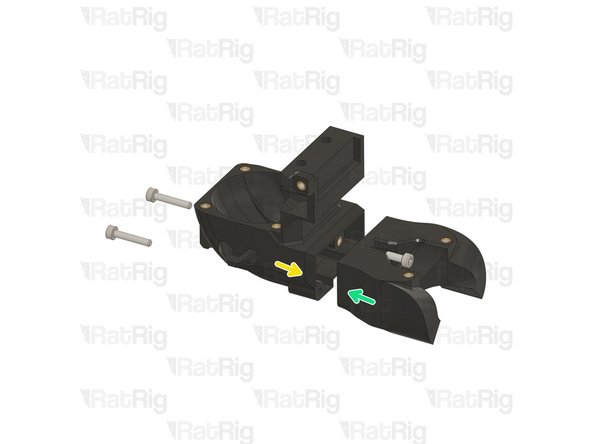
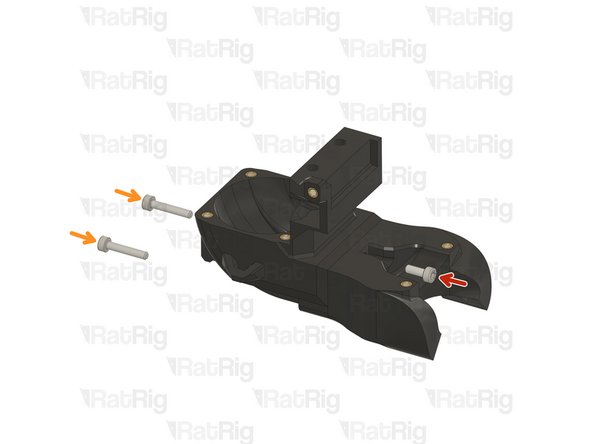
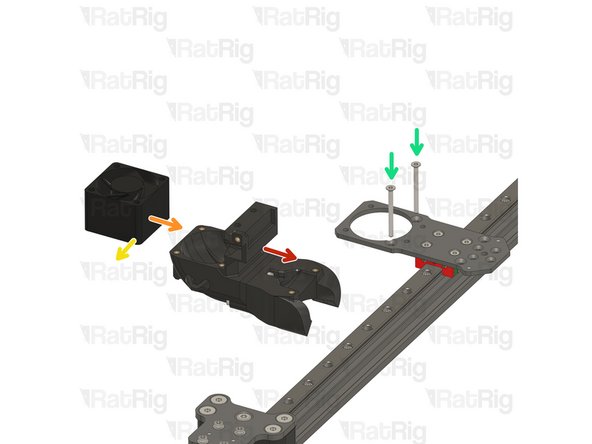
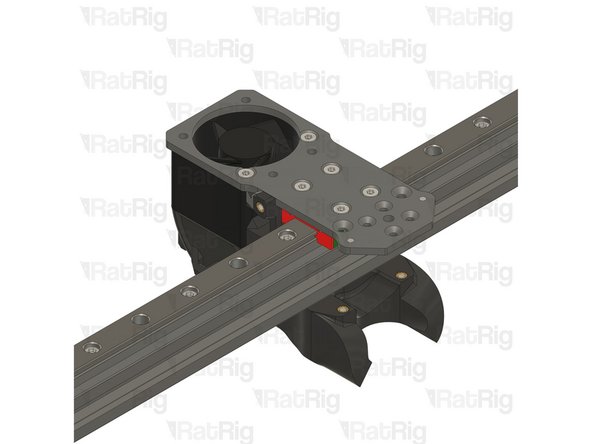
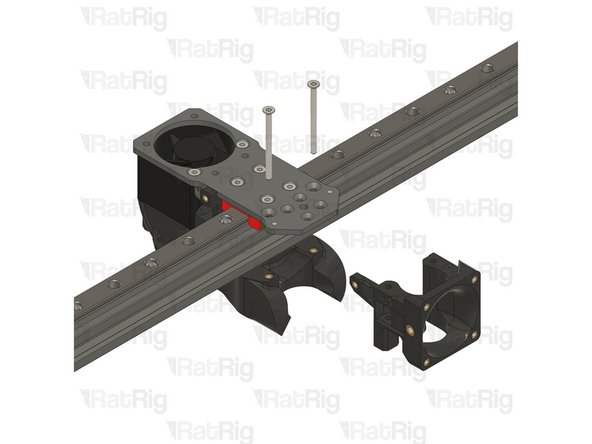
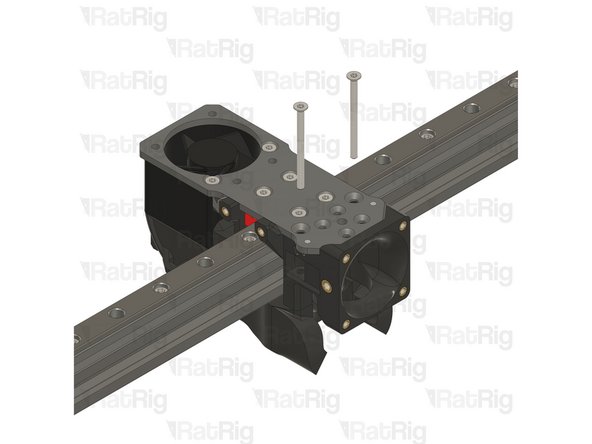
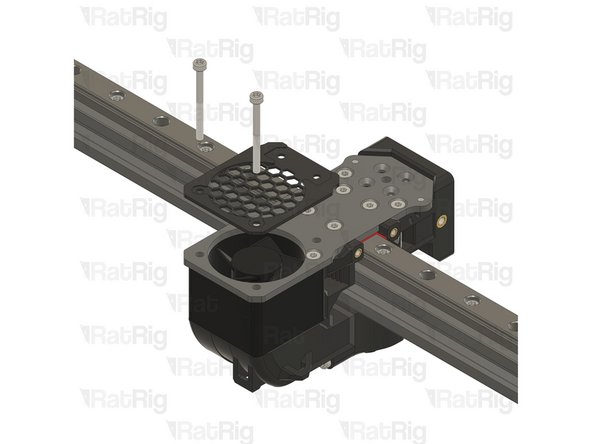
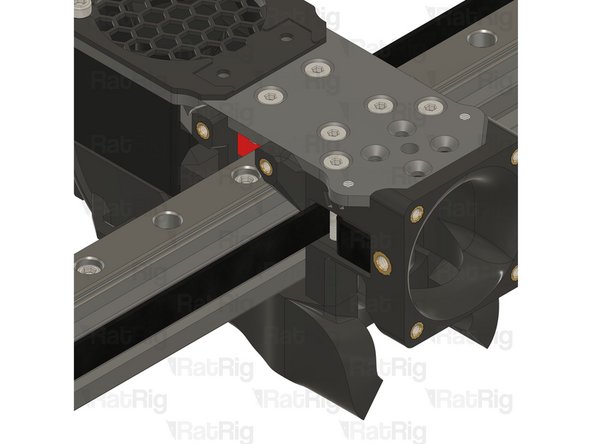
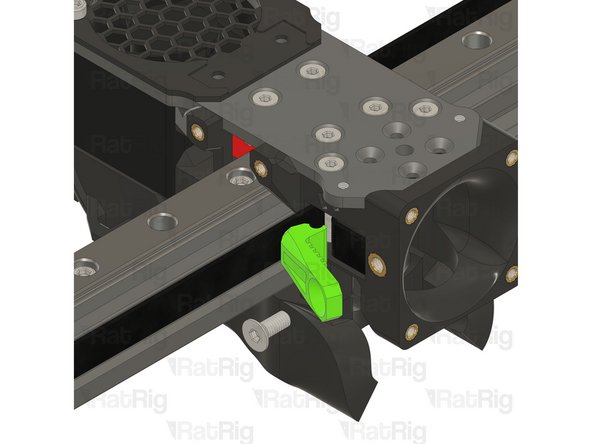
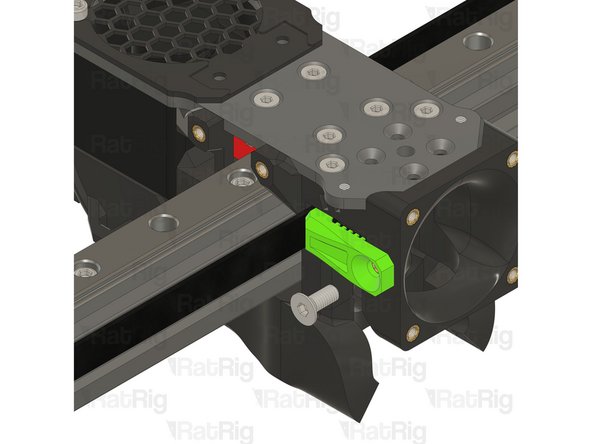
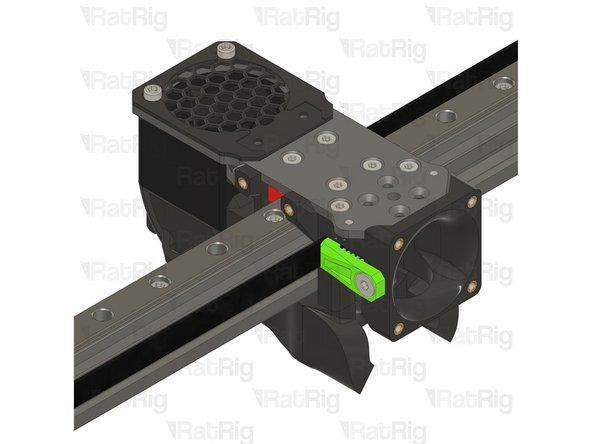
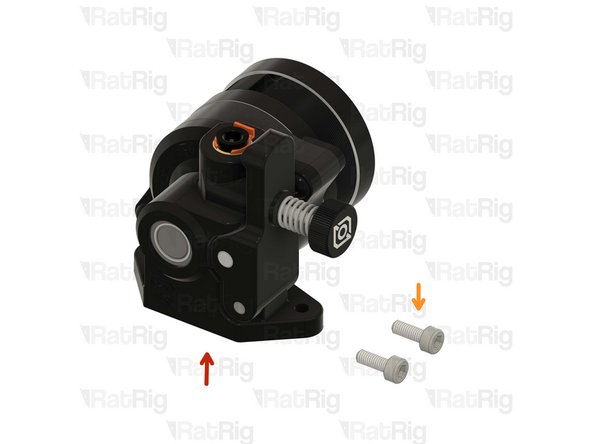
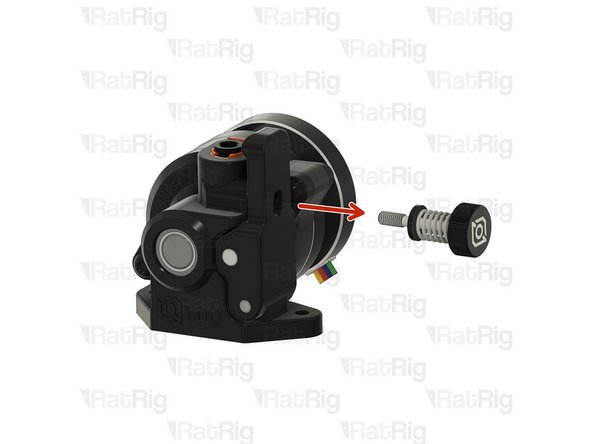
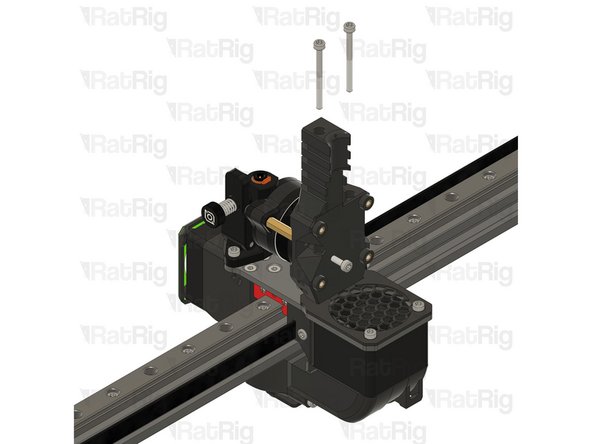
1x M3x8 Cap Head Screw
-
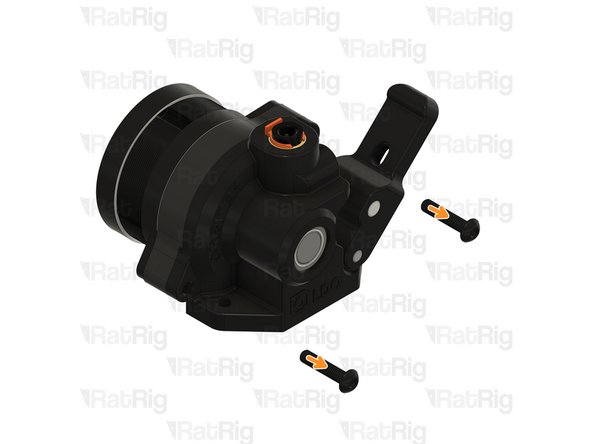
2x M3x16 Cap Head Screw
-
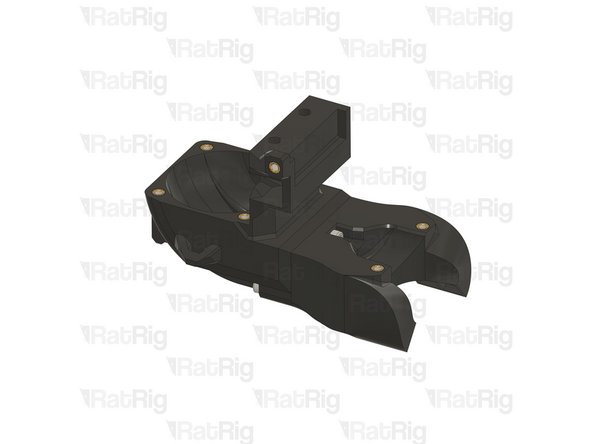
1x rr_toolhead_vc4_back_idex_t0 assembly
-
1x rr_toolhead_vc4_duct_idex assembly
-
-
-
Insert wisdom here
-
-
-
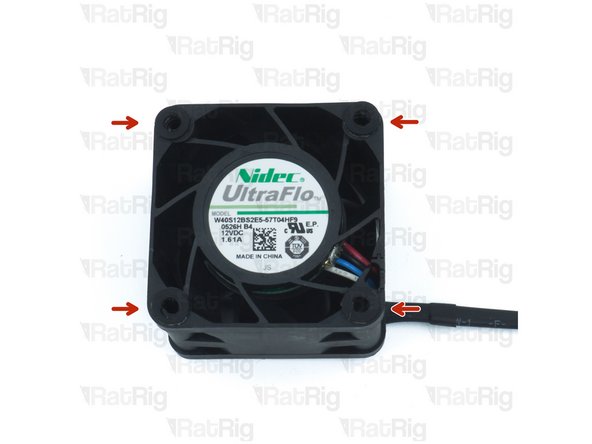
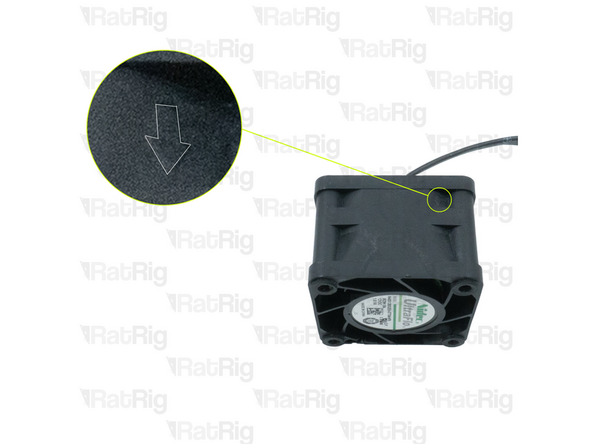
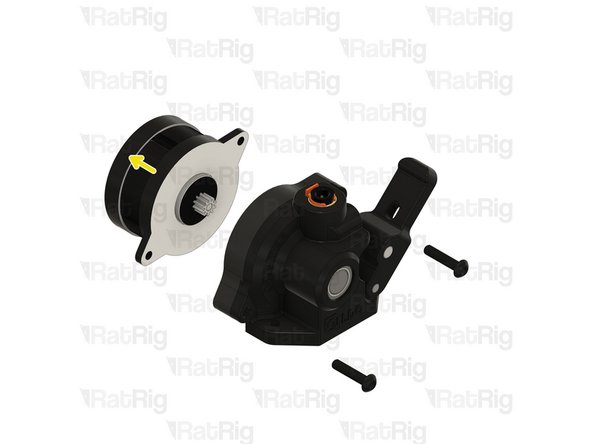
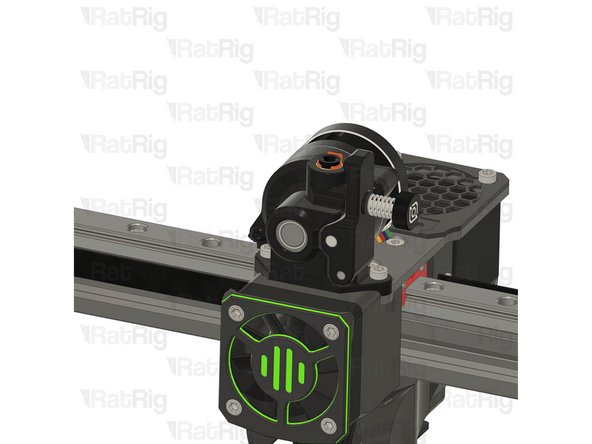
Remove the four rubber spacers on the 4028 Part Cooling Fan
-
-
-
Insert wisdom here
-
-
-
Insert wisdom here
-
-
-
Insert wisdom here
-
-
-
Insert wisdom here
-
-
-
Insert wisdom here
-
-
-
Insert wisdom here
-
-
-
Insert wisdom here
-
-
-
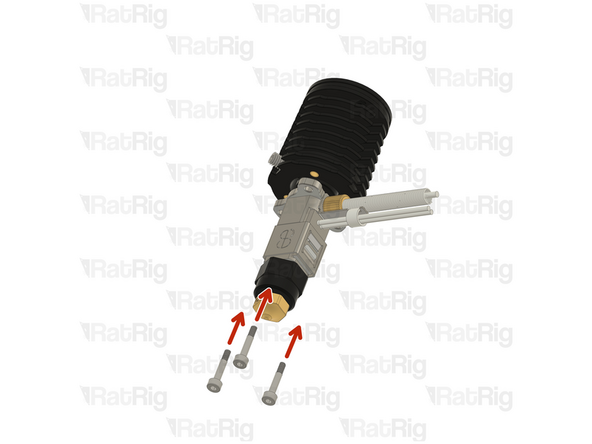
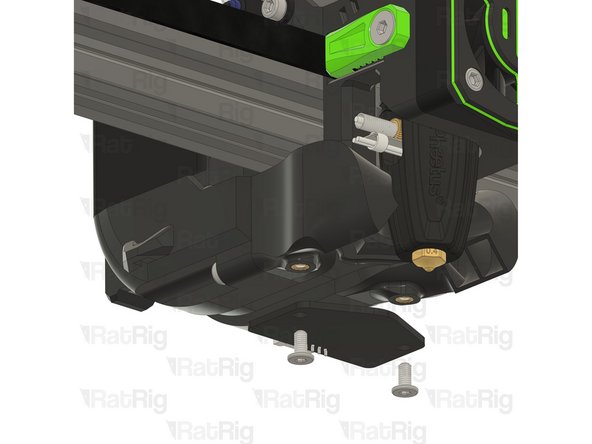
Phaetus Rapido V2 UHF Hotend
-
4x M2.5x6 Countersink Screw
-
PTFE tube - 24.5mm
-
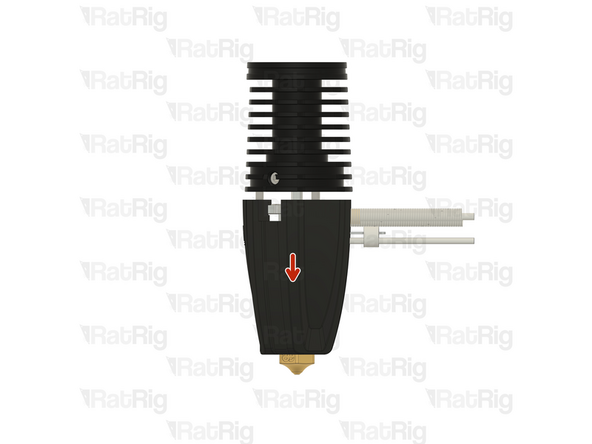
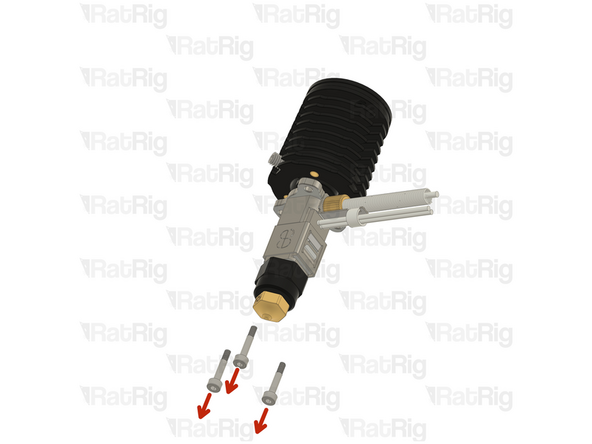
Remove the two countersink screws on top of the rapido
-
Remove the V6-style adapter, it is not required for the RatRig toolhead
-
-
-
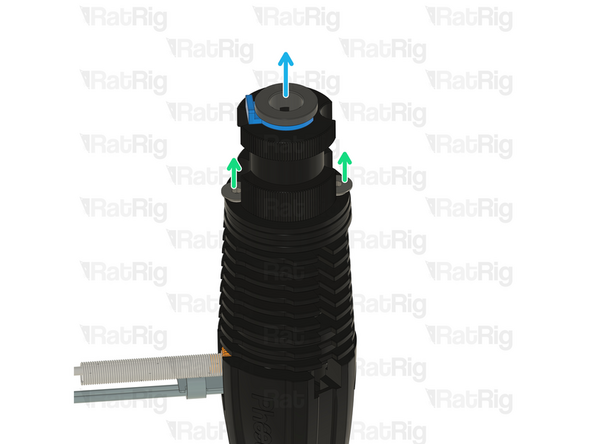
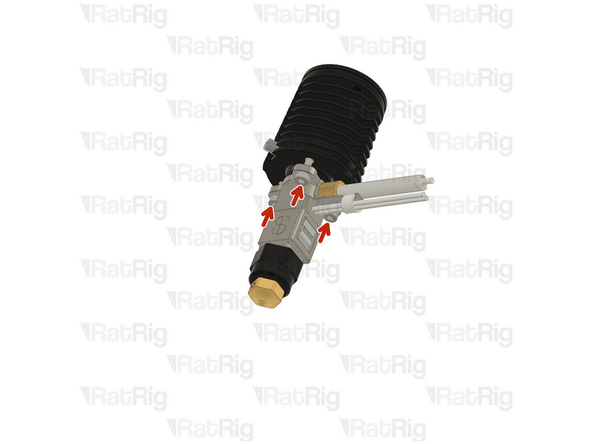
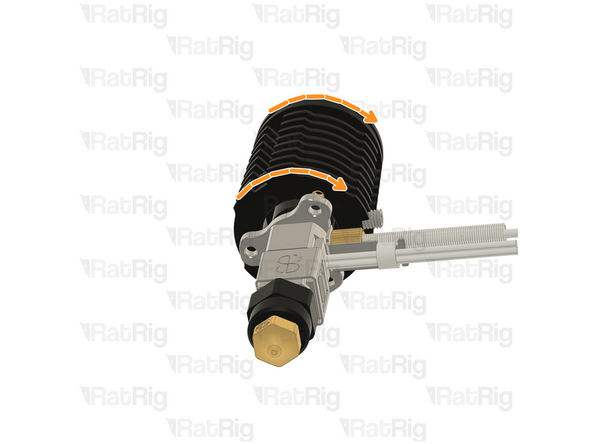
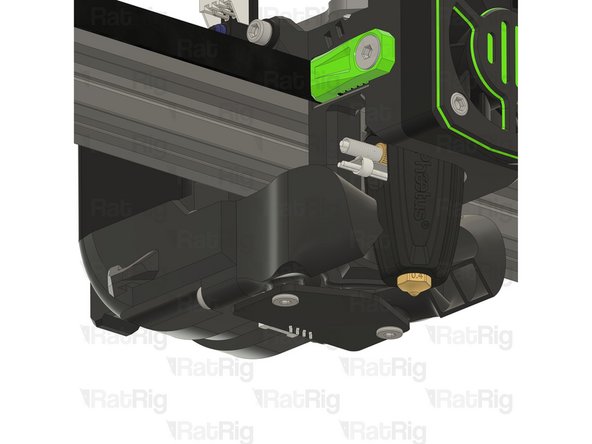
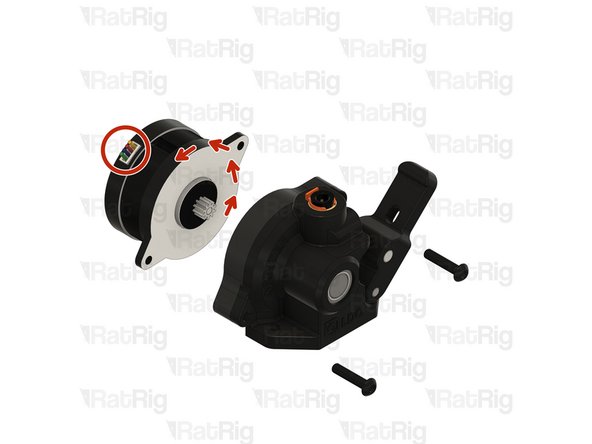
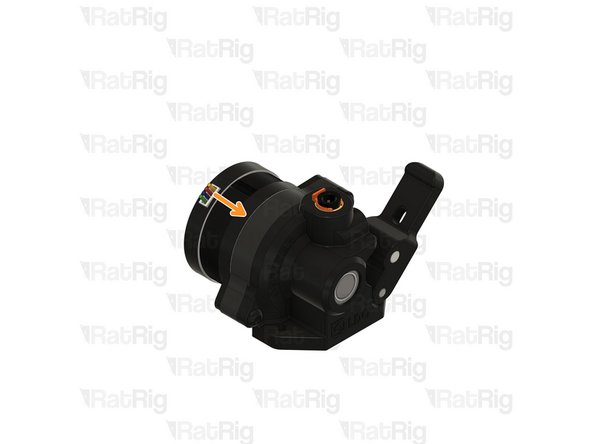
If the cables of your Rapido 2 hotend don't align perfectly with the toolhead slot, please follow the next steps:
-
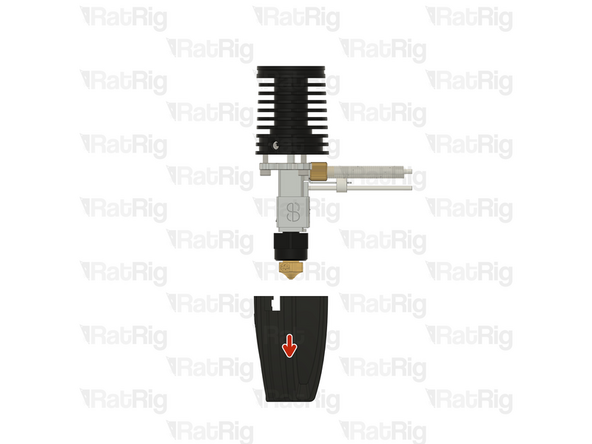
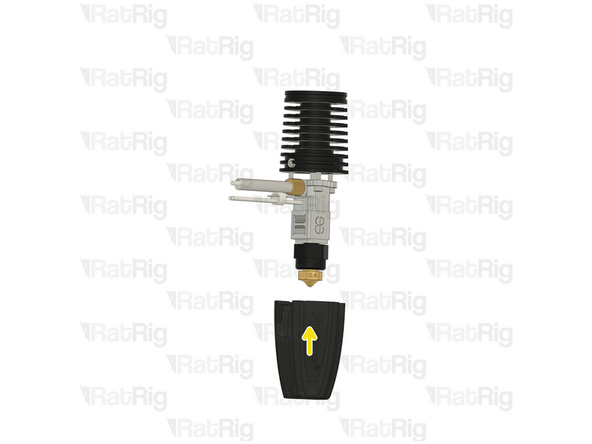
Push down on the silicone sock to remove it
-
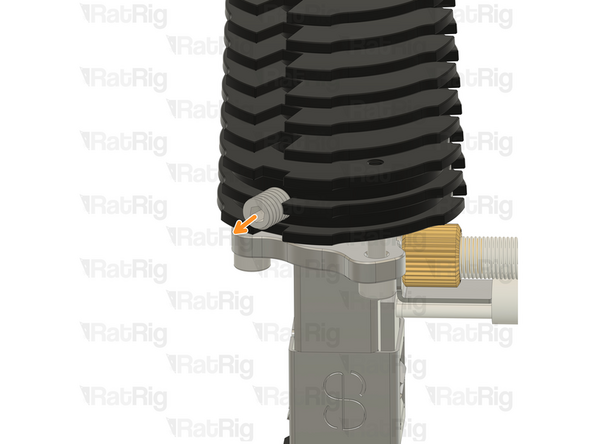
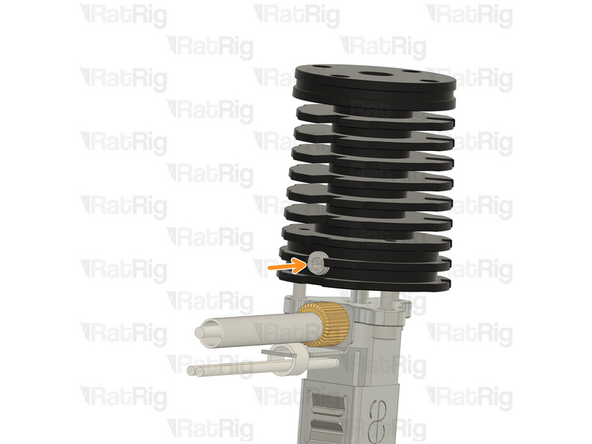
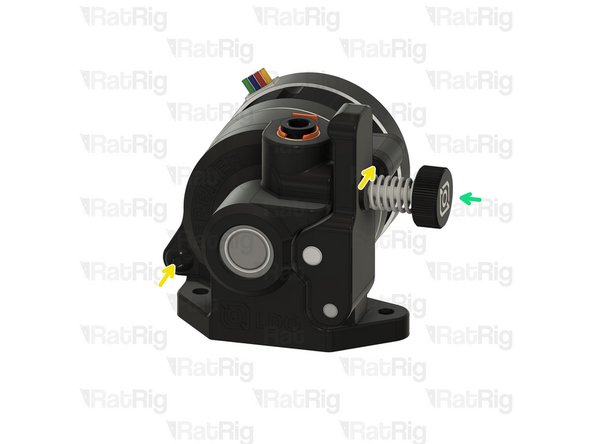
Loosen the set screw on the heatsink
-
Do not remove it completely to avoid losing it
-
-
-
Insert wisdom here
-
-
-
Insert wisdom here
-
-
-
Insert wisdom here
-
-
-
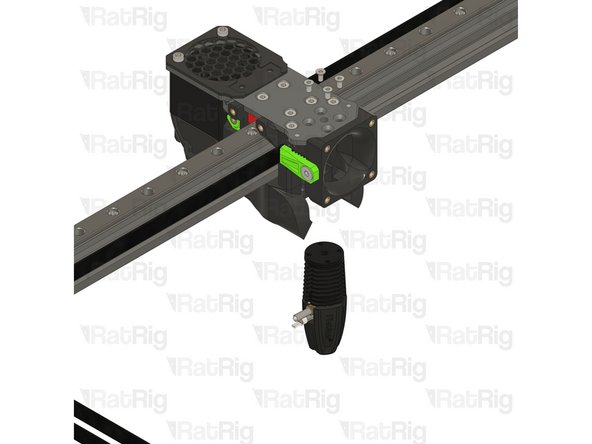
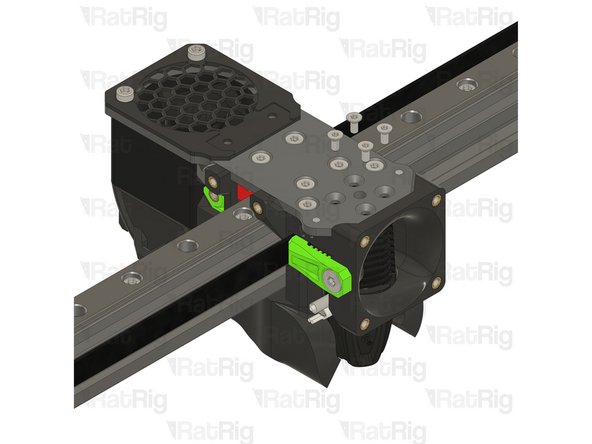
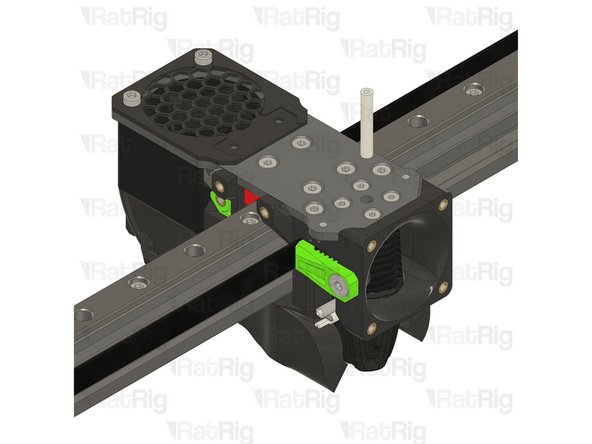
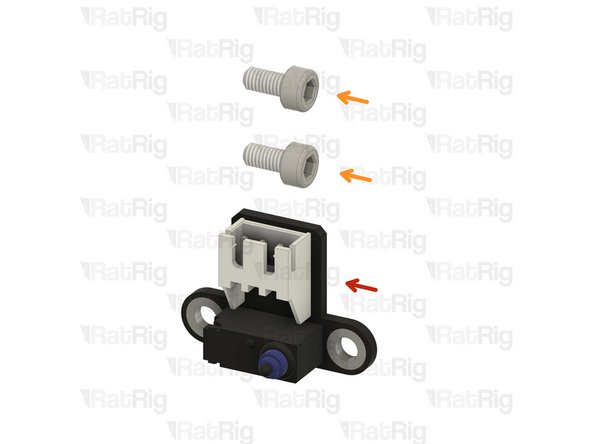
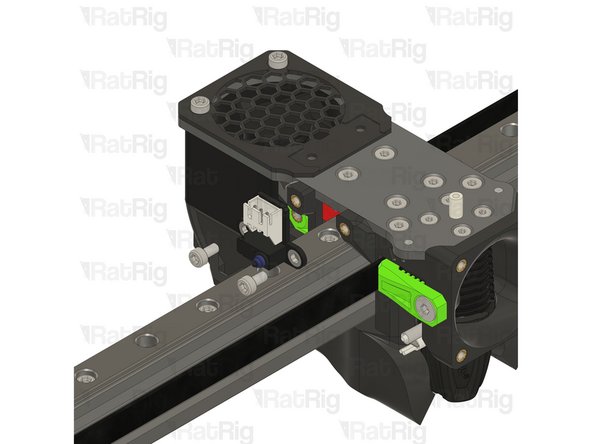
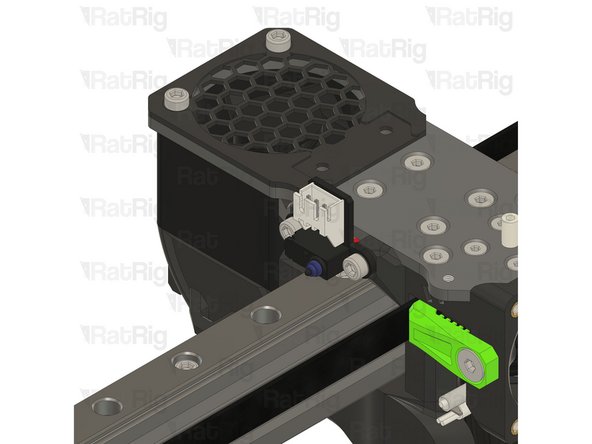
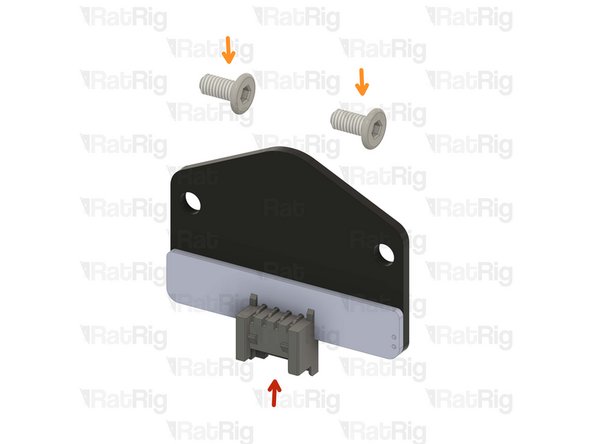
1x Rat Rig Endstop
-
2x M3x6 Cap Head Screw
-
-
-
Insert wisdom here
-
-
-
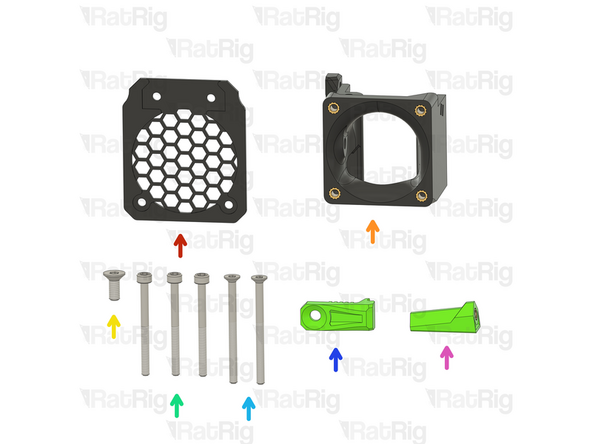
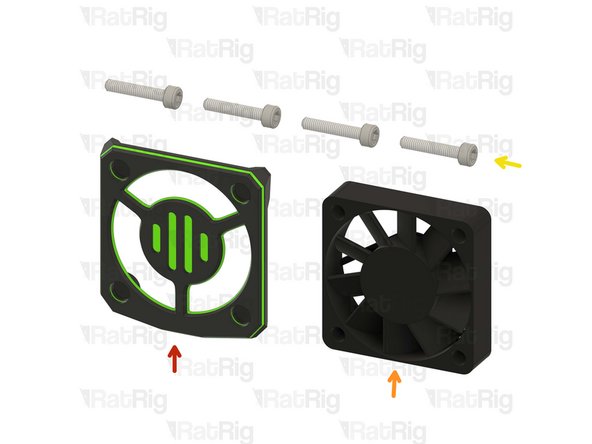
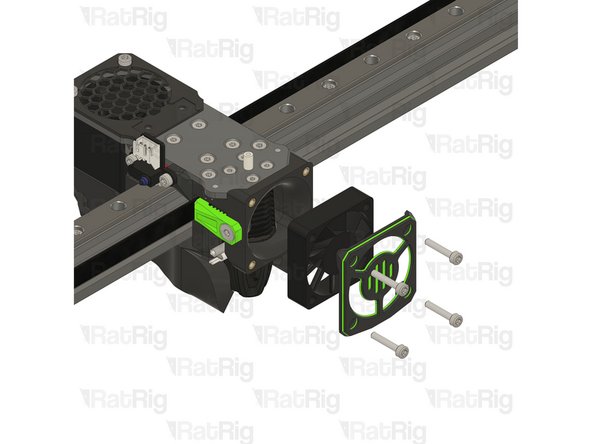
1x rr_vc4_toolhead_shroud
-
40x10mm 24V Axial Fan
-
4x M3x16 Cap Head Screw
-
Remove the sacrificial layers from the back of the rr_vc4_toolhead_shroud
-
-
-
Insert wisdom here
-
-
-
Insert wisdom here
-
-
-
Insert wisdom here
-
-
-
Insert wisdom here
-
-
-
Insert wisdom here
-
-
-
Insert wisdom here
-
-
-
Insert wisdom here
-
-
-
Insert wisdom here
-
-
-
Insert wisdom here
-
-
-
Insert wisdom here
-
-
-
Insert wisdom here
-