
-
-
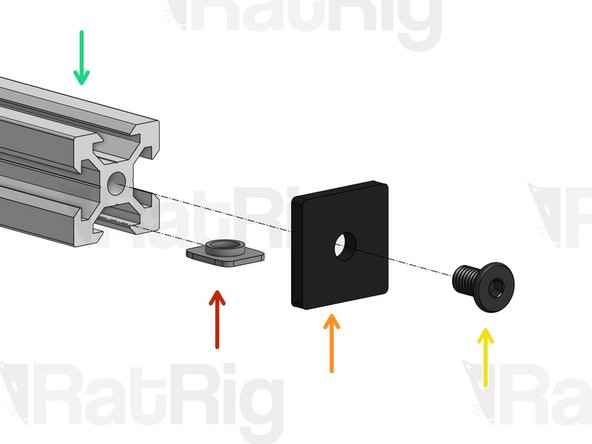
T-Nut M5 (6 on the top slot, 8 on the side slots)
-
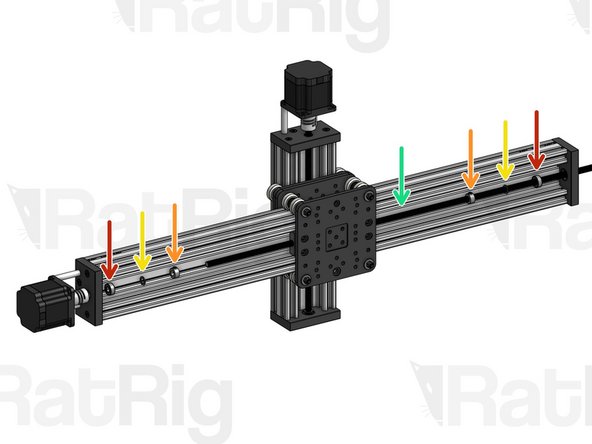
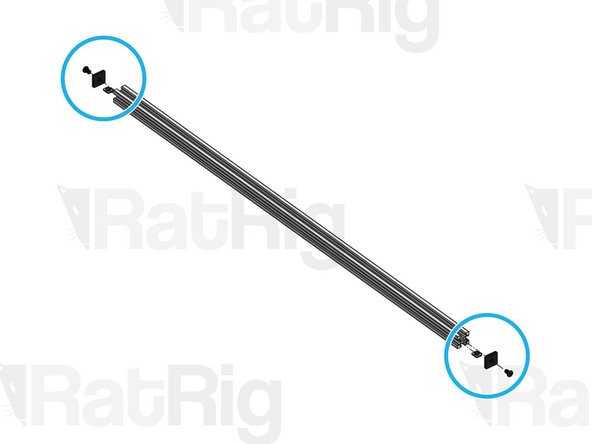
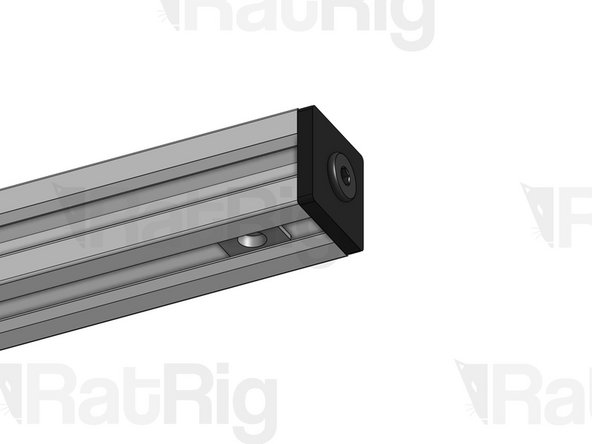
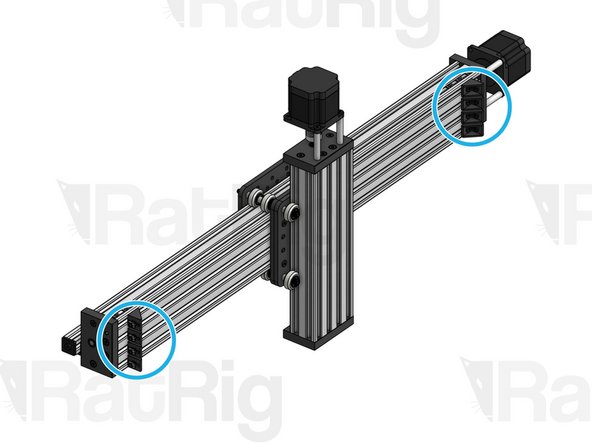
X Gantry C-Beam
-
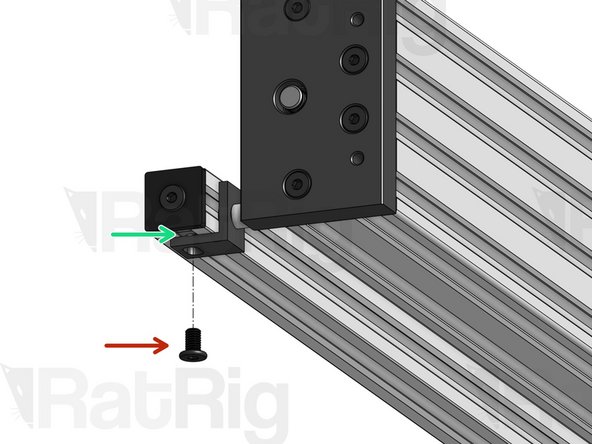
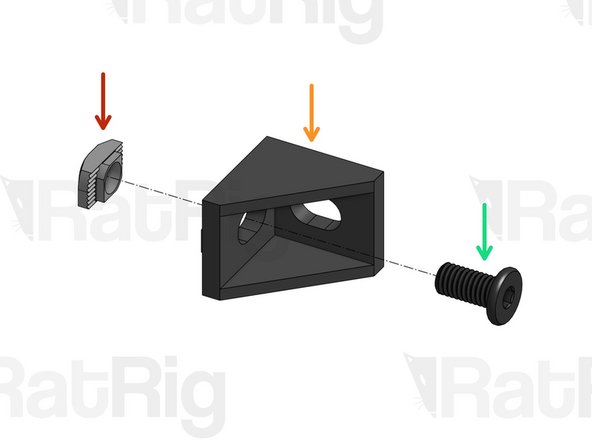
C-Beam End Mount
-
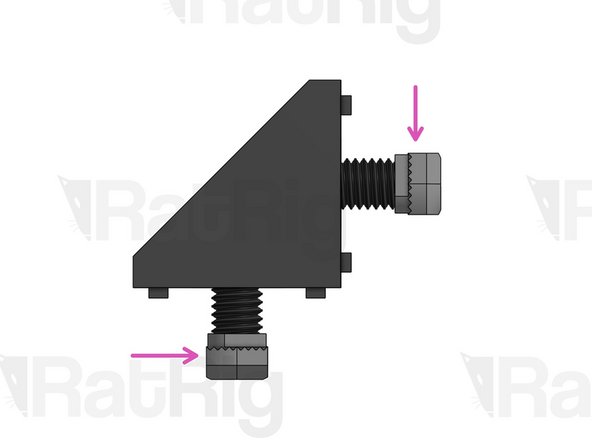
Low Profile Screw M5x20mm
-
-
-
Low Profile Screw M5x20mm
-
C-Beam End Mount
-
XZ Carriage
-
X Gantry C-Beam
-
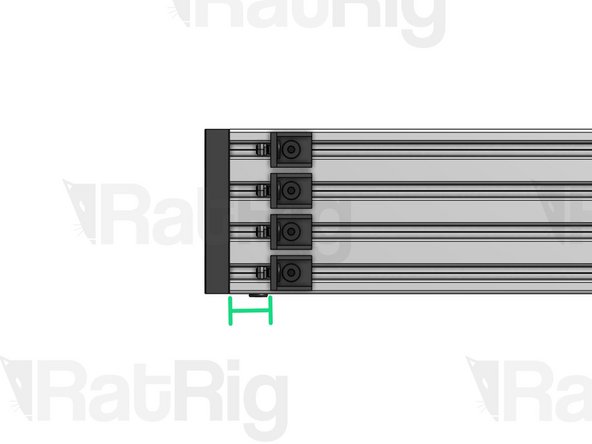
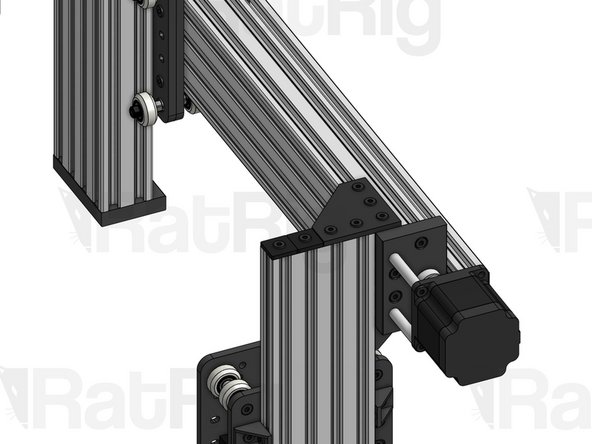
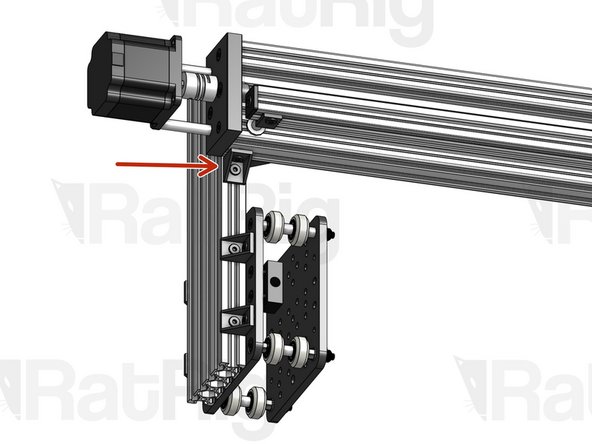
Recheck the bottom Eccentric Spacers on the X-Carriage-Assembly to make sure they are touching the rail, there is no wobble, and that the X-Carriage-Assembly runs smoothly along the whole length of the C-Beam.
-
-
-
Aluminium Spacer 40mm
-
Flexible Coupling - 1/4" x 8mm. Set in position, don't tighten yet.
-
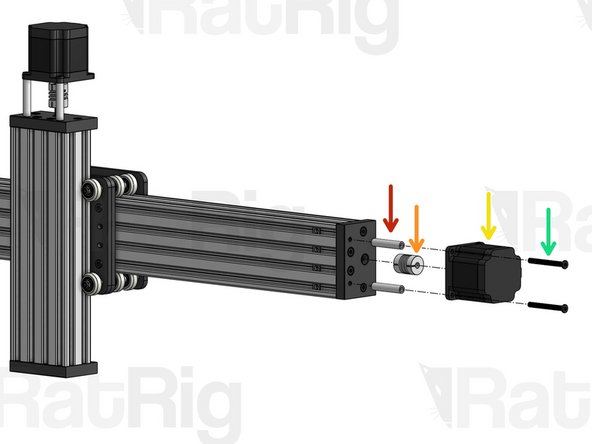
Nema 23 Motor
-
Low Profile Screw M5x50mm
-
-
-
688ZZ Ball Bearing
-
Precision Shim 12x8x1mm
-
Lock Collar 8mm
-
X Lead Screw
-
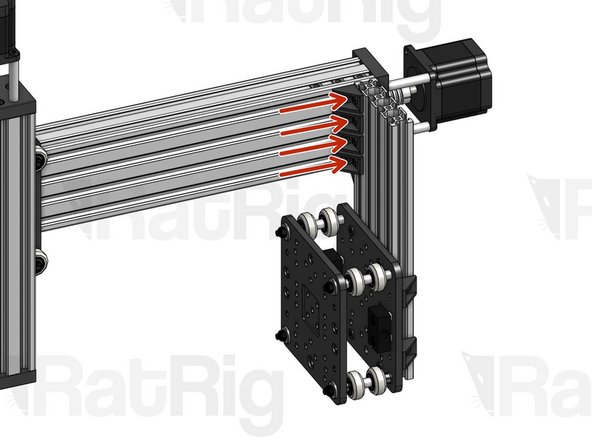
Start by adjusting the position of the Flexible Coupling to make sure that both the Lead Screw and the Nema 23 motor shaft are fully inserted inside the ends of the coupling.
-
Make sure the flat face of the D shaped motor shaft is facing the set screw on the Flexible Coupling. Tighten down the set screws on both sides.
-
Tighten down the larger clamping screws on your coupling.
-
Push the lock collars against the C-Beam End Mounts and tighten their set screws to lock them into position.
-
-
-
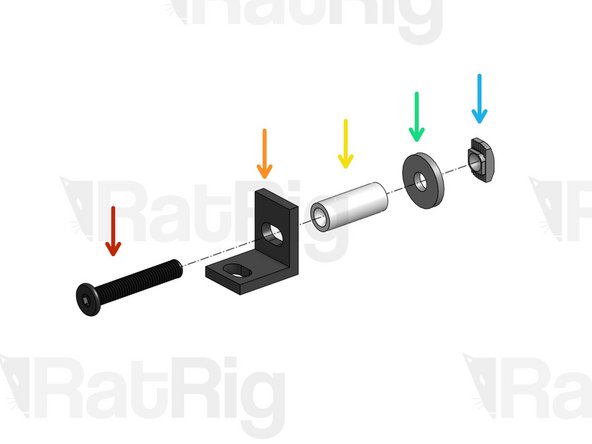
Low Profile Screw M5x30mm
-
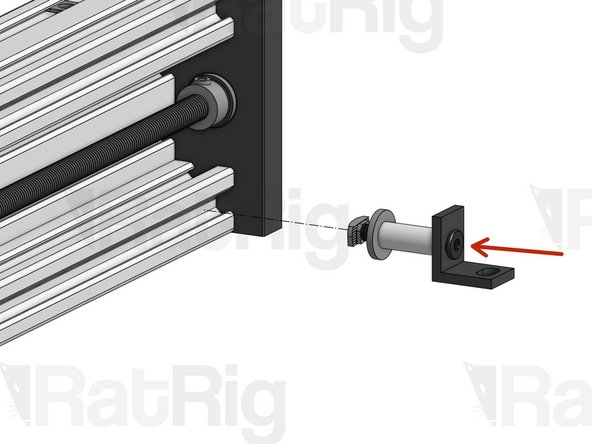
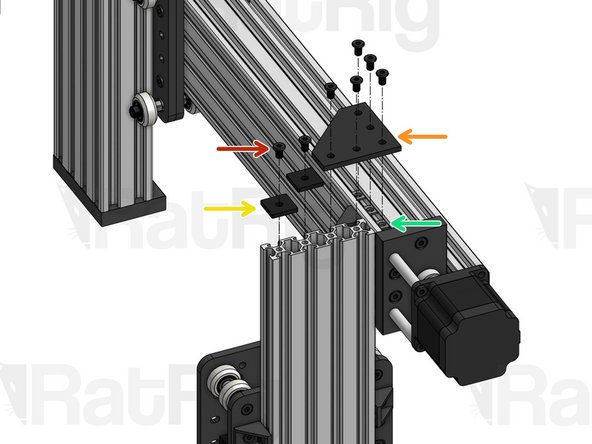
Single L Bracket
-
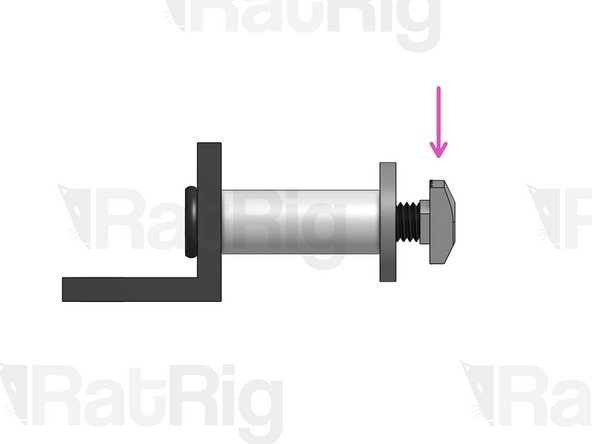
Aluminium Spacer 20mm
-
Slot Washer 15x5x2mm
-
Drop-in T-Nut M5
-
Screw T-Nut into position, but don't tighten yet.
-
Repeat this step twice (you will need 2 mounts)
-
-
-
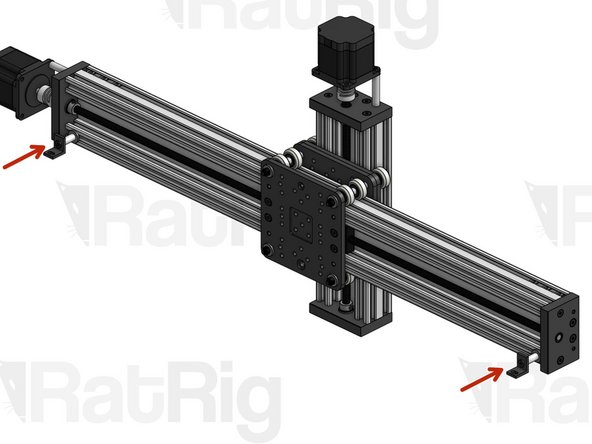
Attach the 2 Cable Tray Mounts at about 10mm from each end of the C-Beam. Tighten the screw while making sure the L bracket doesn't twist.
-
-
-
X-Gantry 2020 profile
-
T-Nut M5
-
Endcap 2020
-
Low Profile Screw M5x8mm
-
Repeat step on both sides of the 2020 profile
-
-
-
Low Profile Screw M5x8mm
-
T-Nut M5 (inserted in the slot on Step 7)
-
Repeat this step on both sides of the 2020.
-
-
-
Repeat this step for 8 Cast Corners
-
Drop-in T-Nut M5
-
Cast Corner
-
Low Profile Screw M5x10mm
-
Screw T-Nut into position, but don't tighten!
-
-
-
T-Nut M5
-
Cast Corner
-
Low Profile Screw M5x8mm
-
20mm
-
Repeat this step on both sides of the C-Beam
-
-
-
Fit the Drop-in T-Nuts of the Cast Corners on the 2080 slot of the Y-Carriage. Press the 2080 firmly against the C-Beam to make sure it is square, and tighten the screws on the Cast Corners. Make sure the top of the 2080 is flush with the top of the C-Beam.
-
Repeat this step for the other Y carriage on the opposite side of the C-Beam
-
Place the X-Gantry Assembly onto a flat table. Check if both Y-Carriages are sitting flush with the table. Loosen the extrusions and adjust if needed.
-
-
-
Low Profile Screw M5x8mm
-
2020 Endcap
-
90º Joining Plate
-
T-Nut M5 (inserted in the slot on step 1).
-
Repeat this step for the other Y Carriage on the opposite side of the C-Beam
-
-
-
Low Profile Screw M5x10mm
-
Cast Corner
-
Low Profile Screw M5x8mm
-
Drop-in T-Nut M5
-
Set T-Nuts in position, but don't tighten yet.
-
Repeat this step for 2 Cast Corners
-
-
-
Fit the Drop-in T-Nuts inside the 2080 and C-Beam Slots and tighten the screws. The longer screw should connect with the C-Beam.
-
Repeat this step on the opposite side of the C-Beam.
-


Cancel: I did not complete this guide.
One other person completed this guide.
