-
-
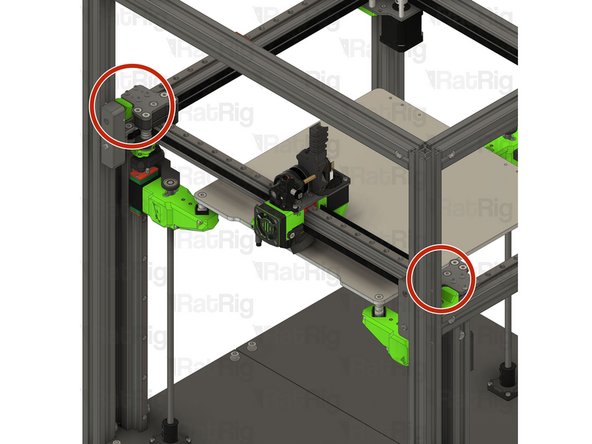
Push the X-axis gantry forward
-
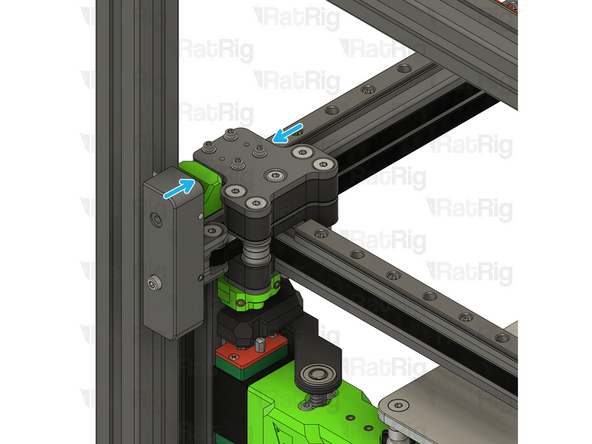
The space between the XY Joiners and the front Y bumpers should be the same.
-
After installing the belts, it's normal for the Gantry to get slightly twisted, due to the forces of the untuned belts.
-
If the space isn't equal and the gantry doesn't sit flush with the front, please follow the next steps.
-
-
-
Loosen the M4x6 Set Screw
-
Slowly tighten or loosen the M4x20 Cap Head Screw
-
As you tighten this screw, the gantry joiner will be pulled towards the front Y bumper.
-
If you loosen the belt tensioning screw, the gantry will move back, enlarging the gap
-
The goal is to eliminate the play between the joiner and the front Y bumper, on both joiners
-
-
-
Adjust both belt tensioning screws until the gap is equal on both sides and the gantry sits flush on the front plates
-
Squeeze the XY-Joiner against the front plate to feel if there is any play. While squeezing there shouldn't be any play, keep adjusting the belt tensioning screws until there is no gap on either side.
-
-
-
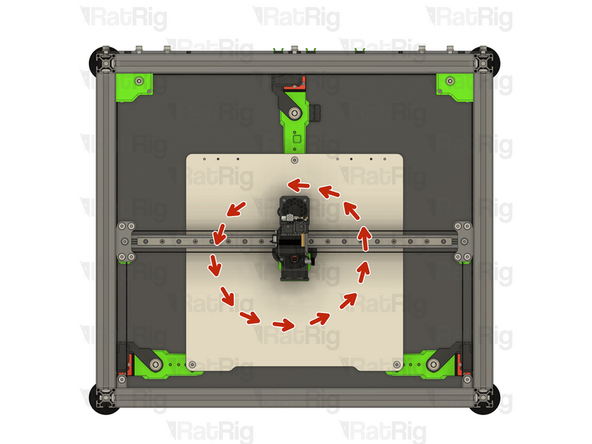
Move the toolhead around.
-
This ensures the belts take their natural position on the Idlers and pulleys.
-
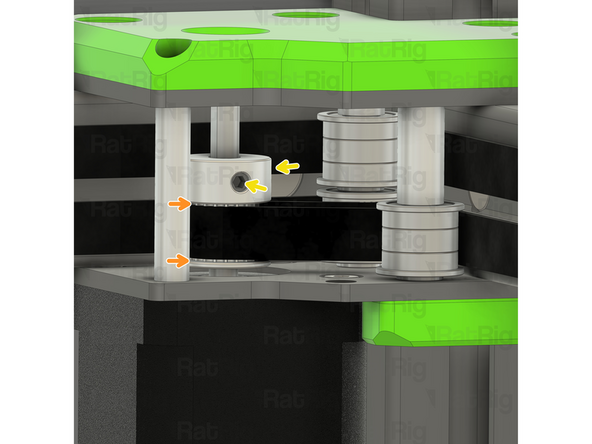
There should be a small gap on the top and bottom of the belt, preventing the belt from touching the pulley flanges.
-
Tighten the pulley set screws.
-
Tighten the screws on the other stepper motor pulley.
-
Cancel: I did not complete this guide.
24 other people completed this guide.


