
-
-
If you are building and IDEX V-Core 4, skip to Step 2 NOW
-
This guide is meant to be followed along with the commissioning guide,
-
Do not install your Y belts before reading the commissioning guide. If you are assembling an hybrid machine.
-
Tuning all belts from the ground up is a nearly impossible job, so Rat Rig recommends that you first tune your CoreXY belts and only then proceed to add and tune the Y belts.
-
-
-
Both belts must be pre-cut to your machine size:
-
1110 mm - V-Core 4 300x300
-
1310 mm - V-Core 4 400x400
-
1510 mm - V-Core 4 500x500
-
Both belts must have the same length so they can be easily tensioned later.
-
-
-
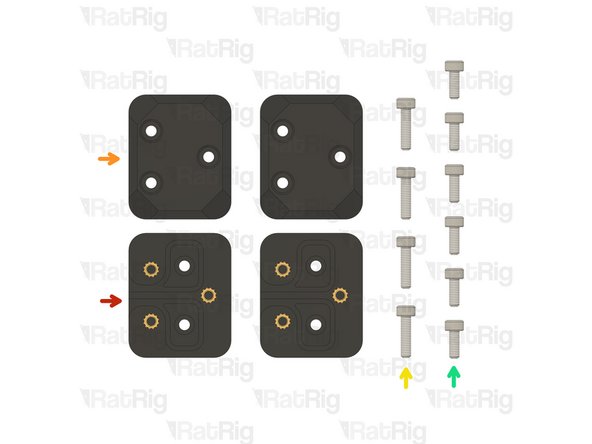
2x vc4_y_belt_body assembly
-
2x vc4_y_belt_clamp
-
4x M3x12 Cap Head Screws
-
6x M3x8 Cap Head Screws
-
-
-
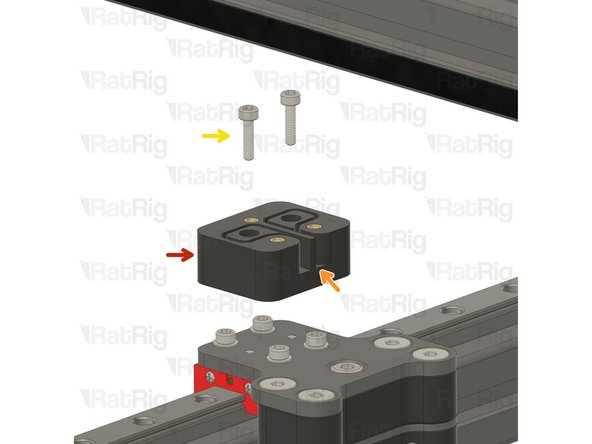
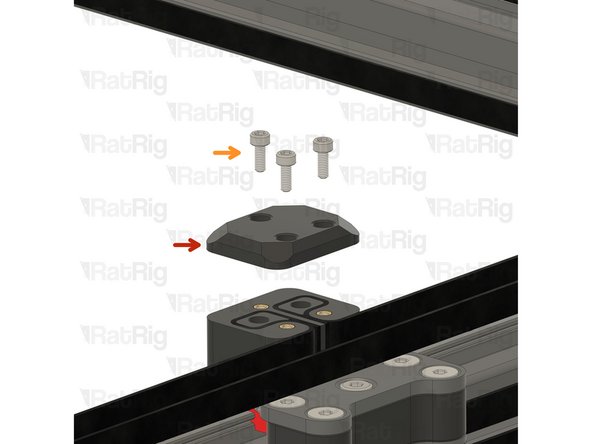
Install the vc4_y_belt_body on top of the joiner assembly
-
Ensure the belt grooves face the inside of the machine
-
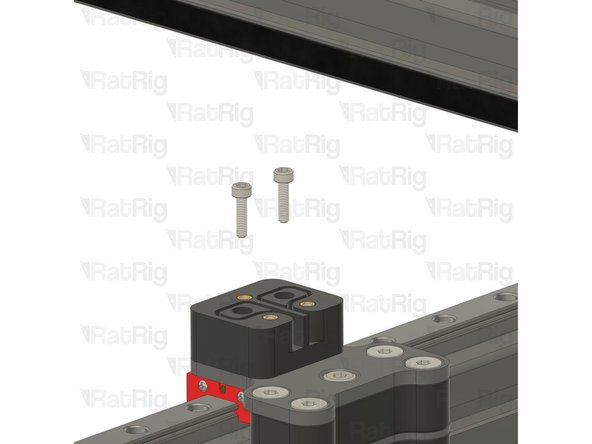
2x M3x12 Cap Head Screws
-
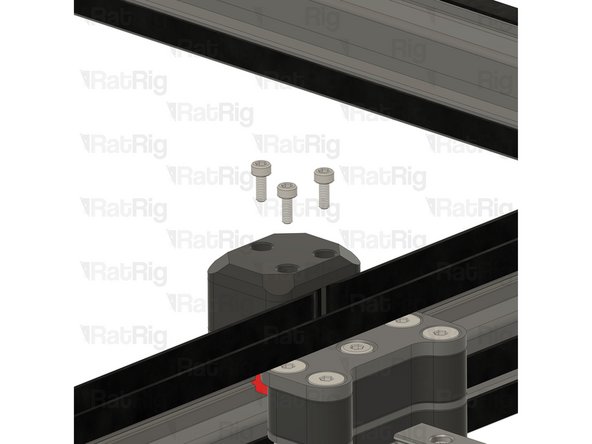
Feed the M3x12 cap head screws through the vc4_y_belt_body assembly and tighten them into the threads on the joint plate.
-
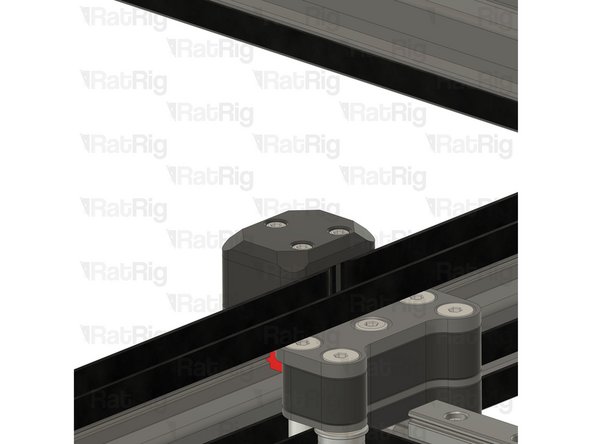
Repeat the previous step and install the parts on the other Y Joiner assembly.
-
-
-
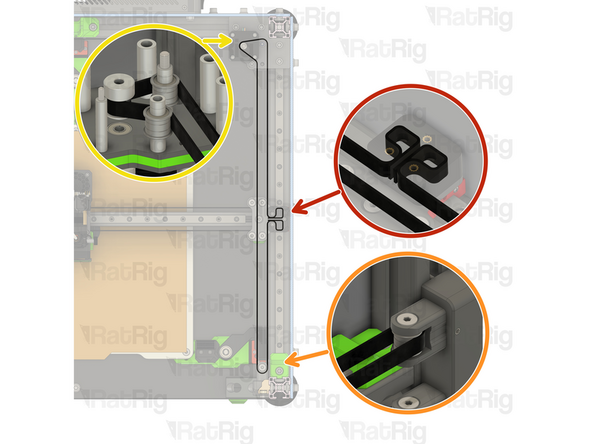
Ensure the belt teeth are facing the stepper motor pulleys.
-
Take one end of the top Y belt, and feed it as shown:
-
Insert one end in the printed part slot.
-
Feed the belt through the tensioner idler making sure the theeth are facing the idler.
-
Take the other end of the top Y belt, and feed it as shown:
-
Feed the belt through the top stepper motor bearing stacks. Ensuring the belt teeth face the stepper pulley.
-
Insert one end in the printed part slot.
-
Repeat the previous Steps and install the second Y belt.
-
-
-
vc4_y_belt_clamp
-
3x M3x8 Cap Head Screw
-
Install the vc4_y_belt_clamp on top of the vc4_y_belt_body. Insert the screws through the clamp and tighten them into the heat insets on the vc4_y_belt_body.
-
Repeat the previous step and install the parts on the other Y belt assembly.
-
-
-
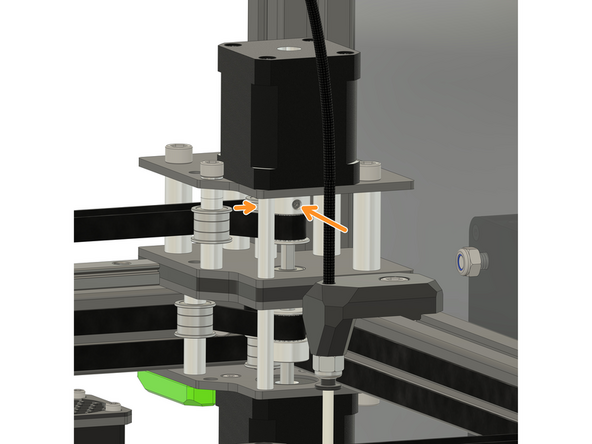
Please move the gantry back and forth a couple of times to allow the belts to assume their natural positions.
-
Tighten the two set screws on the stepper motor pulleys.
-
-
-
Adjust both belts tension in a progressive and equal way.
-
Do not overtighten your belts! it will result in poor machine performance
-
-
-
Continue with the next guide:16. IDEX Accessories
-
Ignore this if you are just Upgrading your CoreXY to Hybrid
-

Cancel: I did not complete this guide.
19 other people completed this guide.

One Comment
Please adapt these for to include building a printer with the idex upgrade to start with. There is no y-control without the hybrid motors. So the printer commissioning does not work without them.
Nick Dietrich - Resolved on Release Reply