-
-
M6x12 Cap Head Screw
-
M6 Washer
-
3030 Drop-in T-Nut M6
-
Cast 90 Degree Corner Bracket for 3030
-
Loosely thread the 3030 T-Nuts onto the M6x12 screws. Do not tighten them at this point.
-
-
-
3030 Extrusion - 234mm
-
Install the two 90 degree corners on to one end of the 3030 extrusion.
-
Tighten the M6x12 cap head screws connecting to the 3030 extrusion using a 5mm hex key.
-
Make sure the 90 degree corners are both flush, and square, with the end of the extrusion. before tightening
-
-
-
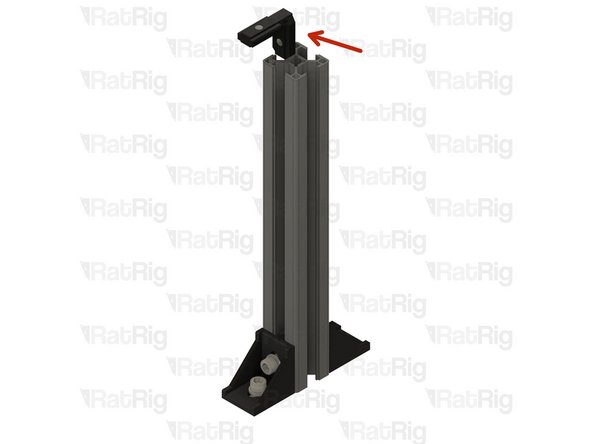
3030 Inside Hidden Corner Bracket
-
Check that the grub screws on the inside corners are retracted to allow installation into the 3030 extrusion.
-
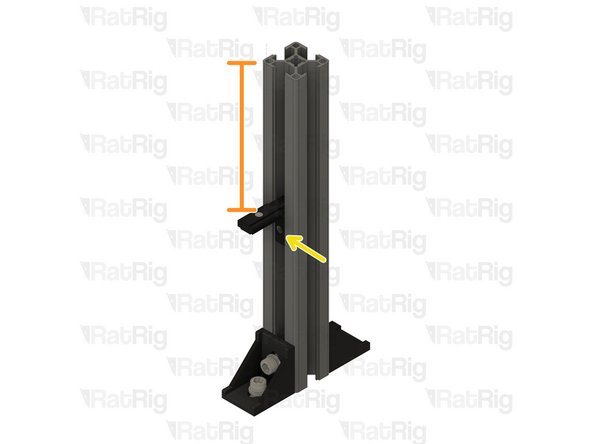
Slide one inside corner into the 3030 extrusion. Position it so that there is a measurement of 100mm from the top of the inside corner, to the top of the extrusion.
-
Tighten the indicated grub screw with a 3.0mm hex key, securing the corner into place.
-
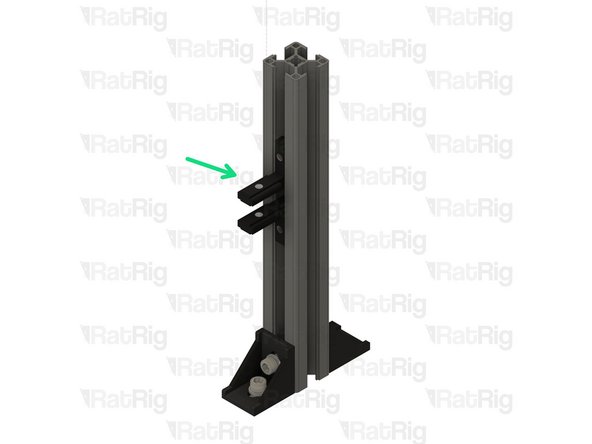
Slide the remaining inside corner into the 3030 extrusion. Make sure the orientation mirrors that of the previously installed lower corner.
-
Do not fasten the grub screw on the second inside corner just yet.
-
-
-
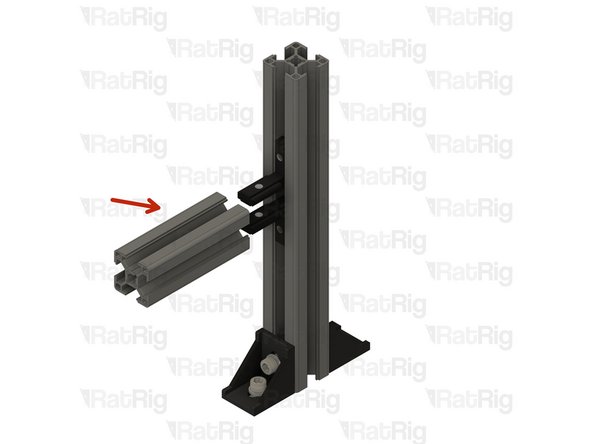
3030 Extrusion - 87mm
-
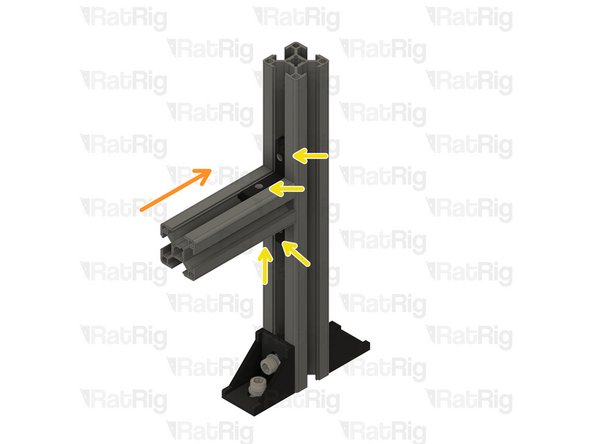
Slide the 87mm length of 3030 extrusion onto the inside corners.
-
Tighten all four grub screws on the inside corners to secure the arm in place.
-
-
-
M5x10 Cap Head Screw
-
3030 Drop-in T-Nut M5
-
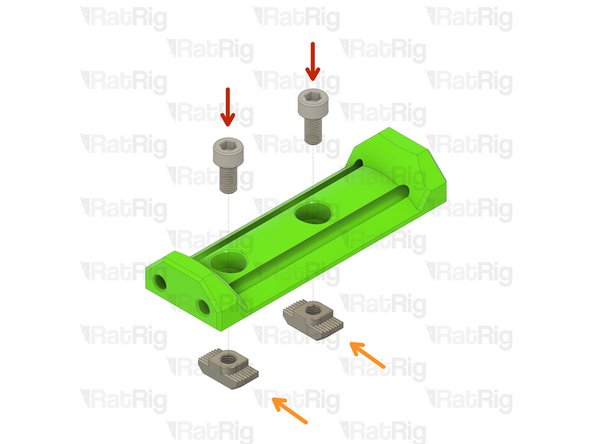
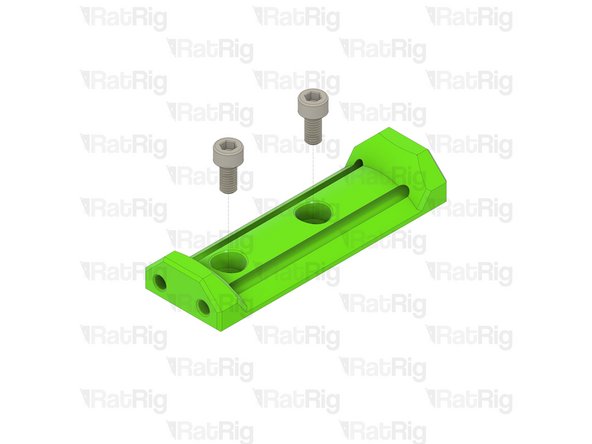
Insert the M5x10 cap head screws into the printed part.
-
Loosely thread the 3030 T-Nuts onto the M5x10 screws. Do not tighten them at this point.
-
-
-
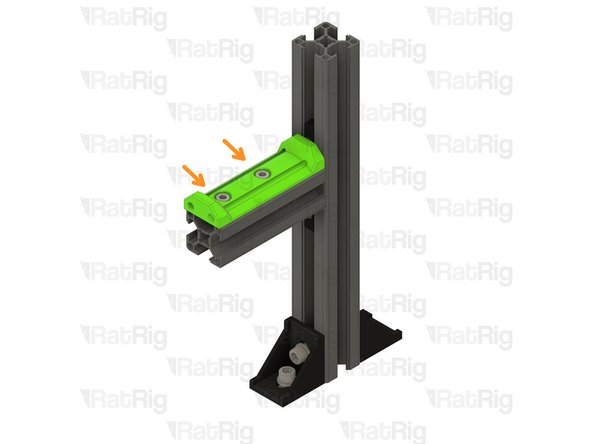
Install the printed assembly onto the arm of the spool holder, making sure that the M5 T-Nuts drop into the 3030 extrusion slot.
-
Gently tighten the two M5x10 cap head screws using a 4mm hex key.
-
Do not over tighten these screws as doing so could cause damage to the printed part.
-
Install the 3030 extrusion end caps by carefully pushing them into place.
-
-
-
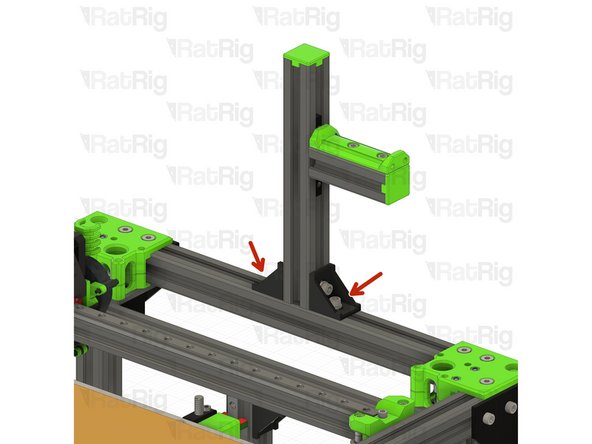
Install the spool holder to the frame where desired. Simply put the spool holder where desired and then fasten the two M6x12 cap head screws.
-
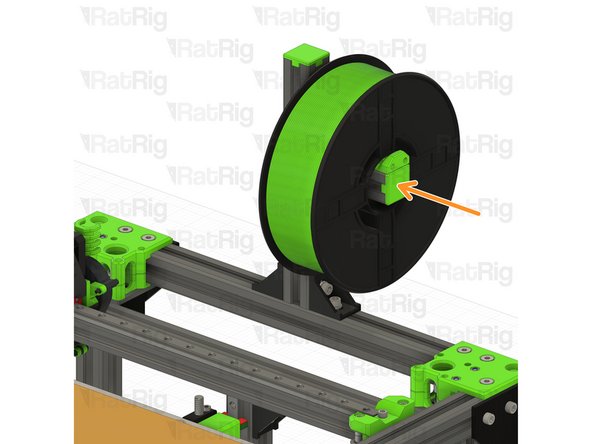
Slip your filament spool into place and you are ready to begin using the holder. The printed part keeps the spool secured when it spins.
-
-
-
The Rat Rig Spool Holder v2 is designed to be versatile and customisable to your needs. Here are a few examples of different mounting positions on the Rat Rig V-Core 3.
-
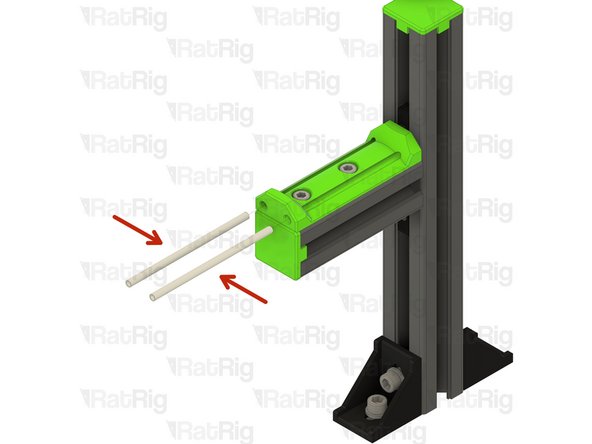
Two optional 84mm lengths of PTFE / bowden tube can be installed into the spool holder to allow for even smoother movement of the spool.
-
Almost done!
Finish Line


