
-
-
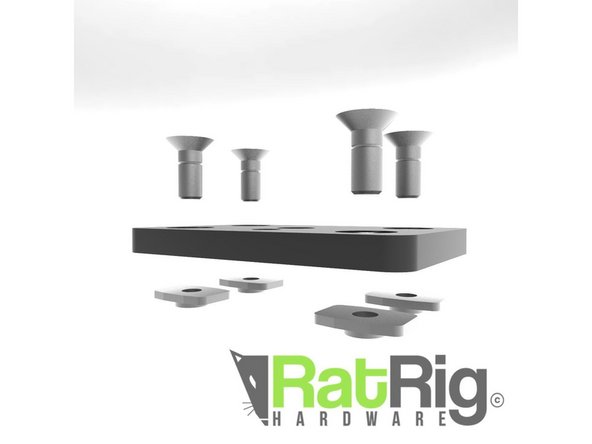
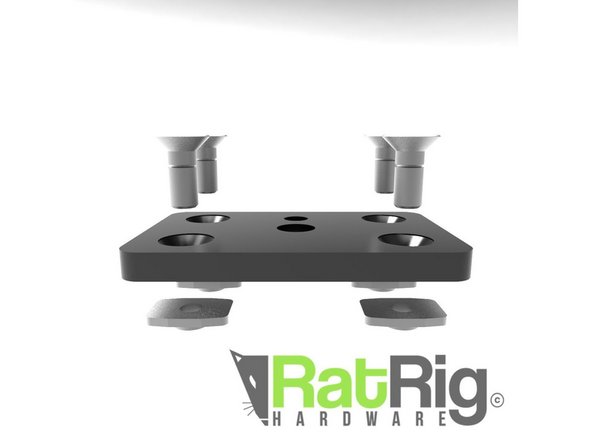
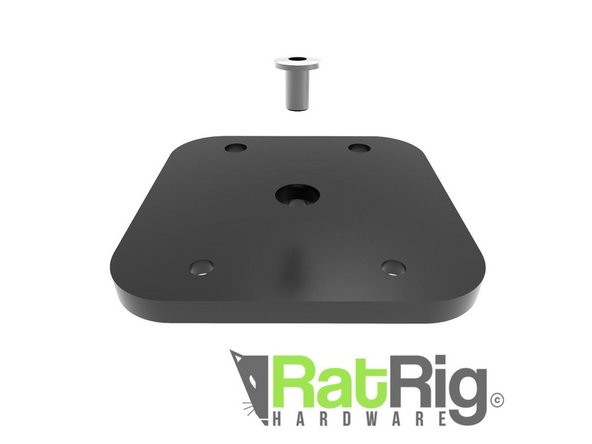
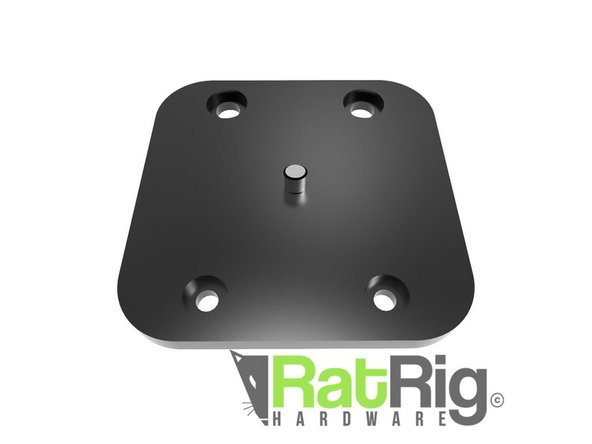
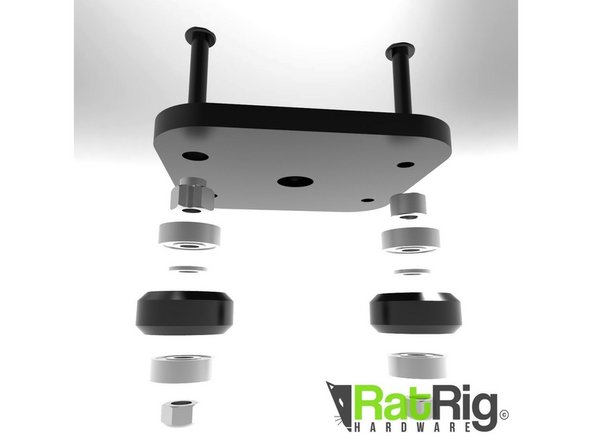
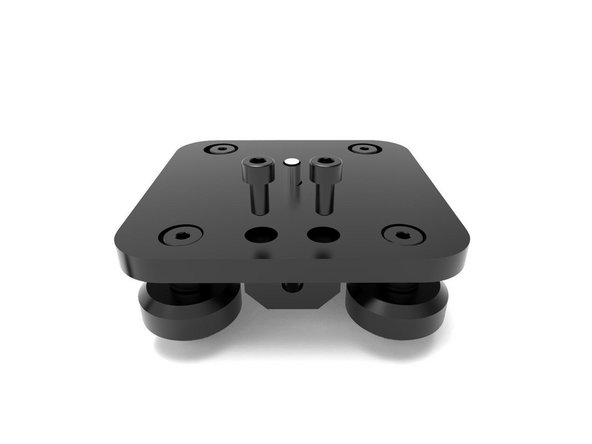
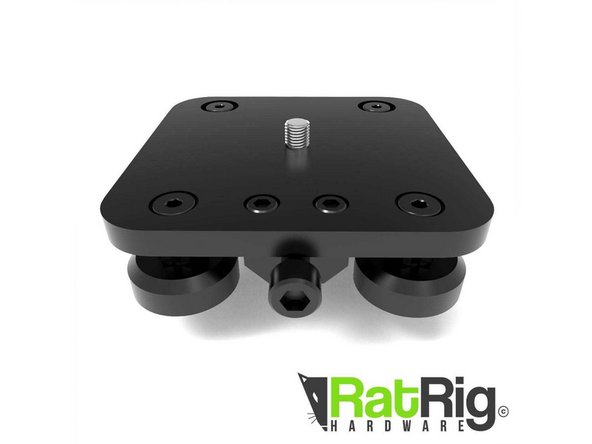
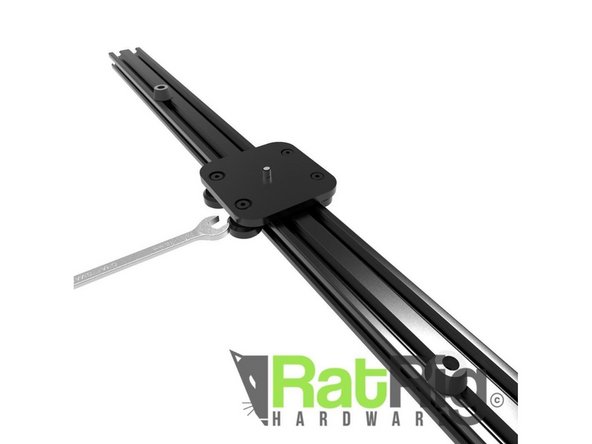
Grab your main rail. Locate the center hole. This will be the underside of your slider.
-
-
-
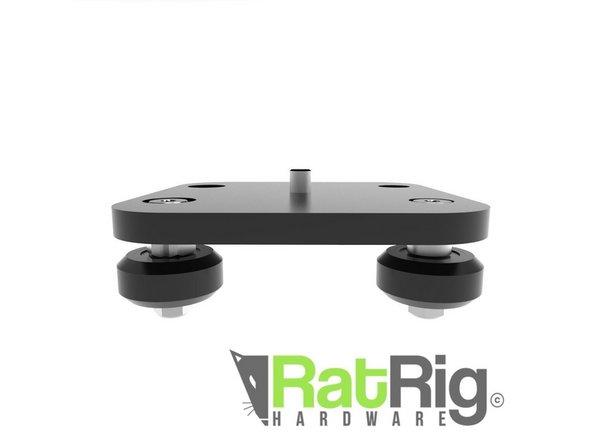
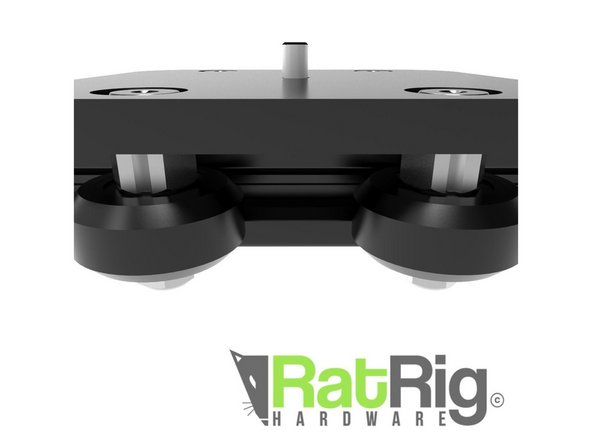
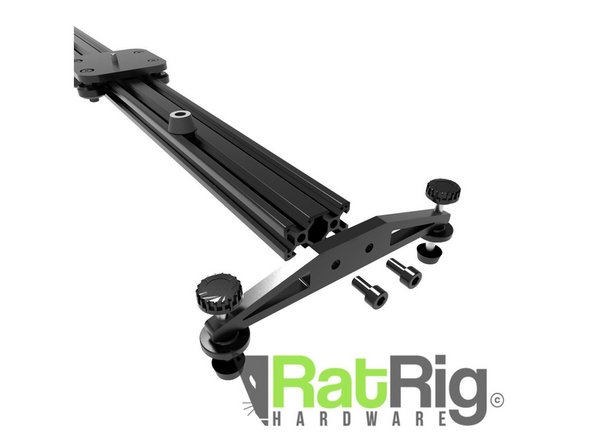
The idea is to get a nice easy movement, but with no looseness of the carriage.
-
Carriage should not twist when you grab it with you hand.
-
You should be able to turn the wheels with your finger without the carriage moving.
-
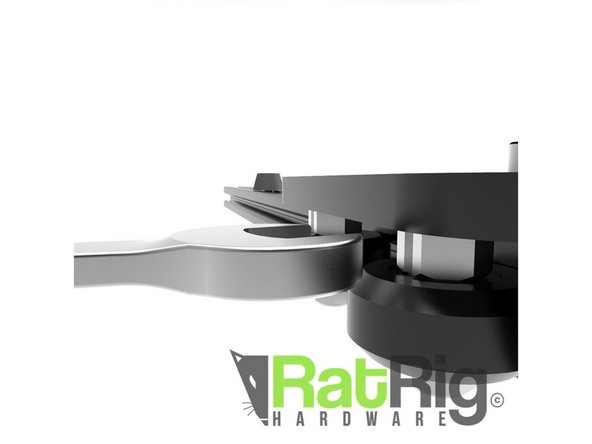
If you tilt the slider, the carriage should slide down the rail nicely just relying on gravity.
-


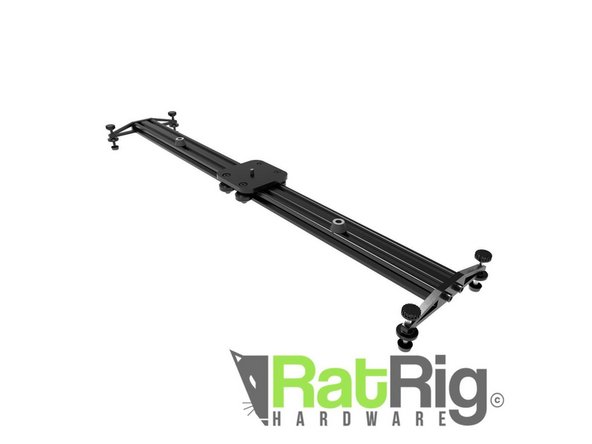
Almost done!
Finish Line
Cancel: I did not complete this guide.
One other person completed this guide.
